
What is Cospend?
Cospend is a group/shared budget manager app. You can use it when you share a house, when you go on vacation with friends or whenever you share money with others.
How it works?
With Cospend you can create a Project which is a way of managing expenses and bills of a group of people. A project contains Members (any person or sub-group of persons that participates in the project and that has an initial weight of 1) and Bills (any expense made by one member that involves one or more members of the same project).
A basic practical example to understand how it works might be the following:
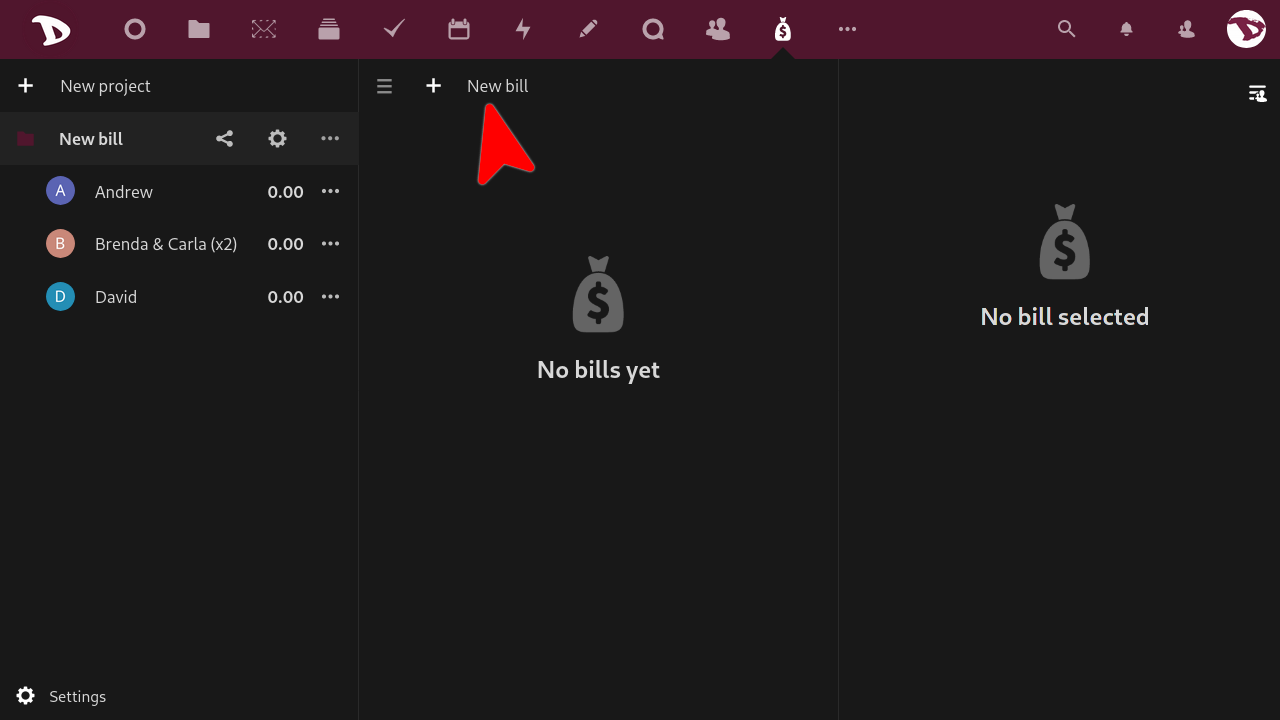
Andrew, Brenda, Carla and David want to organize and share the costs of a vacation trip. But since Brenda and Carla are a couple they want to be added as one member (Brenda & Carla) with a weight of 2.
- Andrew (a member with a weight of 1) pays a 40 euros bill. The balance of Andrew will increase to 40.
- This bill involves himself, "Brenda & Carla" (a member with a weight of 2) and David (a member with a weight of 1). So far the sum of the members weight is 4, which means they have to split the bill in 4 shares:
- Andrew will owe 1 share (10 euros)
- "Brenda & Carla" will owe 2 shares (20 euros) and
- David will owe 1 share also (10 euros)
This example is pretty simple and intuitive but in a scenario with a larger budget and a bigger number of people, things can get complicated. That is when Cospend becomes more useful and interesting.
Create a New Project
After log in, select the Cospend App

The first time you use it, it will be empty (of course).
To create a new project just click on the + New project box and type its name.
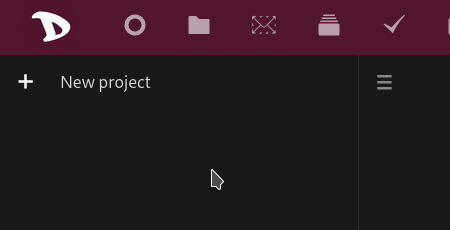
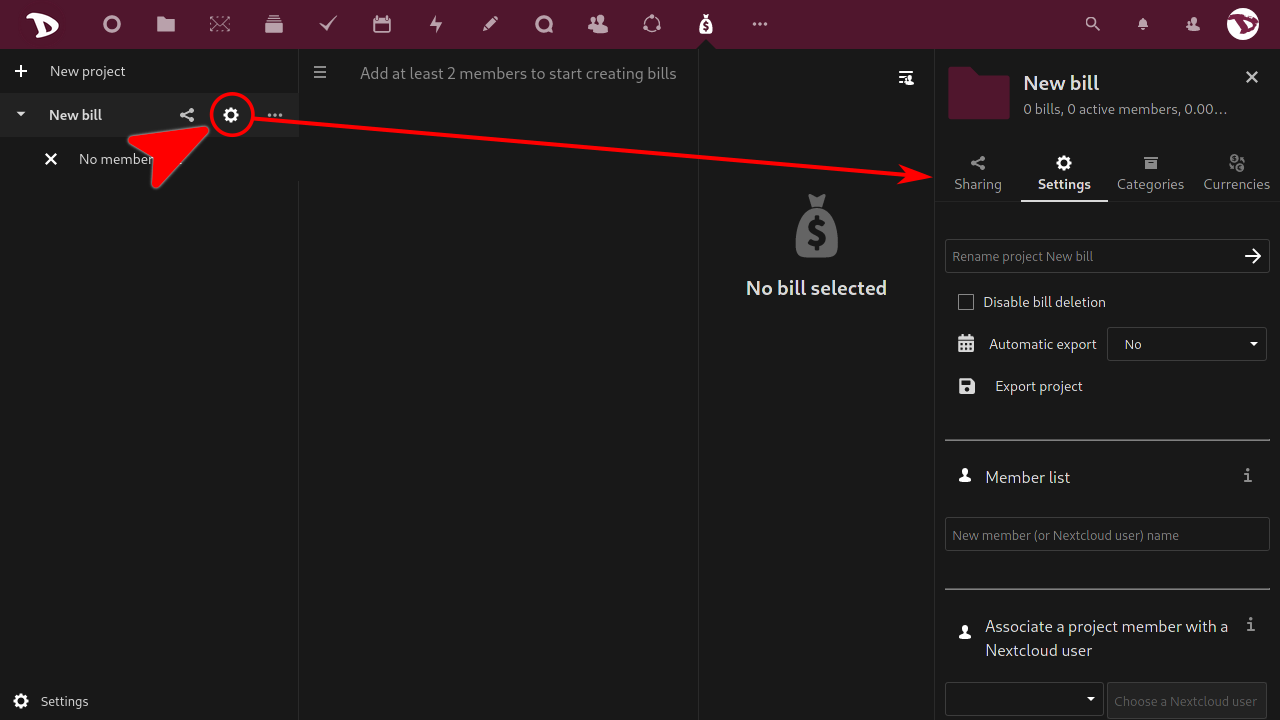
Now at the right of the project's name you have two shortcuts to the Panel and a menu.
-
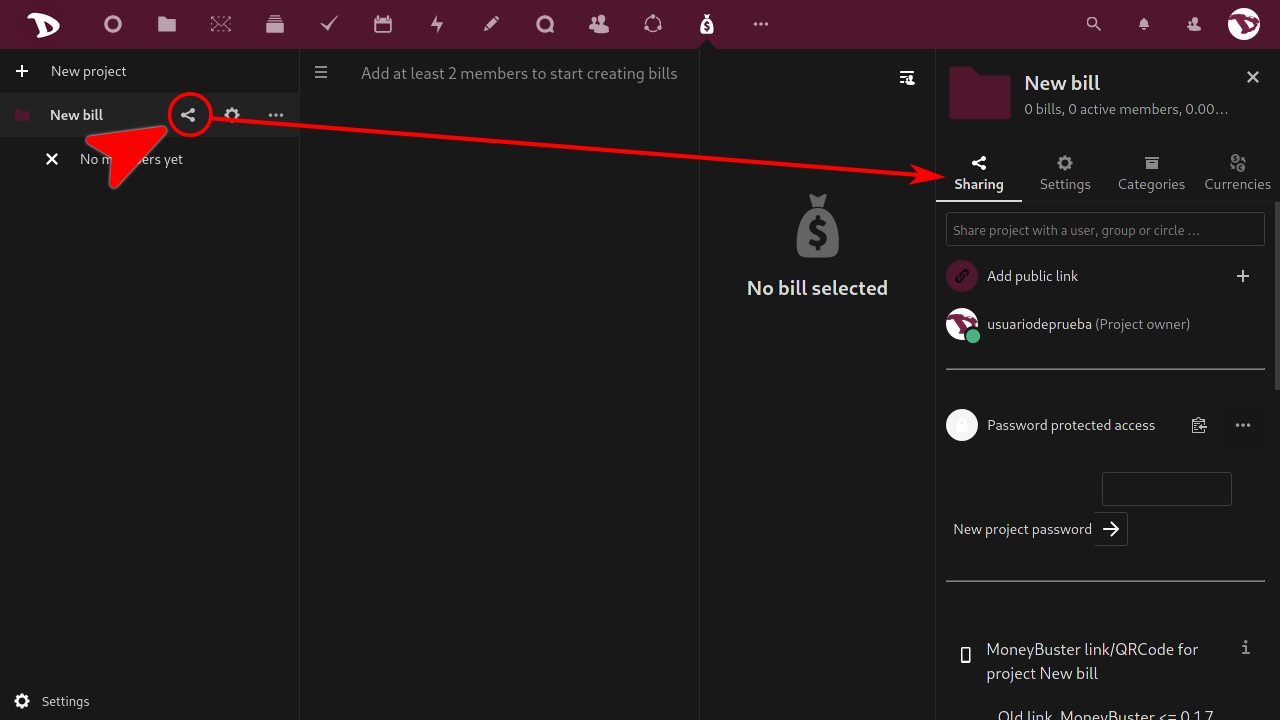
The first one is the Sharing shortcut. Click on it to open the Panel and manage different sharing options (we will look at them in more detail below).
-
The second one opens the project Settings tab in the Panel from where you can manage members and a couple of other options (again, we will look at them in more detail below).
-
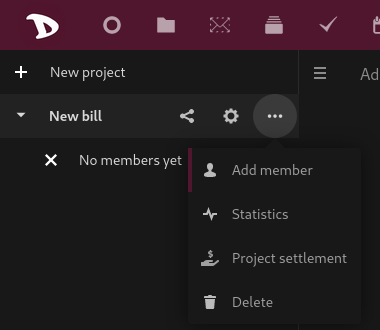
The "three dot" icon opens a menu from where you can add members, see statistics of the project, settle it (this option will show you a possible way to settle the bills and put everyone's balance back to 0) and delete it.
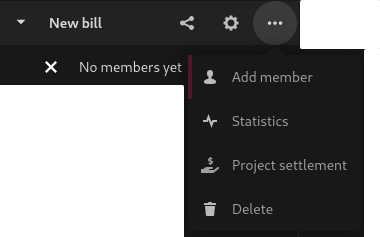
Add a member
To add a member just click on the "three dots" icon and select Add member. The right panel will open and you will be able to add a new member from the Member list option in the Settings tab. You can also add a Nextcloud user from the same instance, assign a color, rename and set the weight of the member.
You can also associate a member with a Nextcloud user.
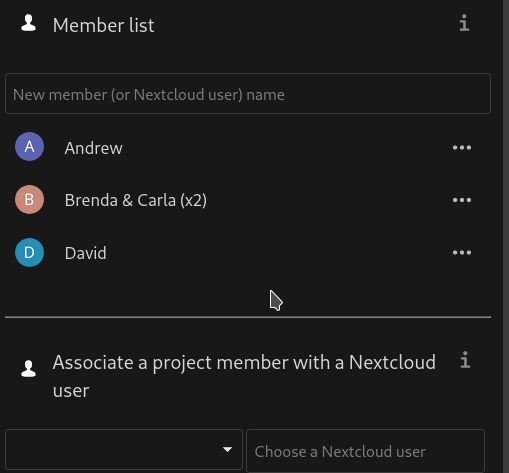
To "disassociate" them, just rename the member's name.
Add a bill
To add a new bill click on + New bill...
... and a right panel with bill options will be opened.
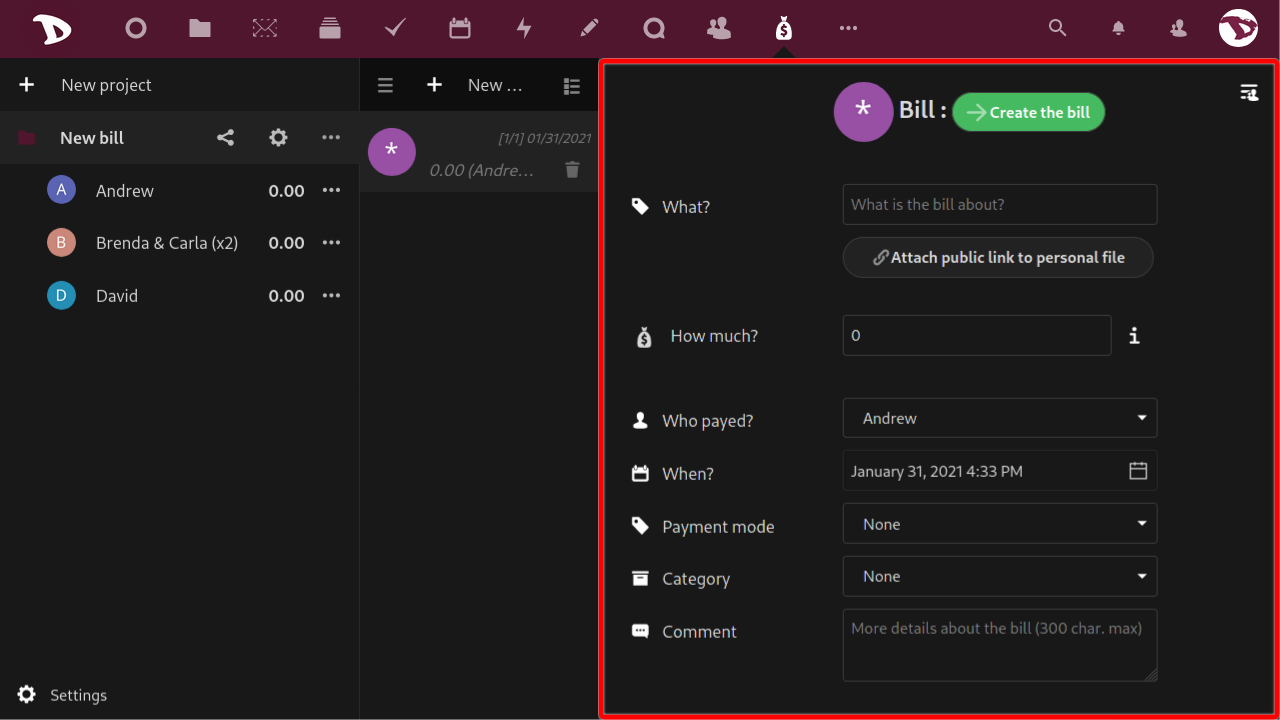
These options are:
- What?: here you can type a sort of title that describes what the bill is about.
- How much?: the amount of the bill or the expense made. You can type an amount or simple maths operations and press Enter to get the value (for example, if you write
10+15and Enter the value will be25). - How payed?: select the member who payed the bill.
- When?: select the date of the bill.
- Payment mode: select how the payment was made.
- Category: select a category for the bill.
- Comment: here you can add more information or a simple comment about the bill for other members.
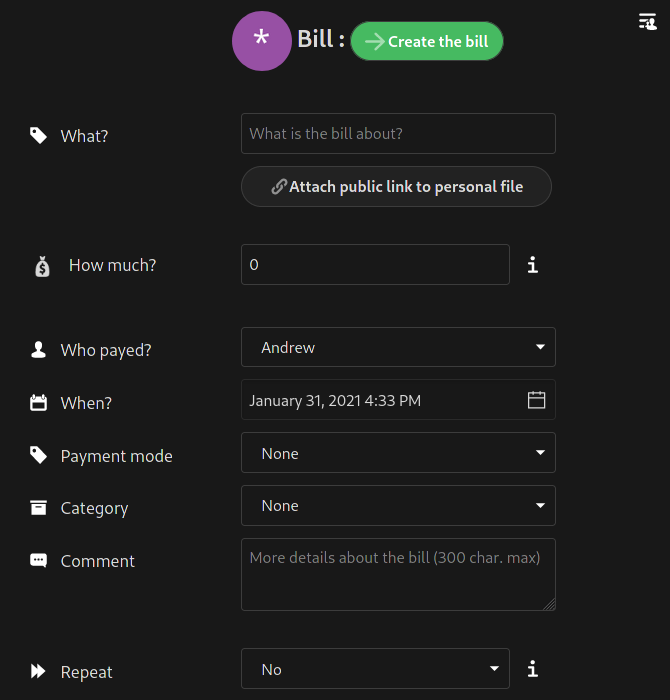
- Repeat: select if it is a recurrent expense and how often it has to be repeated.
The bill repetition process runs once a day. If your bills are not automatically repeated, you should contact us so we can check if there is an issue with it.
Then you have the Bill type options.
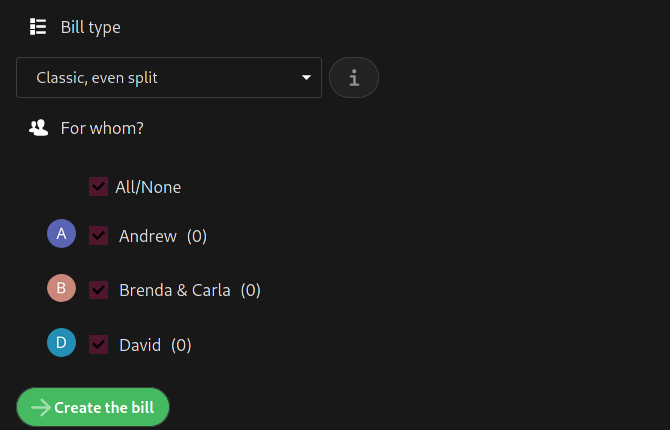
There are four:
-
Classic, even split: by selecting this mode the bill is split equitably between members.
For example: Andrew pays a grocery bill and Brenda & Carla and David agree to share the cost equally. -
Even split with optional personal parts: this mode is similar to the previous one but you can also add an amount related to "personal" expenses from other members.
For example: a collective shop is made at the supermarket but David added some personal items that should not be paid by Andrew and Brenda & Carla. -
Custom owed ammount per member: the bill amount is ignored and you have to select a payer and enter a custom owed amount for each member. Then click on "Create the bills" and multiple bills will be created.
For example: David pays the dinner bill at the restaurant but there are quite a price difference between what Brenda & Carla and Andrew ate. -
Custom share per member: this mode is similar to the previous one. The difference is that instead of amounts you set shares.
For example: Brenda & Carla pay an hotel bill for a month but Andrew was not there the whole month but two weeks. Andrew should then pay half a share (0.5) while Brenda & Carla and David pay a full share (1).
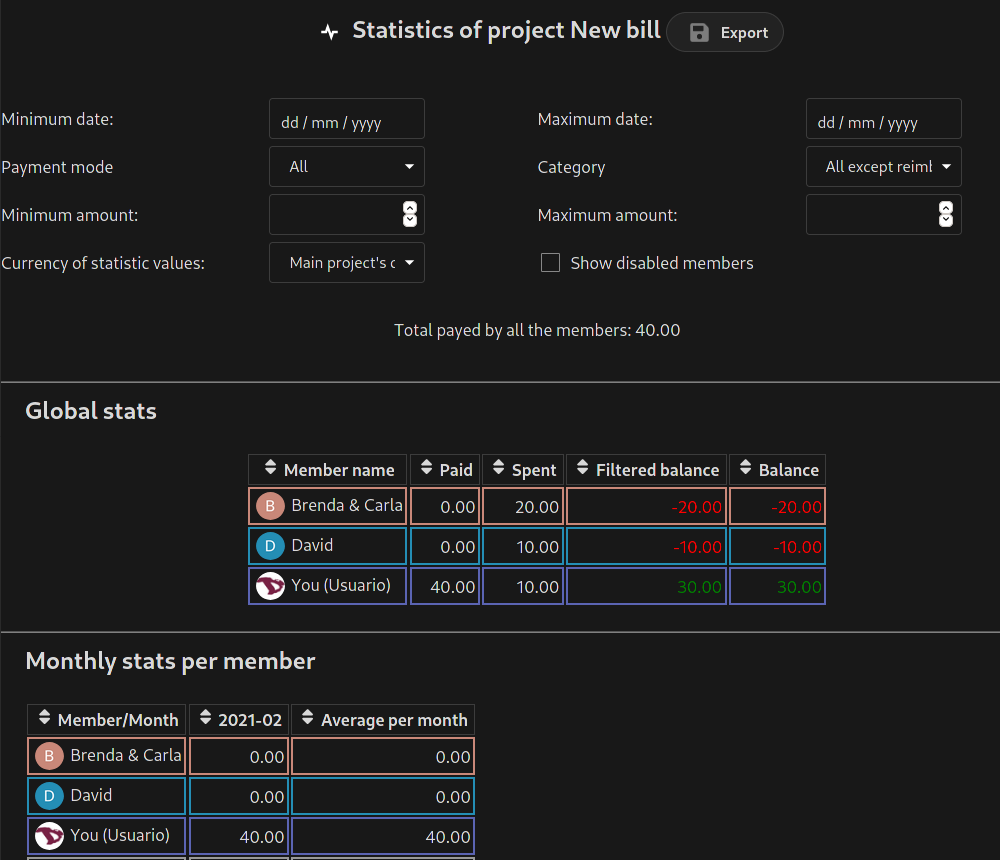
Statistics
This option does not require much explanations. Click on it to access a set of statistics that can help you manage your project.
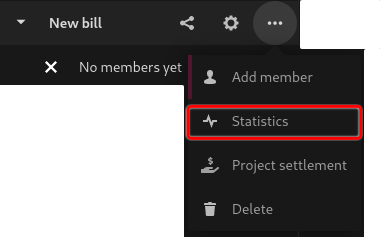
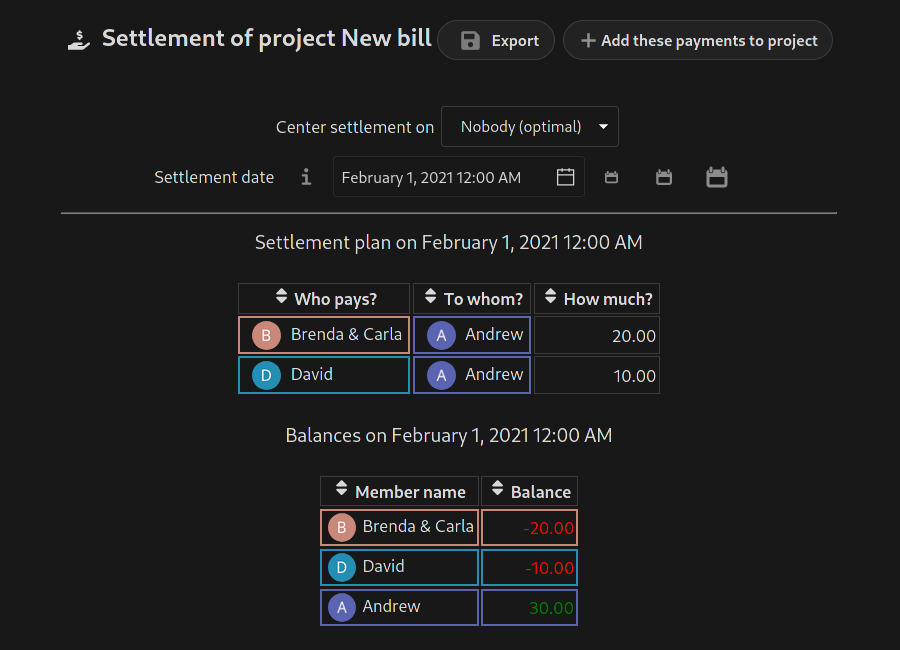
Settle a project
If for some reason you need to settle the bills in such a way that everyone's balance back to zero, you can use the Settlement project option.
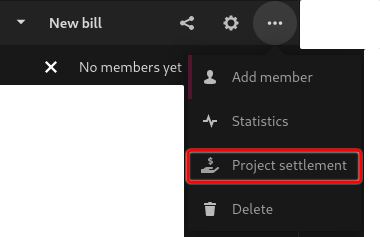
You can choose wether to focus the settlement on one particular member and a maximum date after which the bills are not taken into account for it.
Options and settings
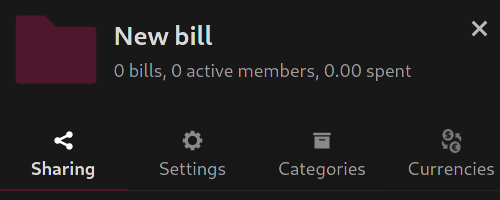
Sharing a project
In the Sharing tab you can:
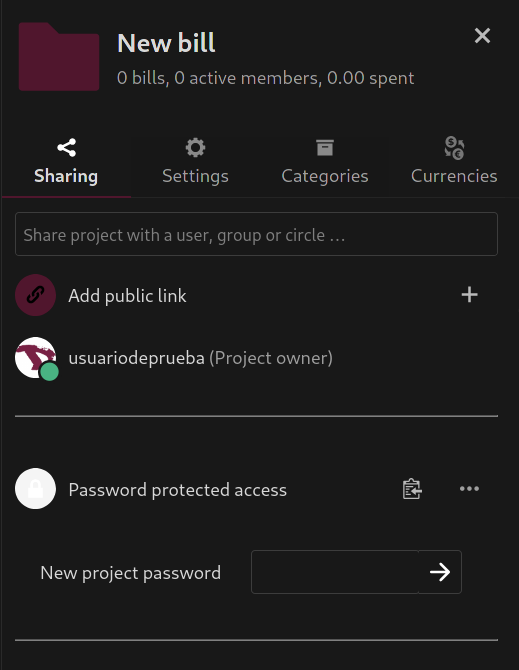
- Share the project with another Nextcloud users, a group or a circle. Just type the usernames you want to share with and select them.
- Set access privileges per member:
- Viewer
- Participant
- Maintainer
- Admin
- Remove the access to the project
- Set a password protected access link
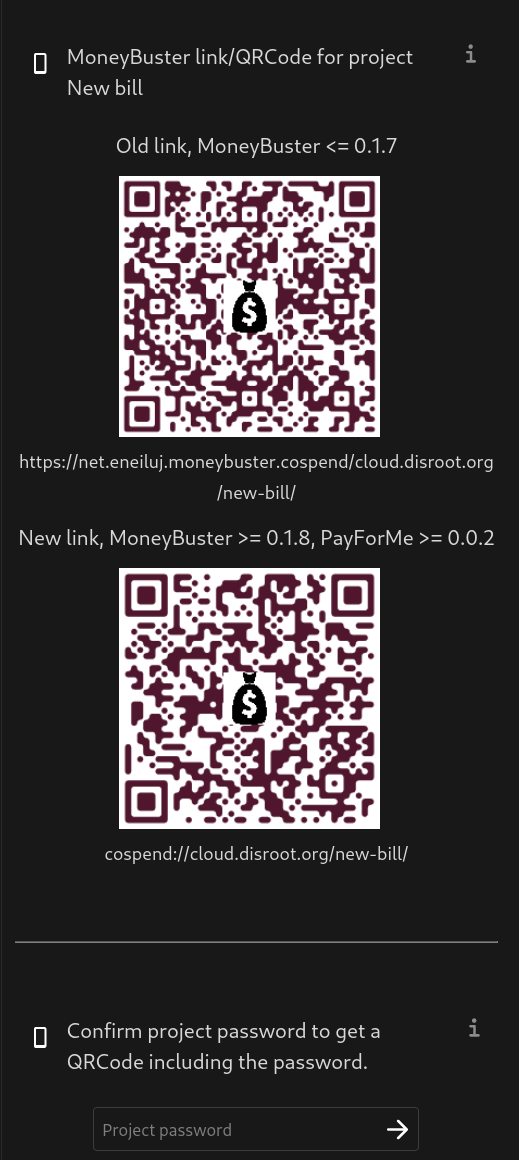
- Or generate a QR code to access the project from the MoneyBuster app.
Project settings
In the Settings tab you can:
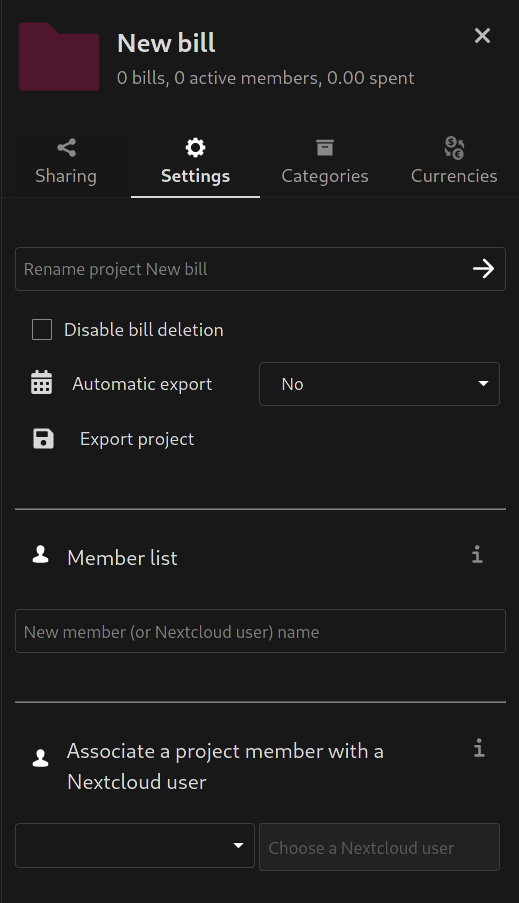
- Rename a project
- Set automatic export
- Add new members and
- assign them a color
- change a member name
- set the member weight
- or remove a member
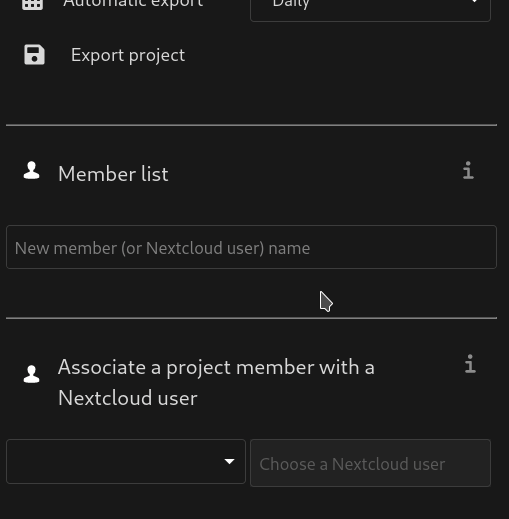
- Associate a project member with a Nextcloud user. To do so, just choose a project member and then a Nextcloud user to associate with.
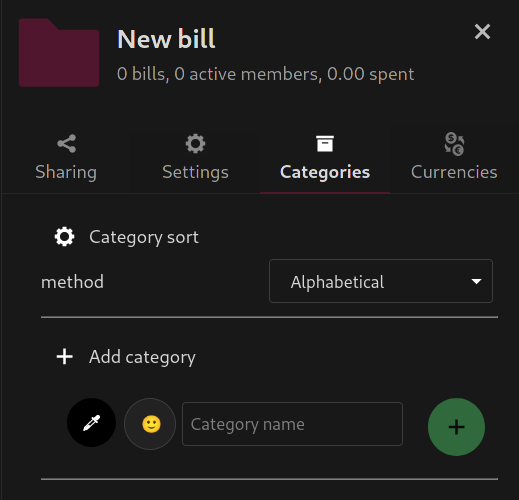
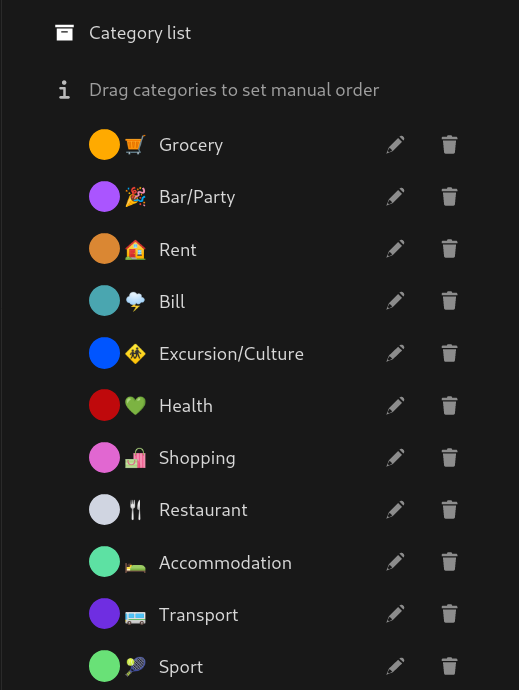
Categories
To get more organized, you can use the Categories tab options. Here you can add, edit, create and manage categories for your projects.
Currencies
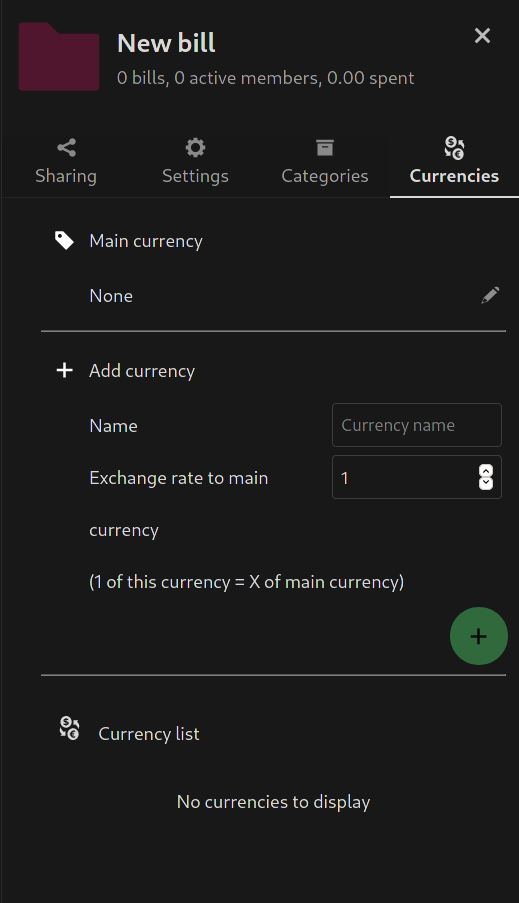
Here you can select a main currency, add a new one or set exchange rates.
