FEDisroot: Interface
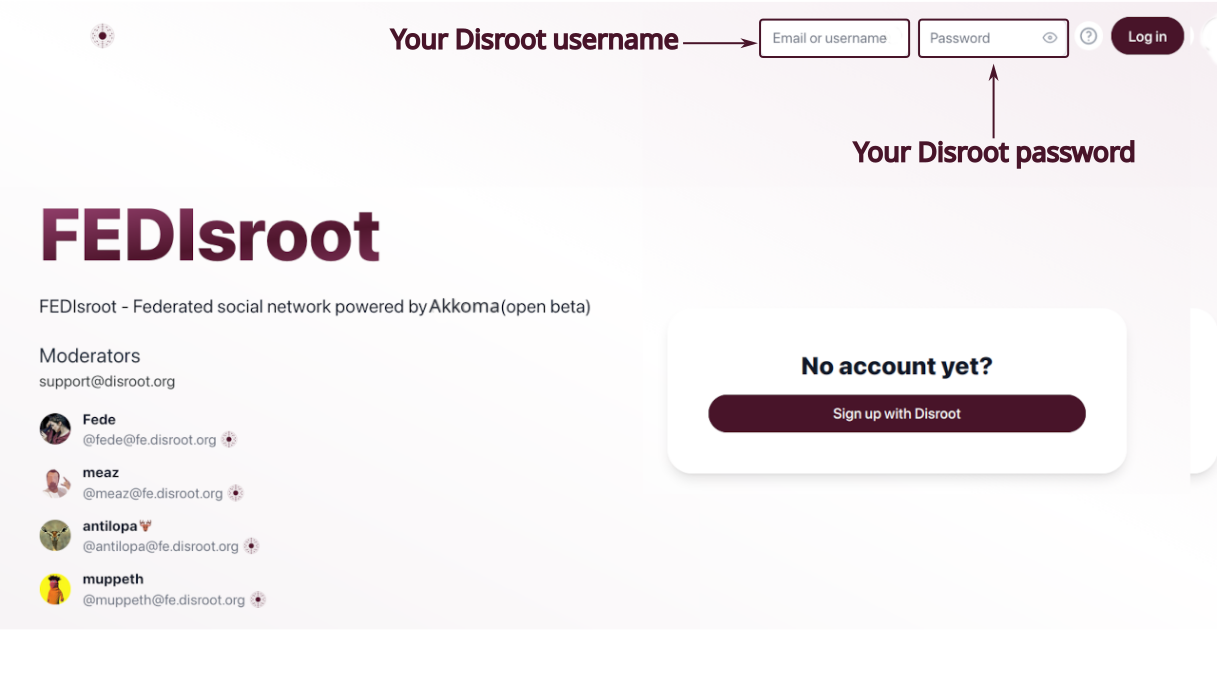
To access to FEDisroot we just need to enter our Disroot credentials.
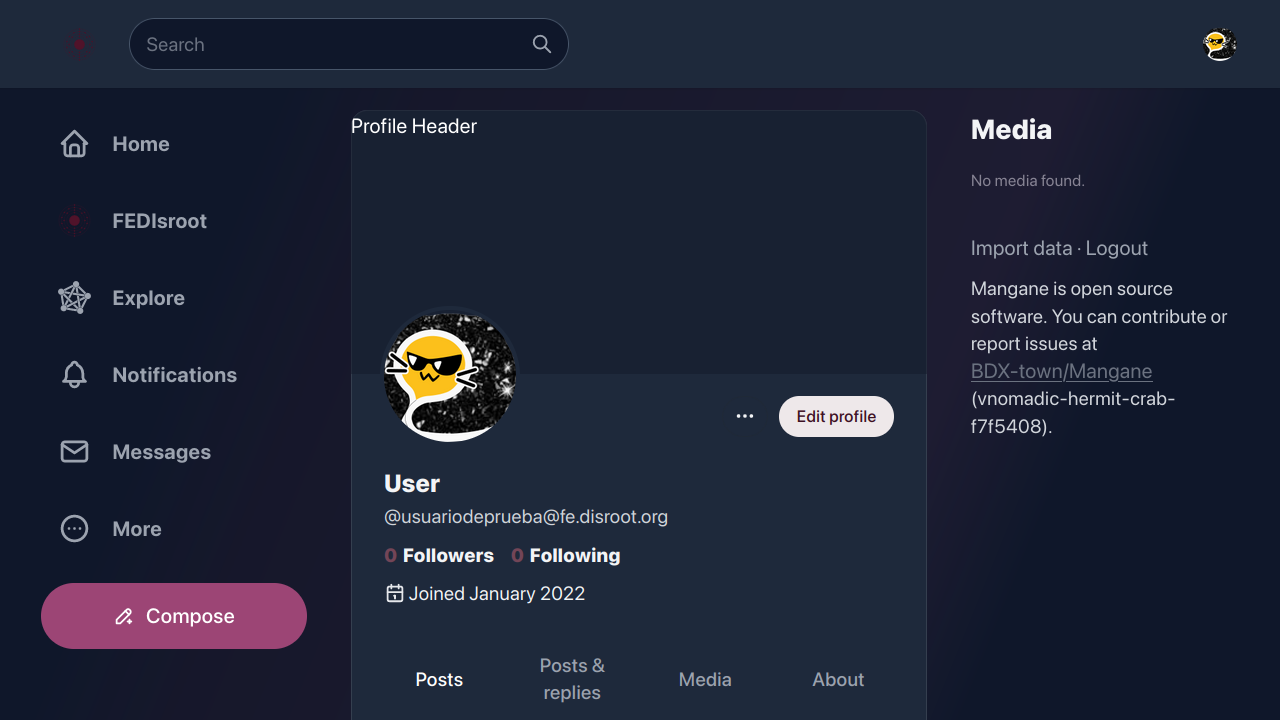
The first time we access FEDisroot we will find it quite empty.

Light theme is set by default. We can change it right away by clicking on our user icon and selecting one of the theme options.
OK. Let's start by getting familiar with the different parts of the interface so we will know how and where to move and what we can do.
The interface sections or panels are:
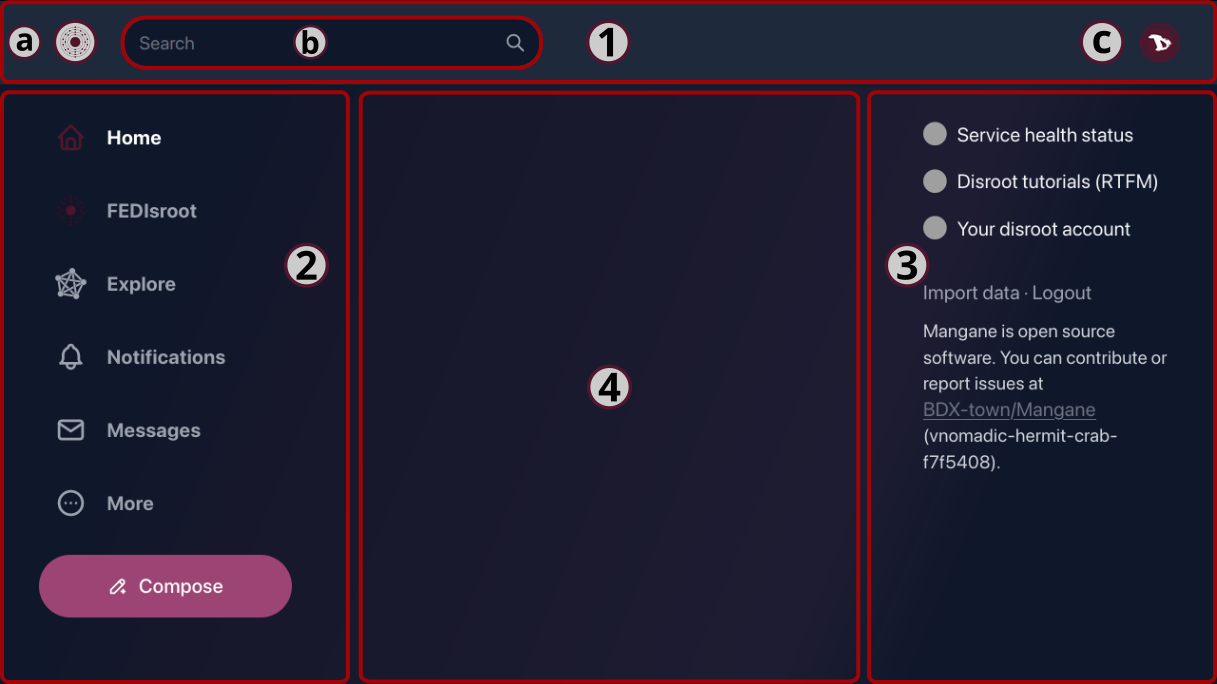
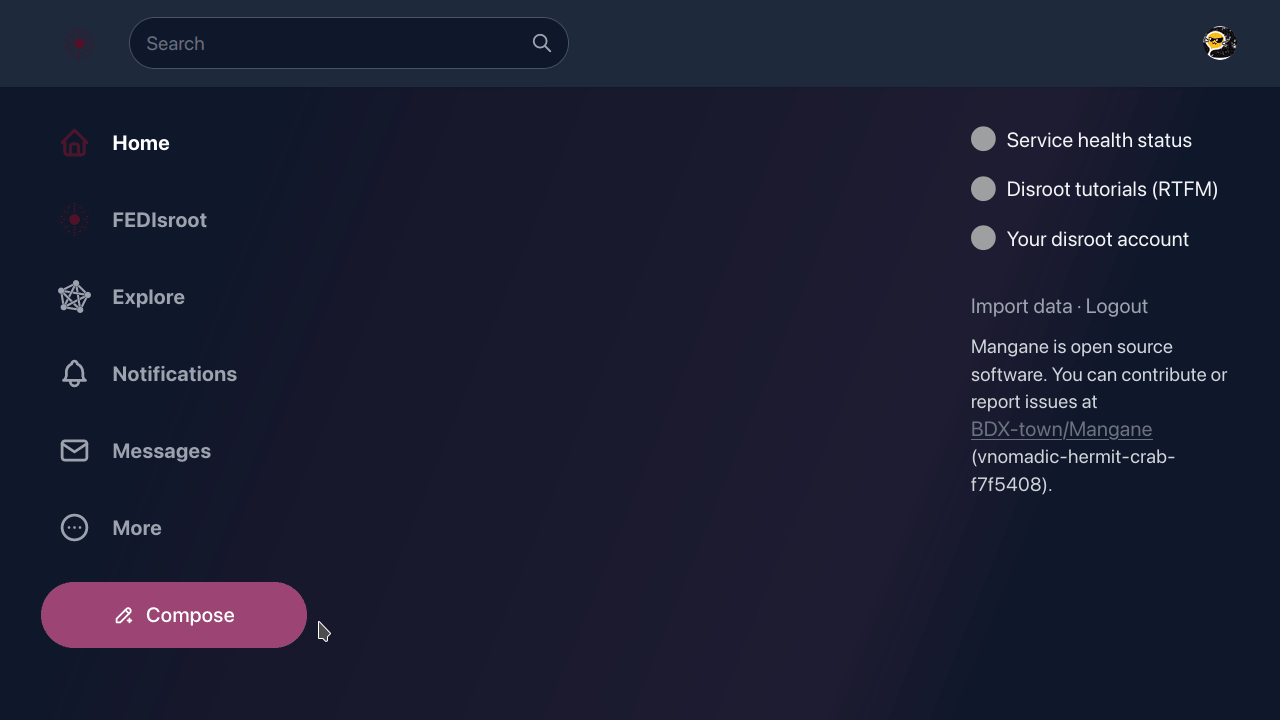
1. The top bar

At the left we will see:
-
a) the FEDisroot logo which acts like a "back to home" button from wherever we are;
-
b) the Search box from where we can, of course, search for People (users from the same or other instances), Posts (in other services these are called "toots") and Hashtags;
-
c) and at the right, the Profile button to see our profile page, switch the theme from light to dark; add another Disroot account or log out;
- the fisrt time we access our profile page it will most likely empty
clicking on the three dots button we access the profile and settings options (we will see them in detail later).
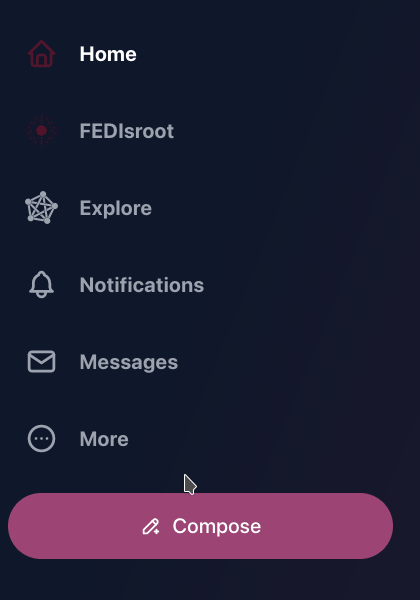
2. The left panel

In this panel we have:
-
the Home button: which works just like the FEDisroot logo we saw before;
-
the FEDisroot shortcut to our local timeline, the one that contains all posts and activities from our instance users;
-
the Explore shortcut to the Federated timeline, which shows the public posts from all the instances known by ours;
(In the Akkoma, Pleroma and Mastodon context, a timeline is the stream of posts either from the same instance we are or other instances which ours is federating with.)
-
the Notifications button, where we will receive an alert every time someone interacts with us, either by reacting to one of our post or by mentioning us;
-
the Messages shortcut to our inbox, where we can find the messages we send to and receive from other people;
-
the More button, to access to:
- our Direct messages,
- the Bookmarks, all the posts we have bookmarked;
- the Lists, our users list (we will see these features in the Interacting chapter);
- the Profile directory, where we can explore other users profiles;
- and to our profile Settings;
-
and finally the Compose button to open the post editor and write some content.
In the Settings chapter we will see how to edit our profile and general settings.
2.1 The post editor
To post something, we can just start writing here. We can attach files, insert emojis, add polls, adjust the post privacy, to schedule a post, add a content warning and enable/disable the Markdown format (we will see this in detail in the Interacting chapter).
3. The right panel
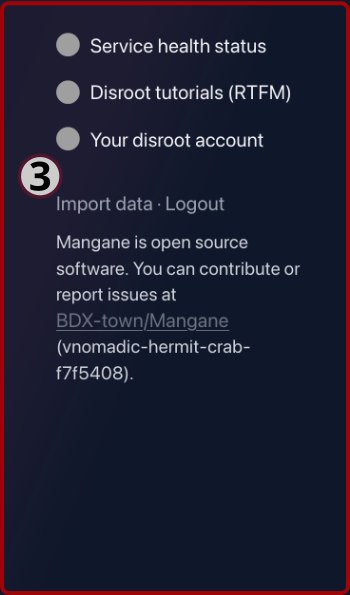
In this panel we have shortcuts to:
- the Service health status where we can check if the services are working fine or there is some problem with some of them;
- the Disroot tutorials (RTFM) where we can find tutorials, guides and settings of the different services;
- Your Disroot account to access your Disroot account settings.
We will also find the Import data option here. It allows us to export or import a list of people we follow and block. We cannot import or export content (our posts).
Finally, the Logout option to close the current session.
4. The Home timeline
This is the timeline where the posts and activities of the people we follow will appear.
Since we did not have any activity yet, it will look empty at the beginning. After a few interactions it will start to be populated of content from people we follow.
More in the Interacting chapter.
Ok, now that we took a general look at FEDisroot's interface, we can start setting it up, customize some things and use it.
