
Appointments
Let's suppose we give daily computer courses, we need to organize an event or any other activity for which it is necessary not only for people to be able to choose the time slot that suits them best, but also confirm their presence in advance. Appointments is a simple and very useful scheduling application that integrates with the Calendar to perform this task quickly, reliably and that helps us to stay organized with our time.
We can book appointments into our Disroot Calendar via secure online form and attendees can confirm or cancel their appointments via an email link.
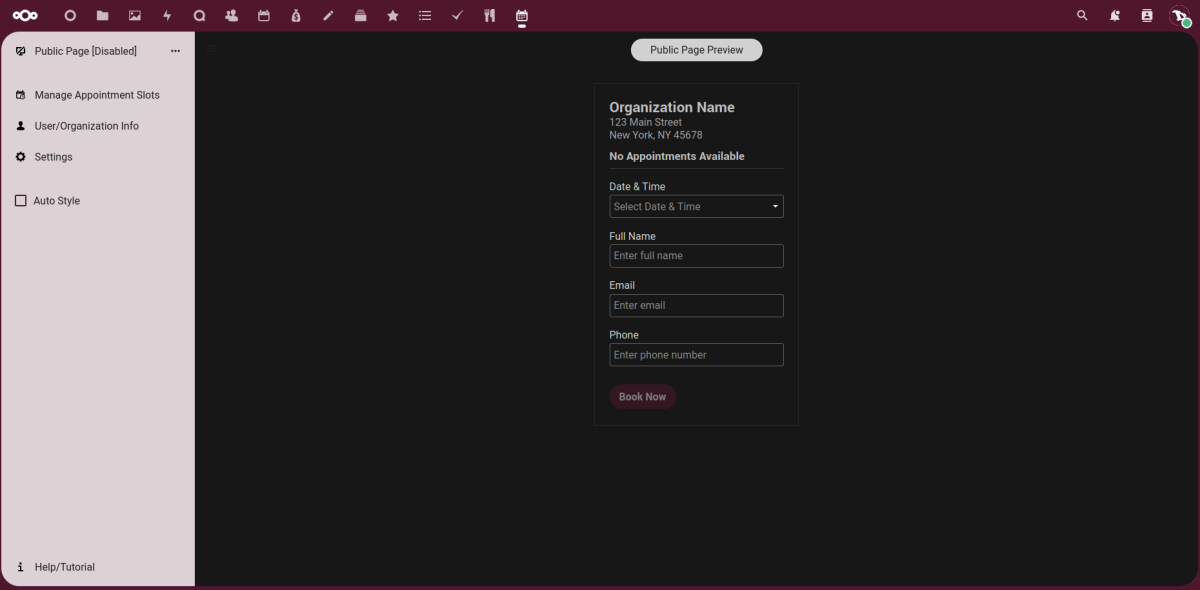
The first time we use Appointments it will look something like this:
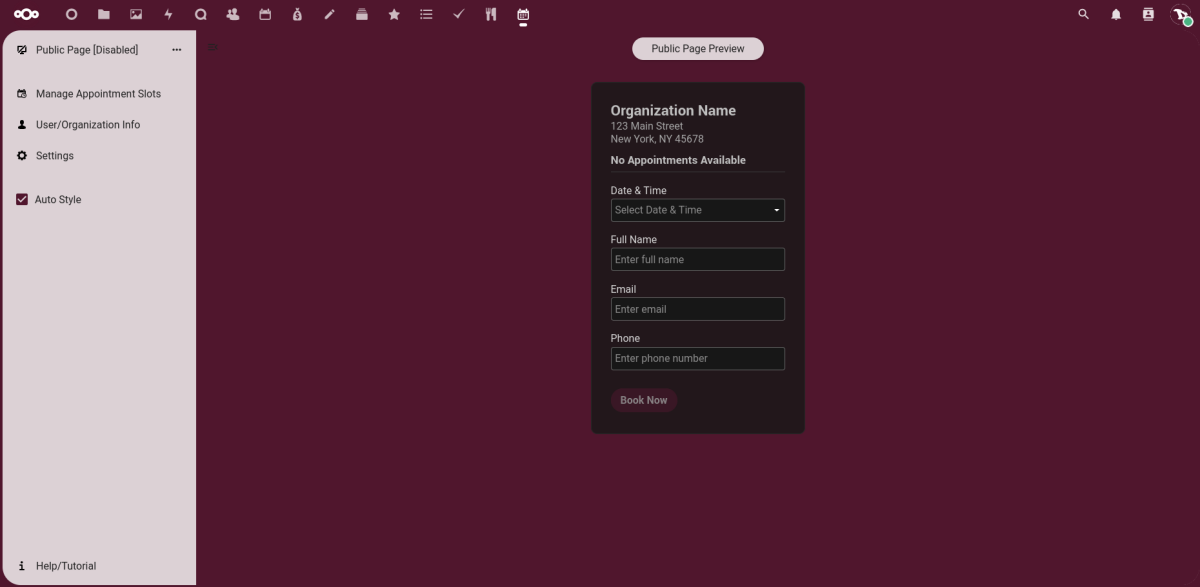
But we can customize it. One thing we can do right away is check the Auto Style option in the left sidebar to enable Disroot's style.
Let's take a look at its basic operation and, probably, find out how to adapt it to other new use cases.
Create an appointment calendar
Step 1: Add our contact information
We click on User/Organization Info...
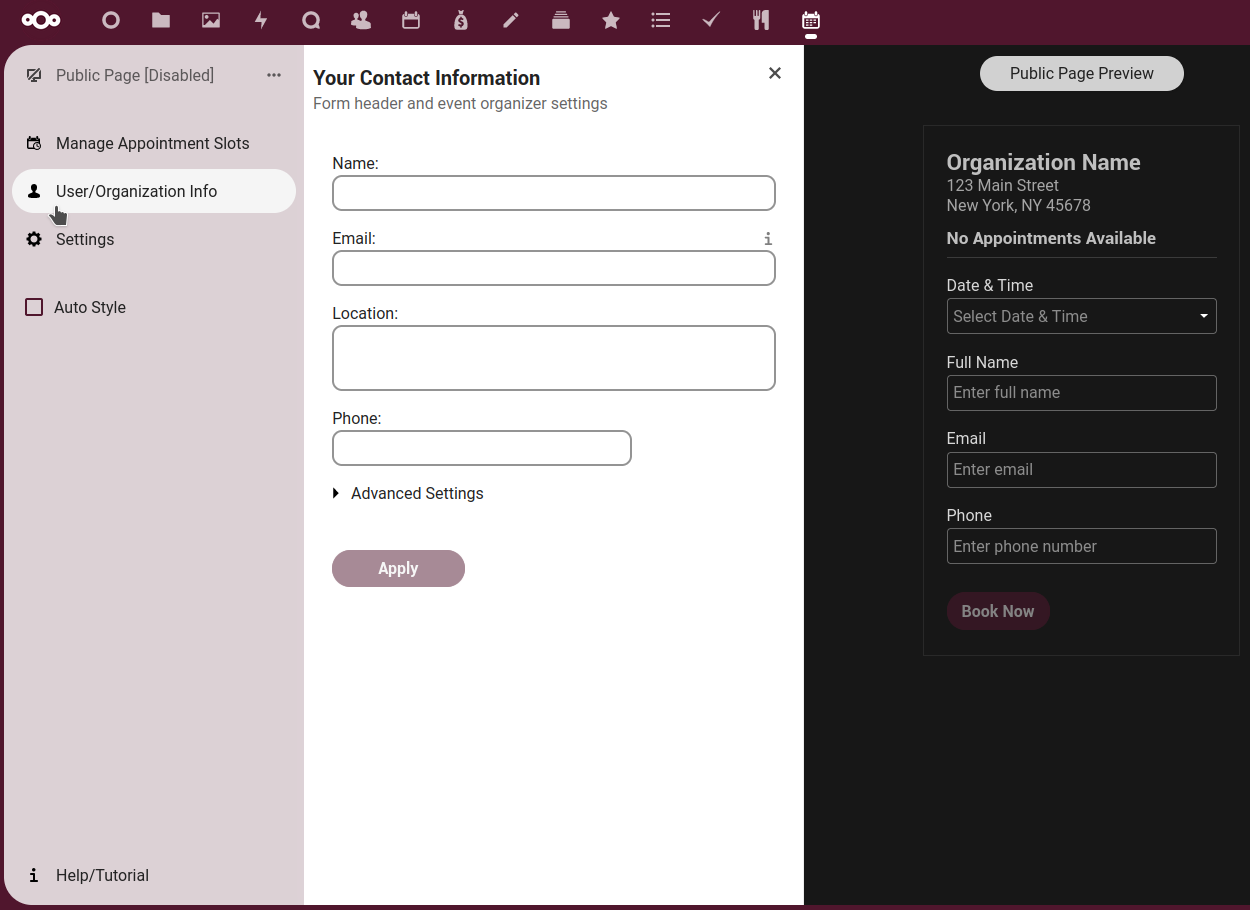
... and complete the following fields:
- Name: of our organization, project, company, etc.
- Email: the contact email address for our project, in this case our Disroot email.
- Location: we can add where the event will take place.
- Phone: we can also provide a contact phone number.
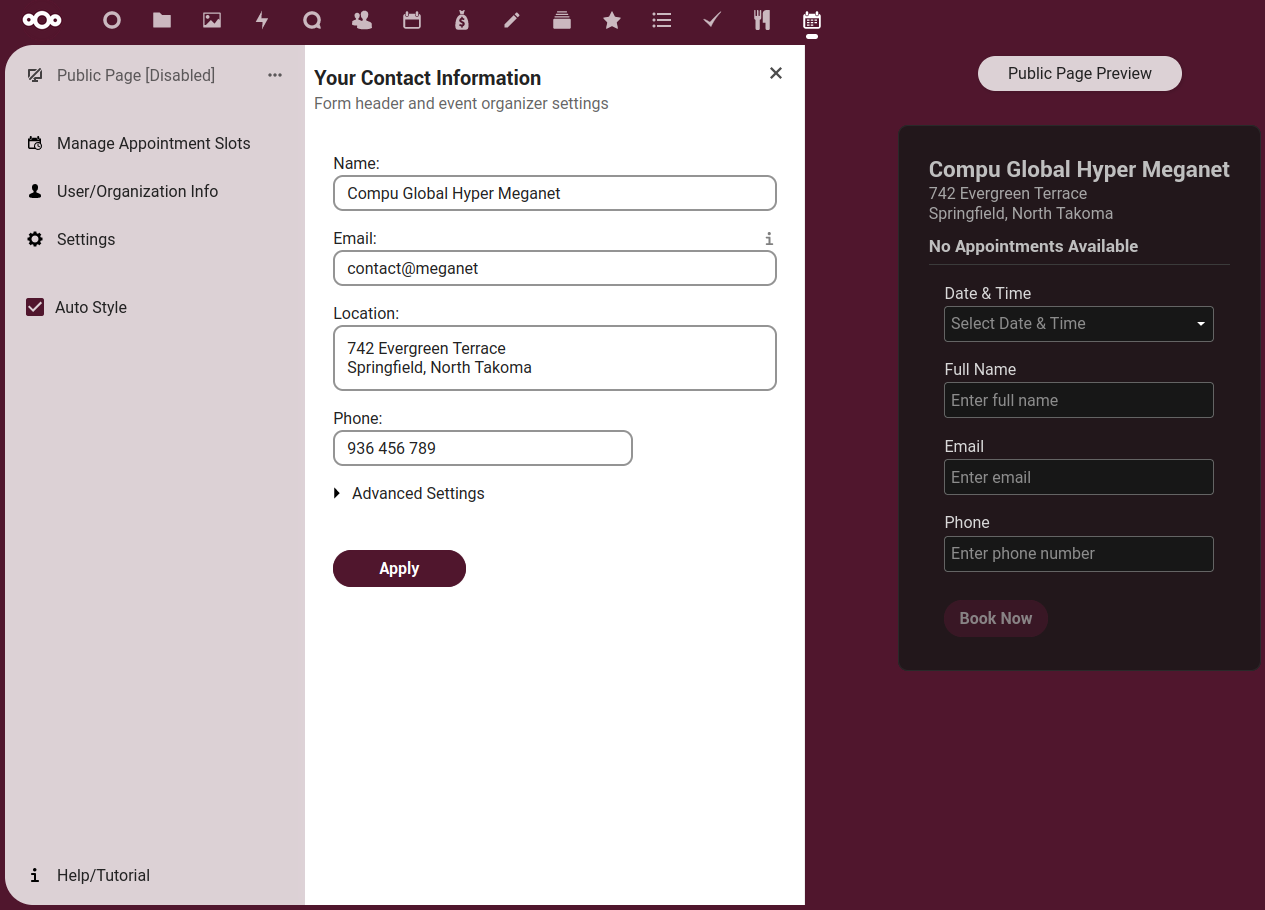
When we are done, we click on Apply and we can see on the right the preview of our appointment page.
Step 2: create a new calendar
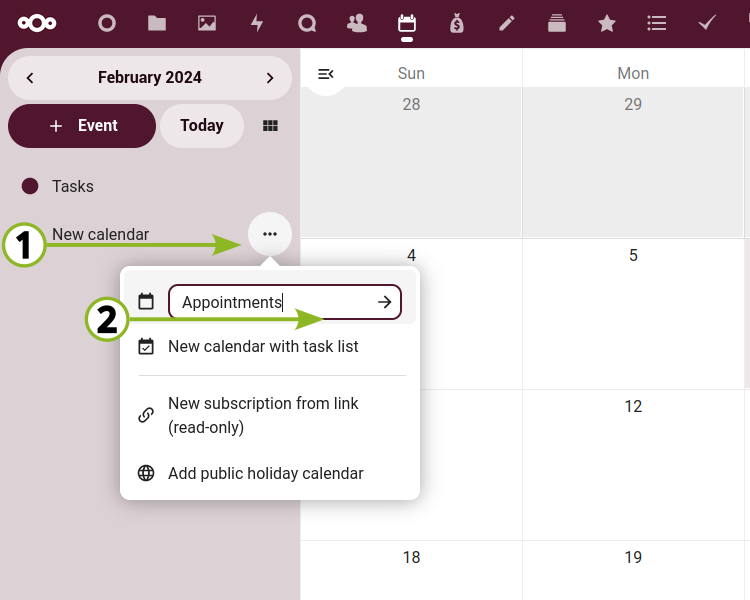
We need to create a separate calendar for the online appointments booked. To do this, we go to the Calendar and click on + New Calendar, type the name of the calendar and press enter or click on the right arrow icon.
Now we have to choose that calendar in Appointments.
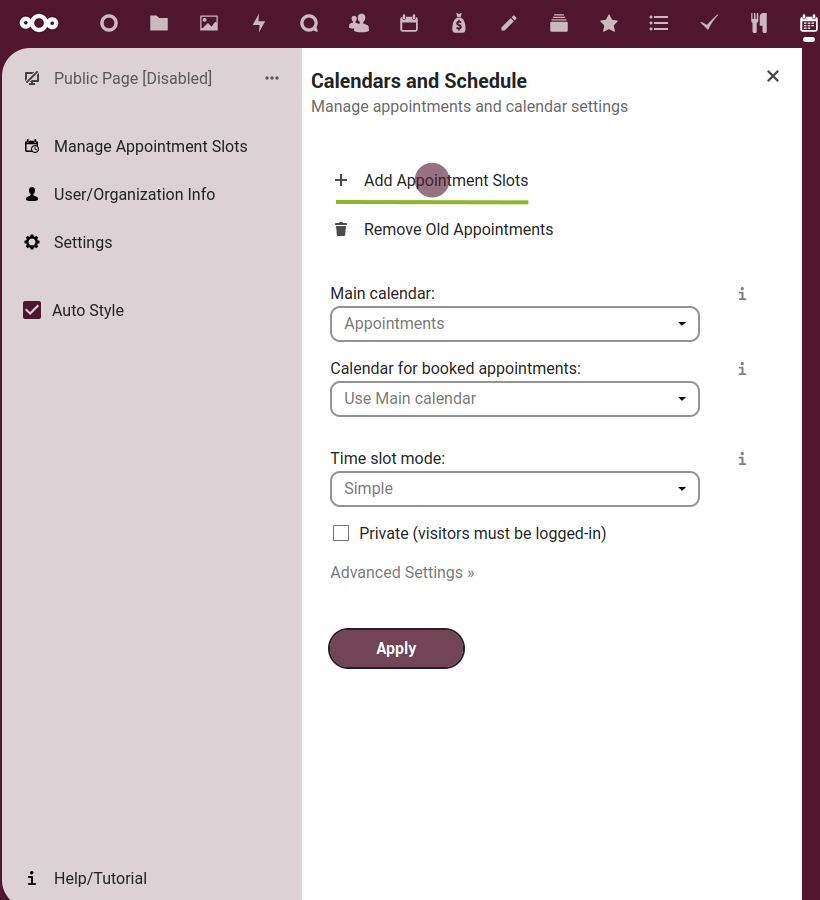
Step 3: select and adjust the calendar
For the purposes of this guide we will see how to create an appointment book in the Simple Mode.
- We select Manage Appointments Slots and then,
- in the Time slot mode dropdown menu we select Simple.

- Here we have some options to check.
- Check for conflicts in…, in case we have more than one calendar, this option verifies that they do not conflict with dates and times.
- Booked Appointment Buffers, here we can "block" a period of time before and/or after a scheduled appointment and the next one, e.g. to prepare for the next meeting or to take a break.
- Time slot mode
- Weekly Template: this mode allows us to set a weekly template and it will be repeated automatically.
- Simple: this mode uses provided "Add Appointment Slots" dialog to add "available" time slots. It doens't support recurrence.
- External: this mode uses Cloud's Calendar app or any other CalDAV compatible client to add "available" timeslots. Most recurrence rules are supported in this mode. Two calendars are required: a "Source Calendar" to keep track of your availability timeslots and a "Destination Calendar" for booked appointments.
- Private: if enabled, attendees will be required to be logged in.
In this same panel we also have the Advanced Settings.
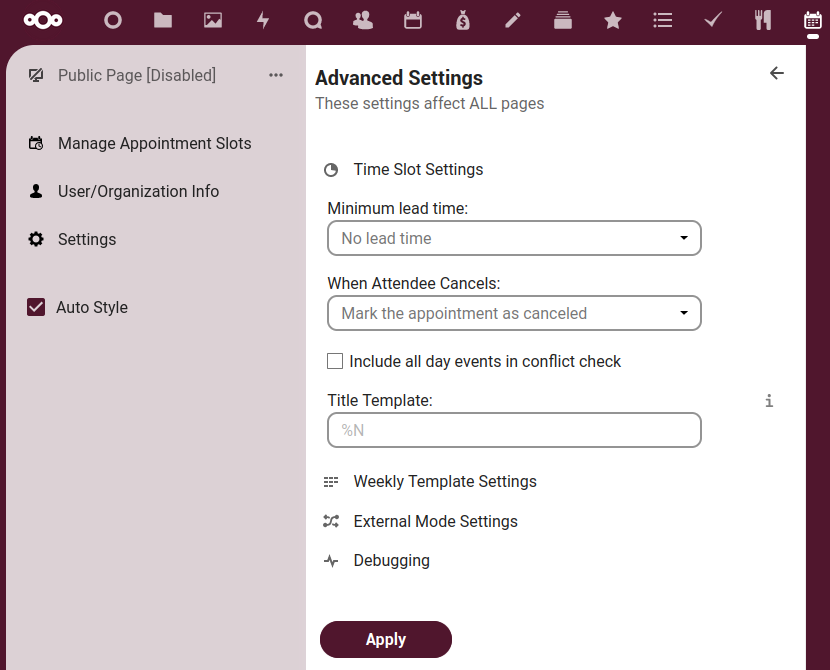
Here we can:
-
set the Minimum lead time;
-
set what's next When Attendee Cancels;
-
include or not all day events in conflict check;
-
customize the Title Template, for which the following template tokens can be used:
- %N: attendee name,
- %O: Organization Name,
- %P: Page Tag,
- %T: Mask Token (first three letters of name + semi-random token);
-
set the subscriptions sync interval in the Weekly Template Settings;
-
adjust the External Mode Settings.
- Optimize recurrence: if recurrent events are used in the "Source Calendar" the start date will be pushed forward once in a while in order to improve performance;
- Require "Appointment" category: when this option is set only events with "Category" set to "Appointment" (in English) will be considered;
- Auto-fix "Source" timeslots: some calendar apps do not allow users to set Free/Busy parameter, resulting in timeslots not being available for booking. If this option is enabled AND the first character of the Description/Notes is "_" then the Free/Busy will be set to "Free" and "Appointment" category will be added automatically when a new event is created in the "Source" calendar;
-
Debugging: here we can
- get the Settings Dump;
- Get the raw data of a given calendar;
- Sync remote calendar now in case we have a remote calendar configured; and
- Log remote blockers.
Once we finish we click on Apply and the + Add Appointments Slots option will be enabled.
Step 4: Adding appointment slots
By clicking on the + Add Appointments Slots option we will access to the appointments book where we will be able to add and configure the appointment slots, their duration, dates, etc.
We click on the three-dots menu at the right of a day, we enter the time slots we need, their duration, a title and click on Add to Calendar.
Now we can check that the appointments slots were added to our calendar.
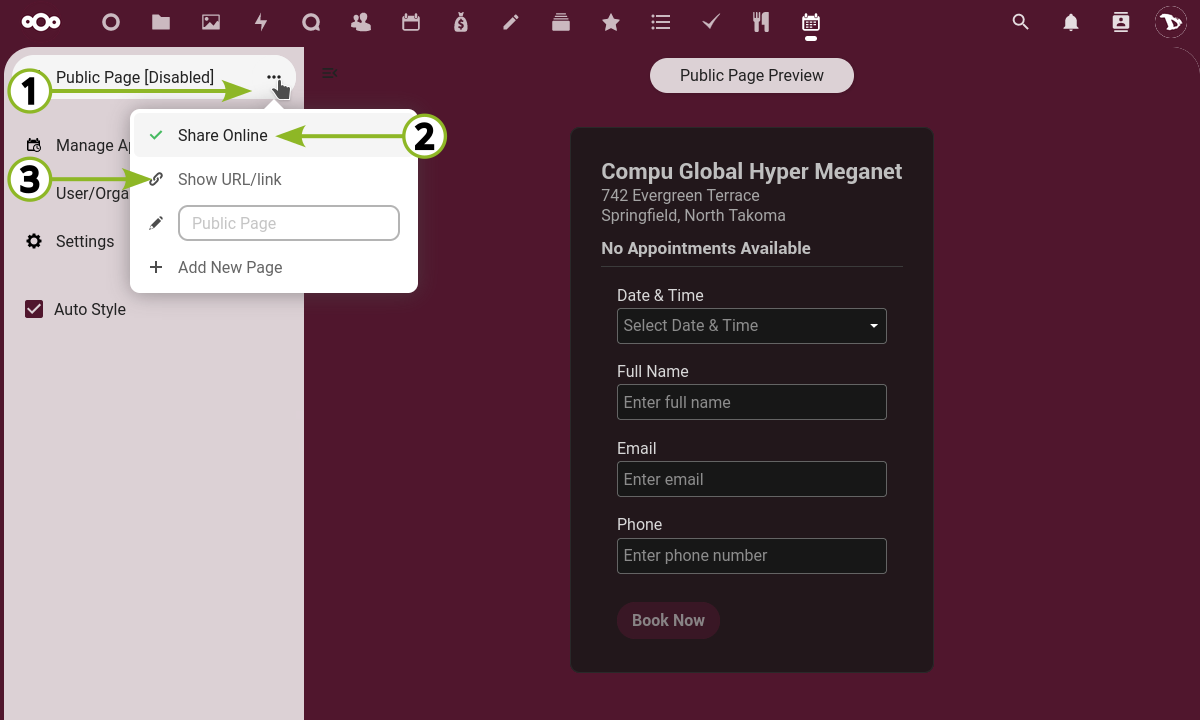
Step 5: Enable our Appointments book.
This is the last step. We need to enable the appointments form we just created so that people can schedule an appointment.
To do this, we go to the Public Page option and click Share Online. Now we can share it via email, Talk or embedded on a webpage.
Settings

-
Customize Public Page: where we can
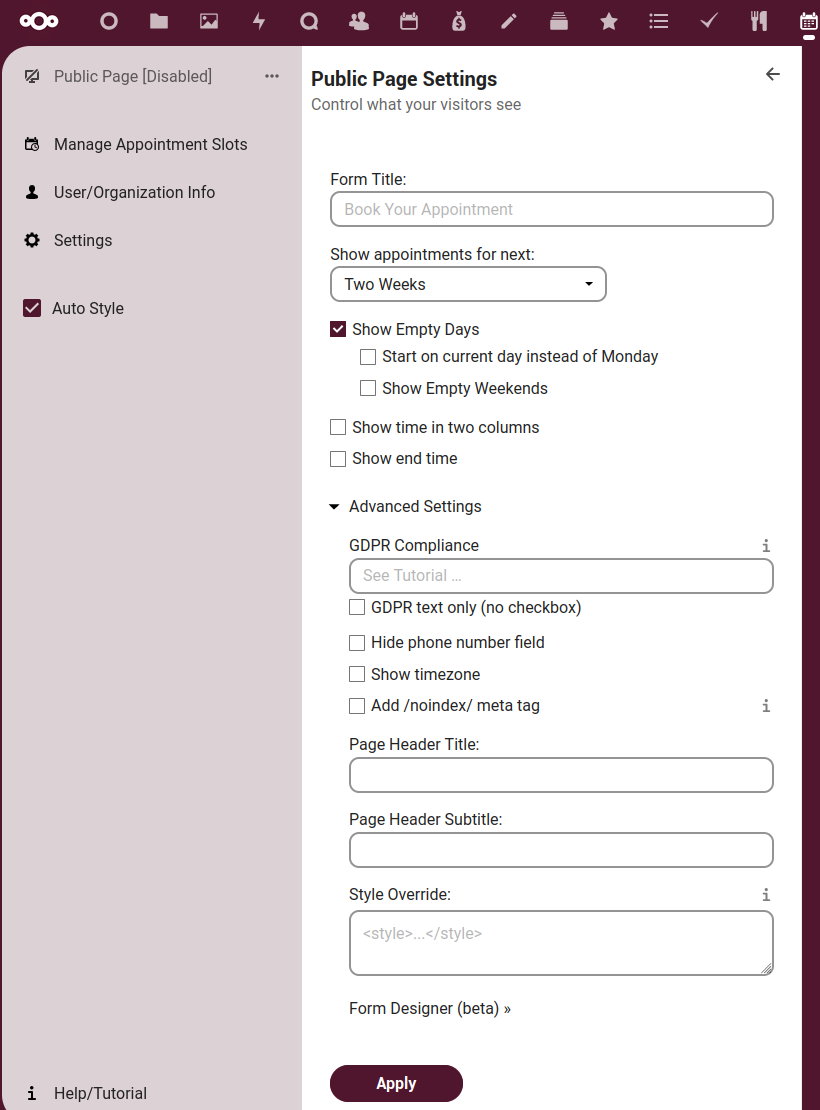
- add a title to our appointments page;
- select to Show appointments for a specific amount of time;
- to Show Empty Days;
- to Show time in two columns, and
- to Show end time.
Also in this panel we have the Advanced Settings:
- GDPR Compliance: any text in this field will trigger display of the "GDPR" check box. The checkbox can be hidden when GDPR text only (no checkbox) option is checked.
A check box with plain text (no html) or any html/links without a checkbox will work as is. However, if we need to have a check and html or a link to our privacy policy, please read here. - GDPR text only (no checkbox) to hide the checkbox.
- Hide the phone number field.
- Show timezone.
- Add /noindex/ meta tag:
noindexis a rule set with either a<meta>tag or HTTP response header to prevent indexing content by search engines that support the noindex rule, such as Google. - Page Header Title.
- Page Header Subtitle.
- Style Override: it allows us to insert custom
<style> </style>element to override default page style. - Form Designer (beta): to add a JSON object setting that renders as HTML in the form to be able to add some more information in a textbox, for example.
-
Email settings: to configure email and notifications.
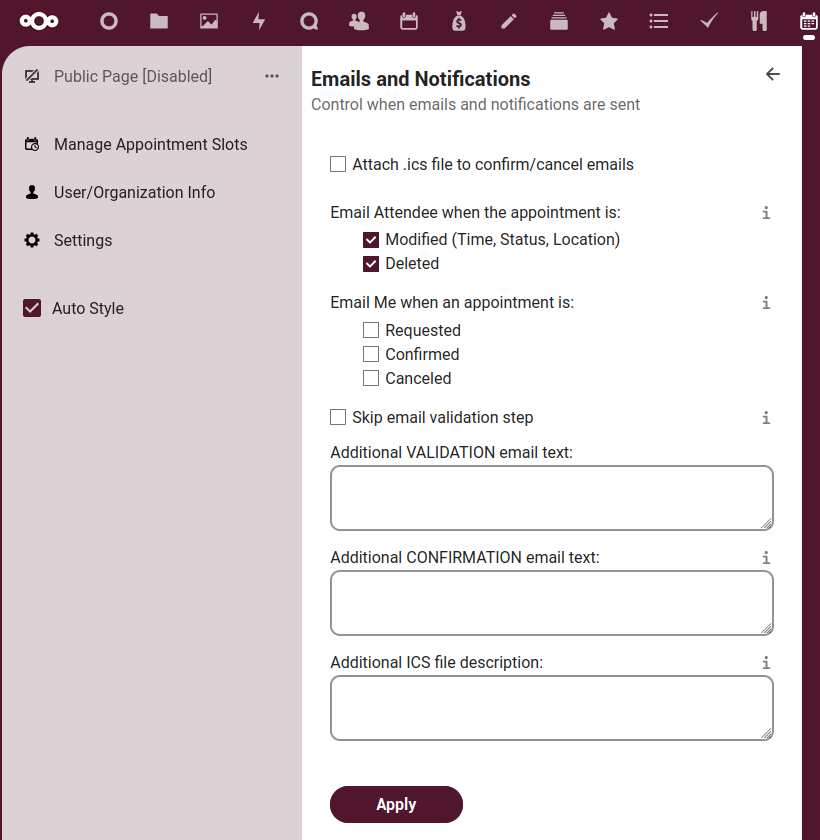
- Attach .ics file to confirm/cancel emails: it is a file that contains information such as the name of the event, location, start time, end time and/or a short summary of the scheduled talking points. When the file is open with a calendar app (that support this format) it will import it into our calendar.
- Email Attendee when the appointment is
- Modified (Time, Status, Location): attendees will be notified via email when their upcoming appointments are updated in the calendar app or via some other external mechanism. Only changes to Date/Time, Status or Location will trigger the "Modified" notification.
- Email Me when an appointment is: a notification email will be sent to us when an appointment is booked via the public page or an upcoming appointment is confirmed or canceled via the email links.
- Skip email validation step: when this option is selected the "... action needed" validation email will NOT be sent to the attendee. Instead the "... Appointment is confirmed" message is going to be sent right away, and the "All done" page is going to be shown when the form is submitted.
- Additional Email Text: this text is appended as paragraph to the end of VALIDATION and CONFIRMATION emails. Currently only plain text is allowed, HTML will be escaped.
- Additional ICS file description: this text (no HTML) will be appended to the end of the event's DESCRIPTION property.
-
Talk Integration: Talk rooms/conversations can be automatically created when an appointment is confirmed. FLOATING timezones are not supported.
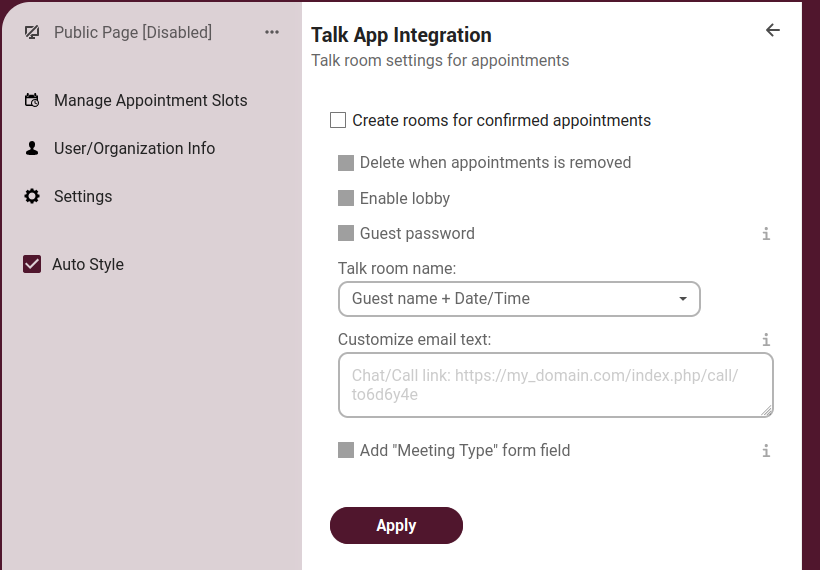
Here we have some room settings for appointments.
- Create rooms for confirmed appointments:
- Delete when appointment is removed
- Enable lobby (Contributor Feature)
- Guest password (Contributor Feature)
- Talk room name (Contributor Feature)
- Customize email text (Contributor Feature)
- Add "Meeting Type" form field (Contributor Feature)
Contributor features can be unlocked by obtaining a contributor key in any of the following ways:
- Contribute any amount to this app development or sponsor a feature over at the app Funding page.
- Contribute code via a pull request on developer GitHub.
- Contact the developer if none of the above methods works for us.
- Reminders: to send appointment reminders to attendees.
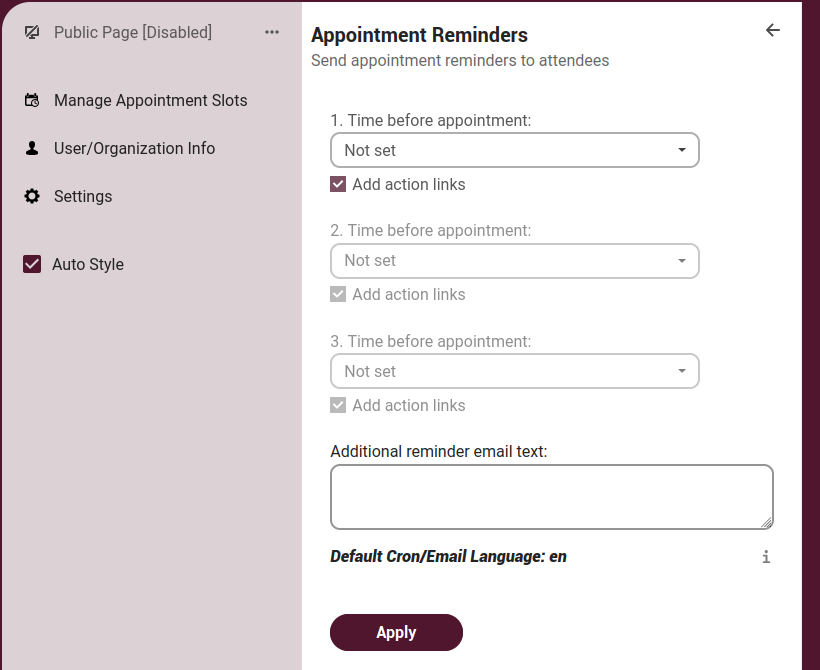
- 1. Time before appointment (Contributor Feature)
- 2. Time before appointment (Contributor Feature)
- 3. Time before appointment (Contributor Feature)
- Additional reminder email text (Contributor Feature)
- Default Cron/Email Language: en: the
default_languagesetting for internal calls which is English by default and it might be different than the language selected in our user preferences.
-
Advanced Settings: we already saw these options in the Step 3: select and adjust the calendar above.
-
Contributor key: to enter the code to unlock the Contributor features that were mentioned above.
How does it work on the attendee side?
Once our appointment form is enabled and we have shared its address, people will be able to make an appointment in two simple steps.
- When they access the page they will see the form to complete.
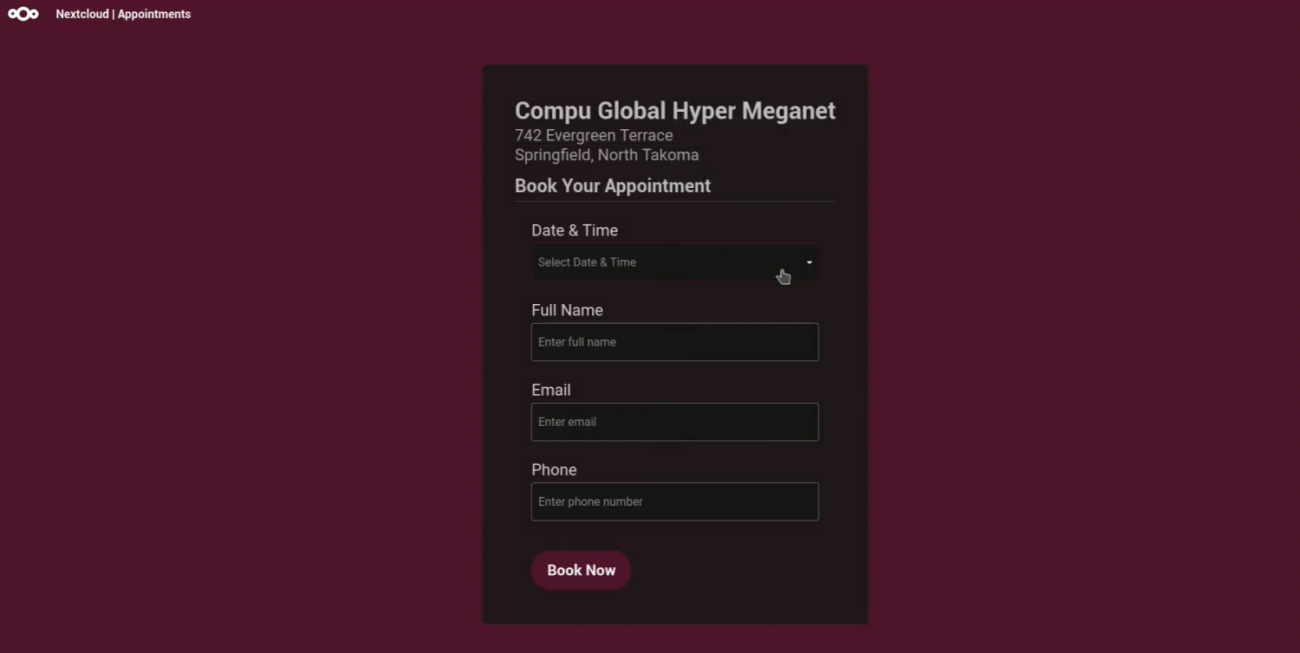
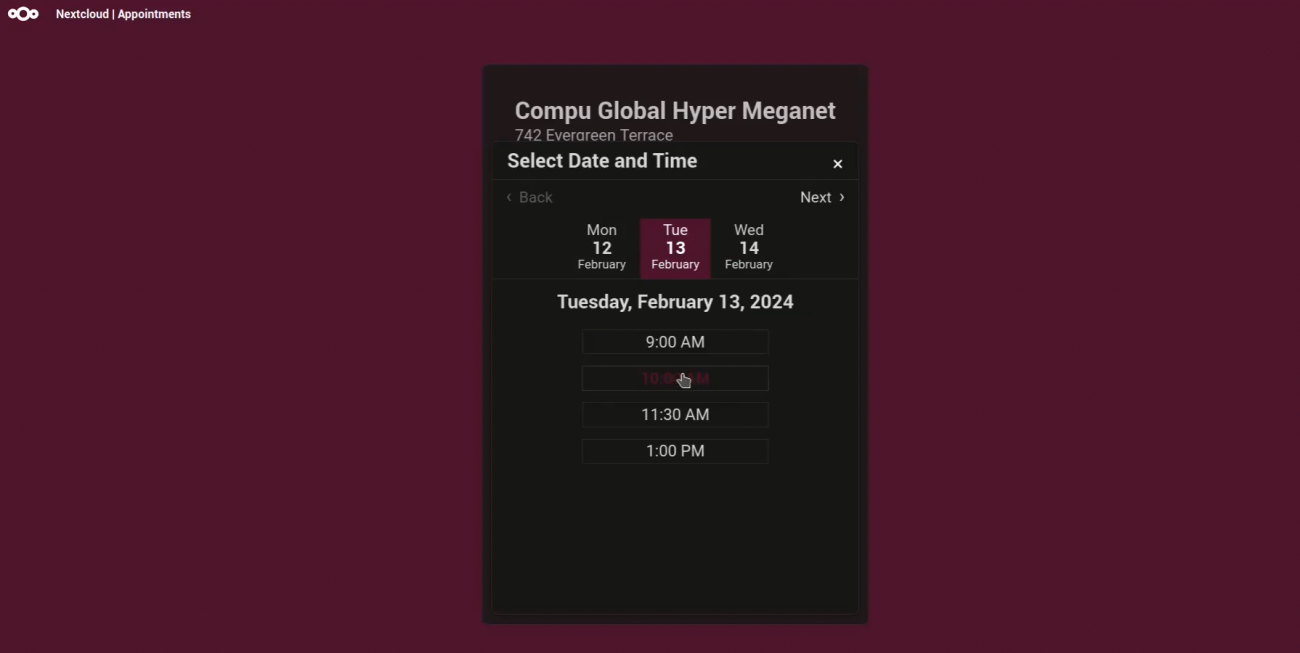
They just need to select the date and the time that suits them best...
... their names, an email, a phone number and finally click on Book Now.
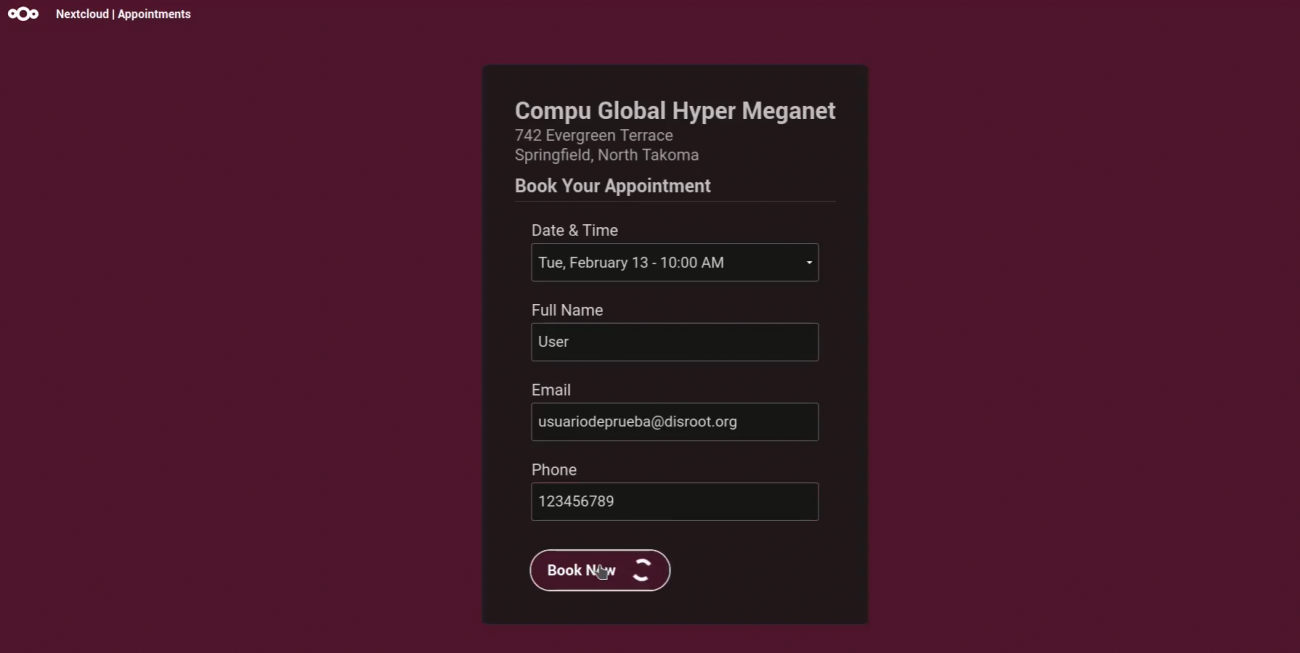
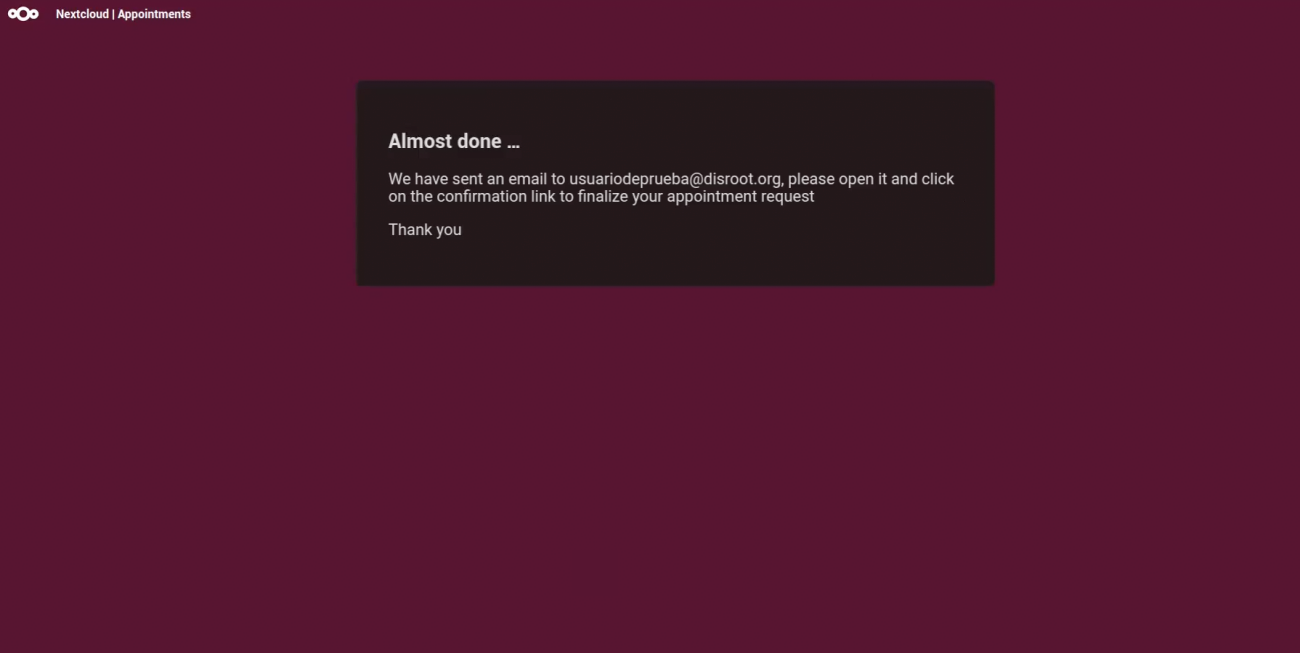
Attendees then will see a message informing them that an email has been sent to confirm and complete the request.
- Attendees will receive a confirmation email.
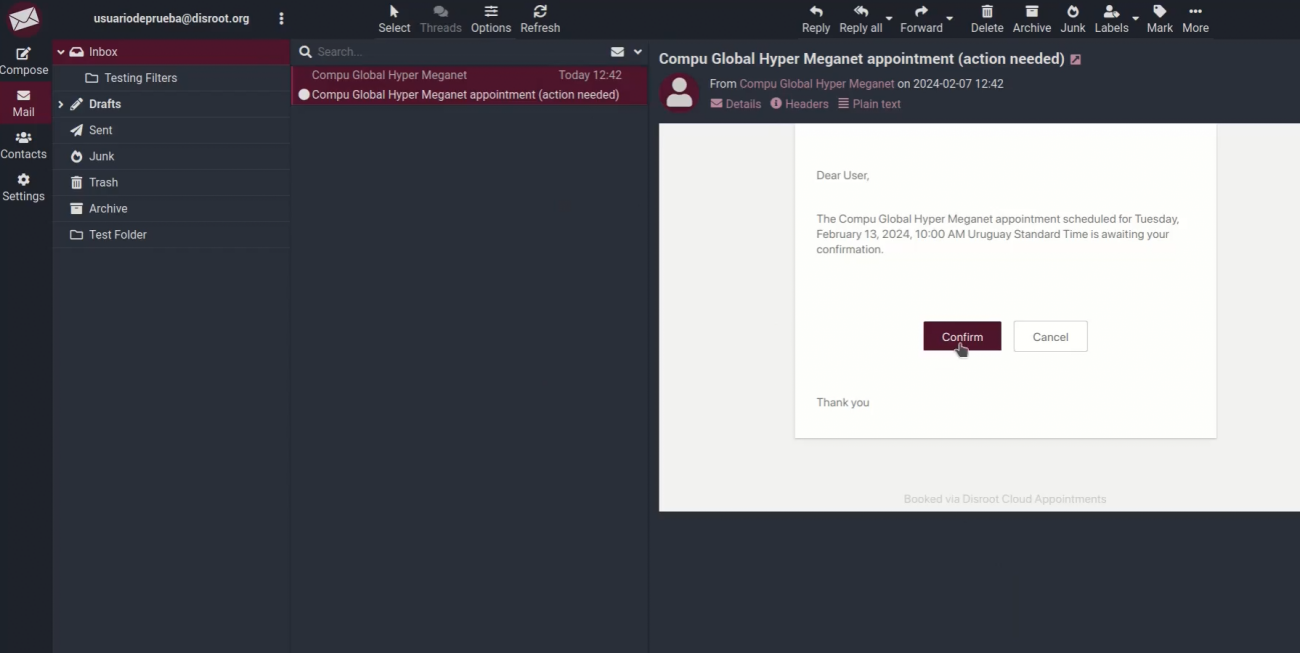
Clicking on the Confirm button of the email, they will be redirected to the confirmation page to do so.
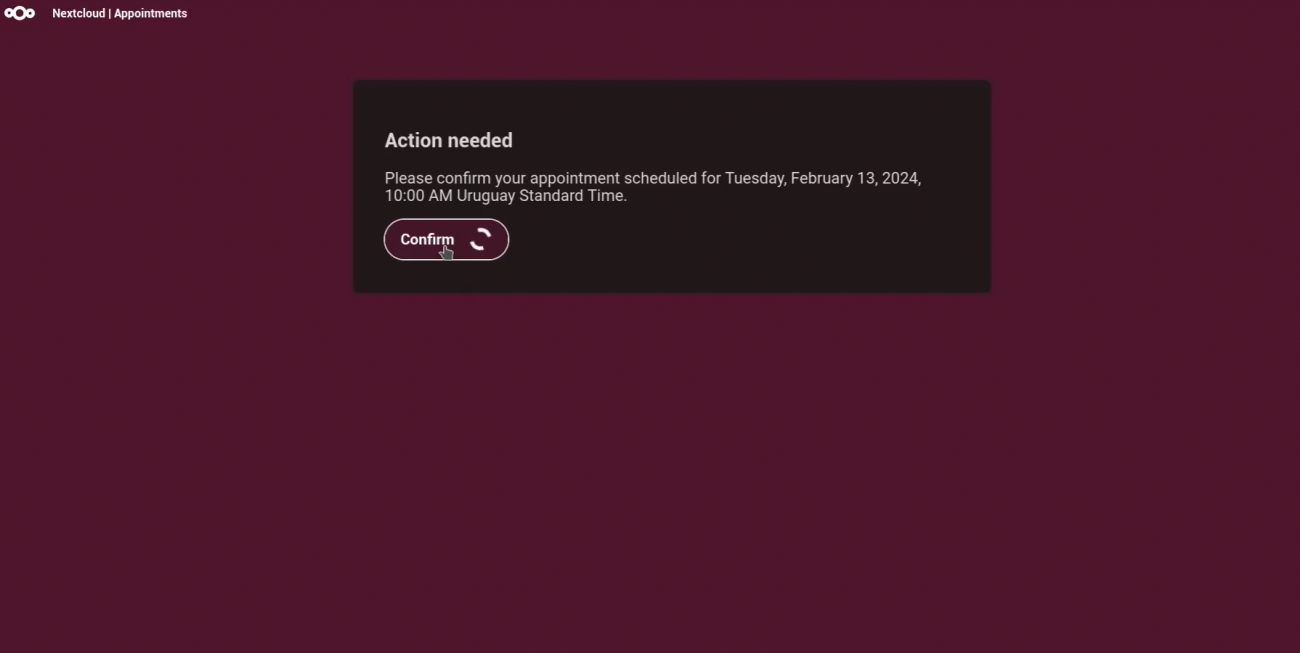
And that is the last step.
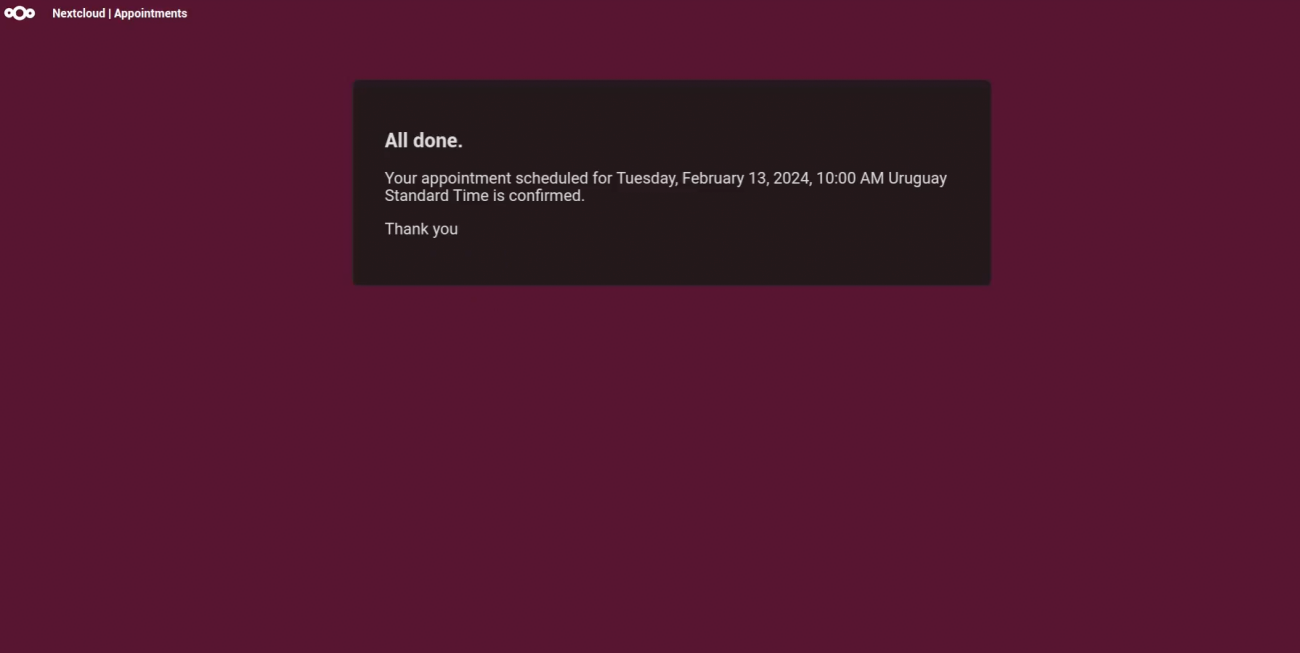
They will receive a final email informing them that the appointment was successfully booked.
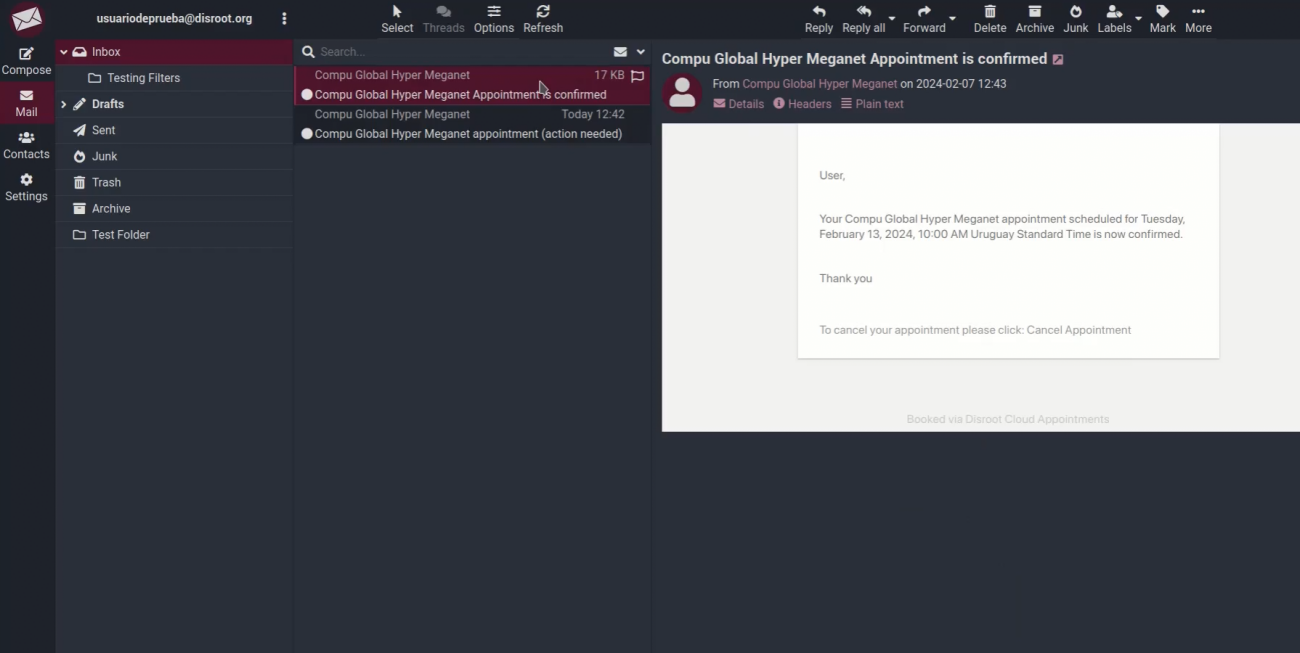
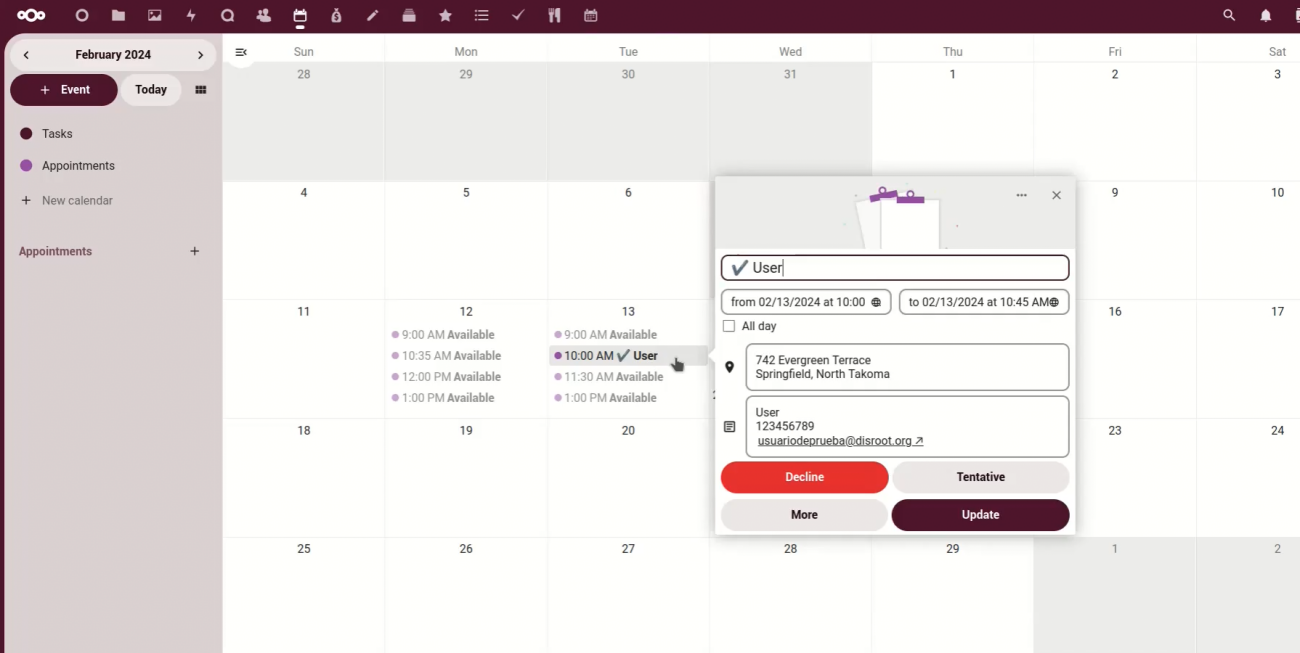
The next time we check our calendar we will see the confirmed appointments.
And that's it. \o/
Of course, this is a very basic manual, it is up to us to investigate and review its many settings and options and adapt it to our needs. Here we can learn more about it:
https://cloud.disroot.org/apps/appointments/
If you know of examples of use that may be useful to others and want to share them, you can contact us through our XMPP room (howto@chat.disroot.org) or via our git repository (https://git.disroot.org/Disroot/Howto).
