About FairEmail
FairEmail, created by Marcel Bokhorst, the developer of NetGuard and XPrivacyLua, is a free, open source and feature rich mail client for android. Concerning *FLOSS, FairEmail, just like K-9 Mail, surely is one of the most popular email clients for Android. Some features and advantages:
- works with IMAP and POP3
- folder synchronisation
- privacy by design
- GPG/PGP encryption with OpenKeyChain support (thus autocrypt capable)
- Plaintext diplay, removes HTML, scripts, styles and tracking pixel already before reading the email
- low memory and battery consumption
- material design (incl. dark & black design)
- sending bug reports only after opt-in
- no tracking, no analytics
- opening links, images and attachments only after confirmation (with security check)
- regular updates and maintenance, active support
In this tutorial you will learn, how to setup your Disroot Account in FairEmail.
Installing FairEmail
At first you need to install FairEmail on your Smartphone. We highly recommend you to use F-Droid store. F-Droid is a store that hosts only free and open source apps. Of course you can also download FairEmail via G'*****'-Playstore.
Set up FairEmail
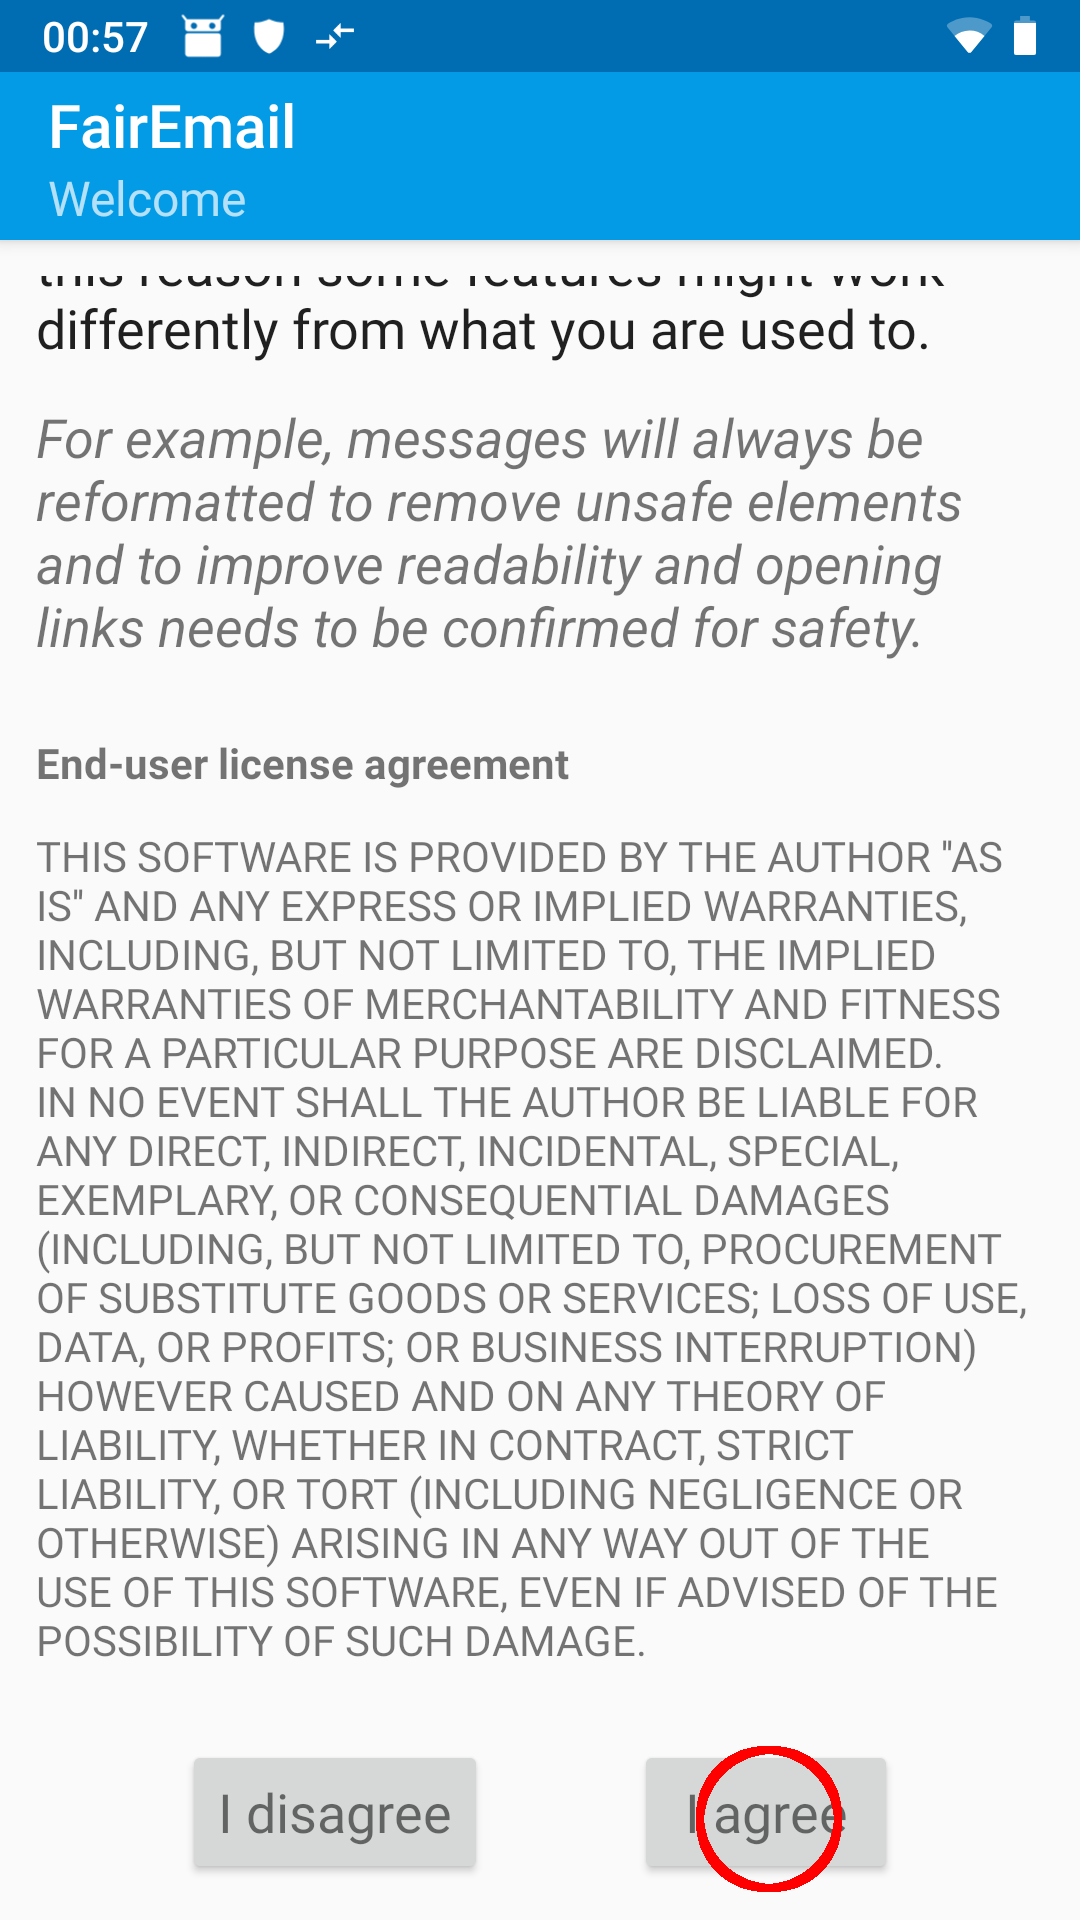
When you start the app for the first time, you need to accept the license agreement.
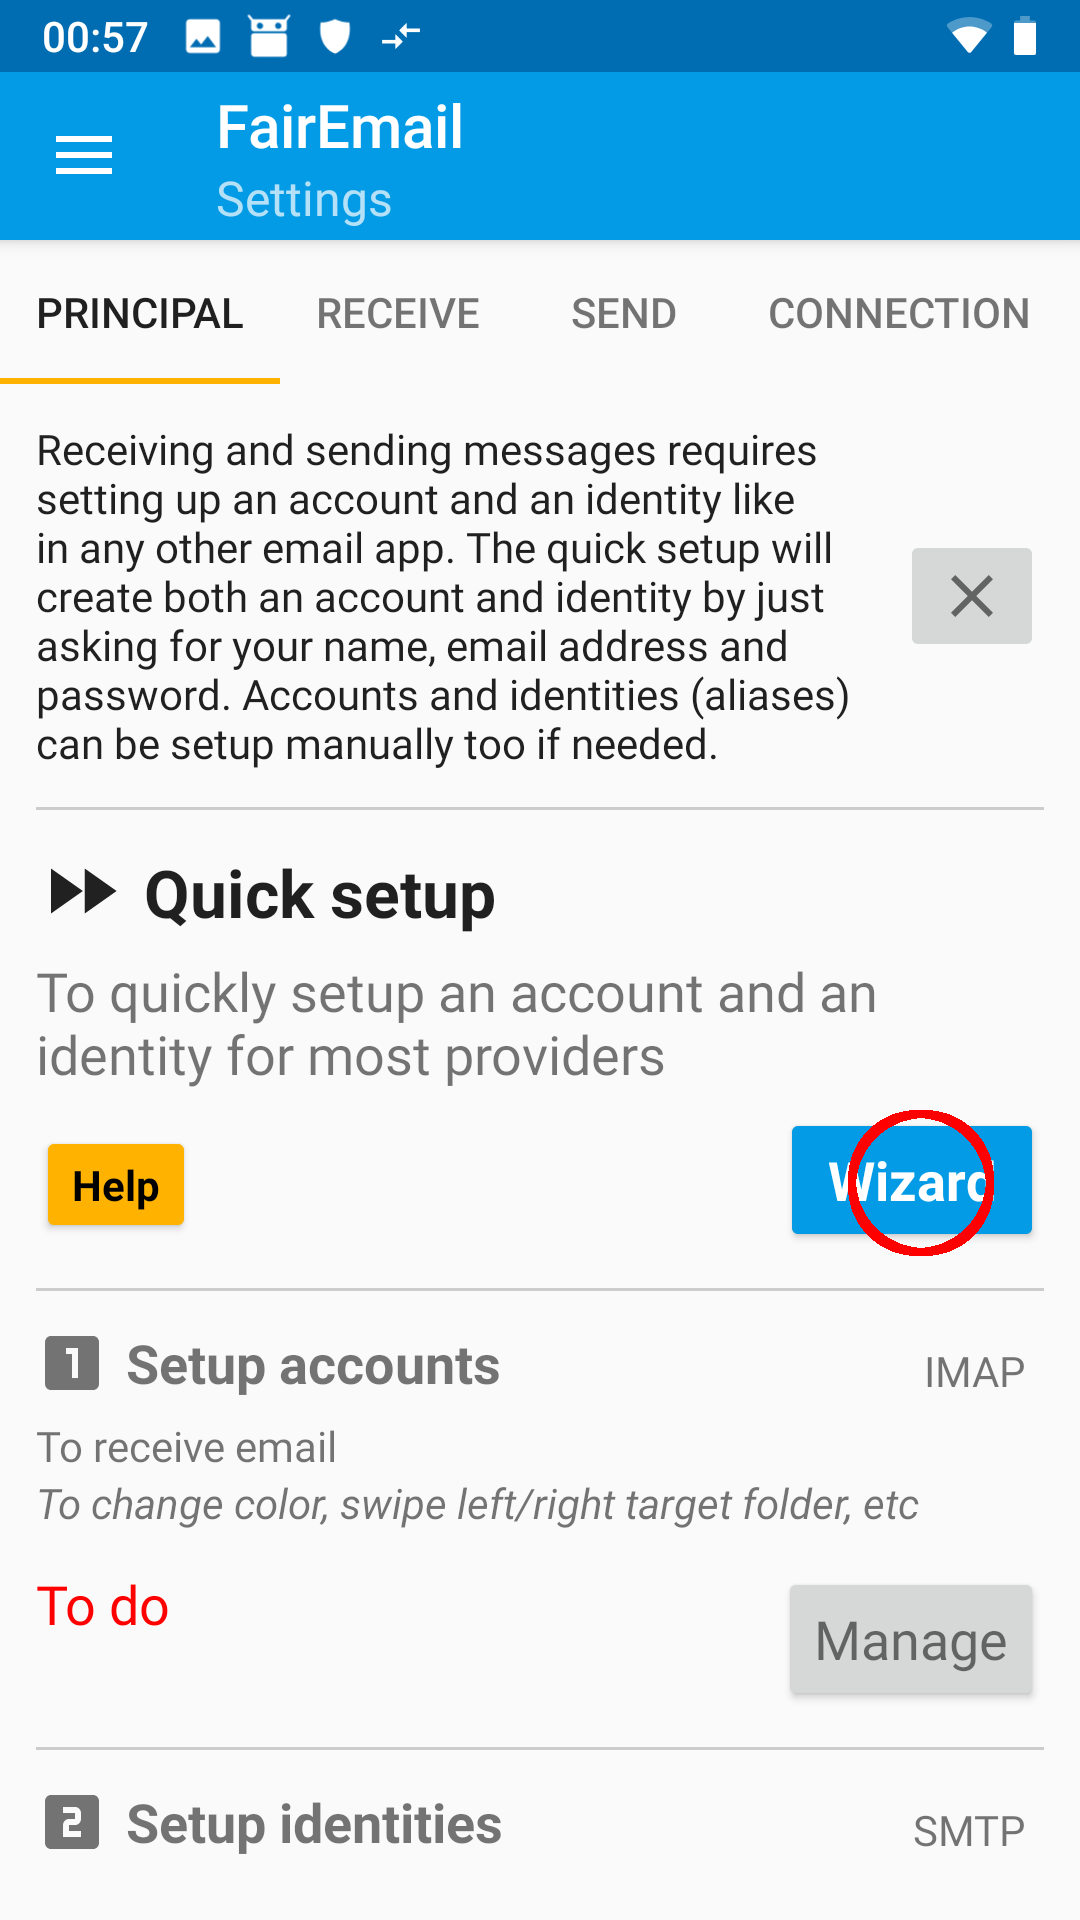
- Starting the wizard
FairEmail has a setup wizard integrated, that will lead you through the process. Choose the wizard ...
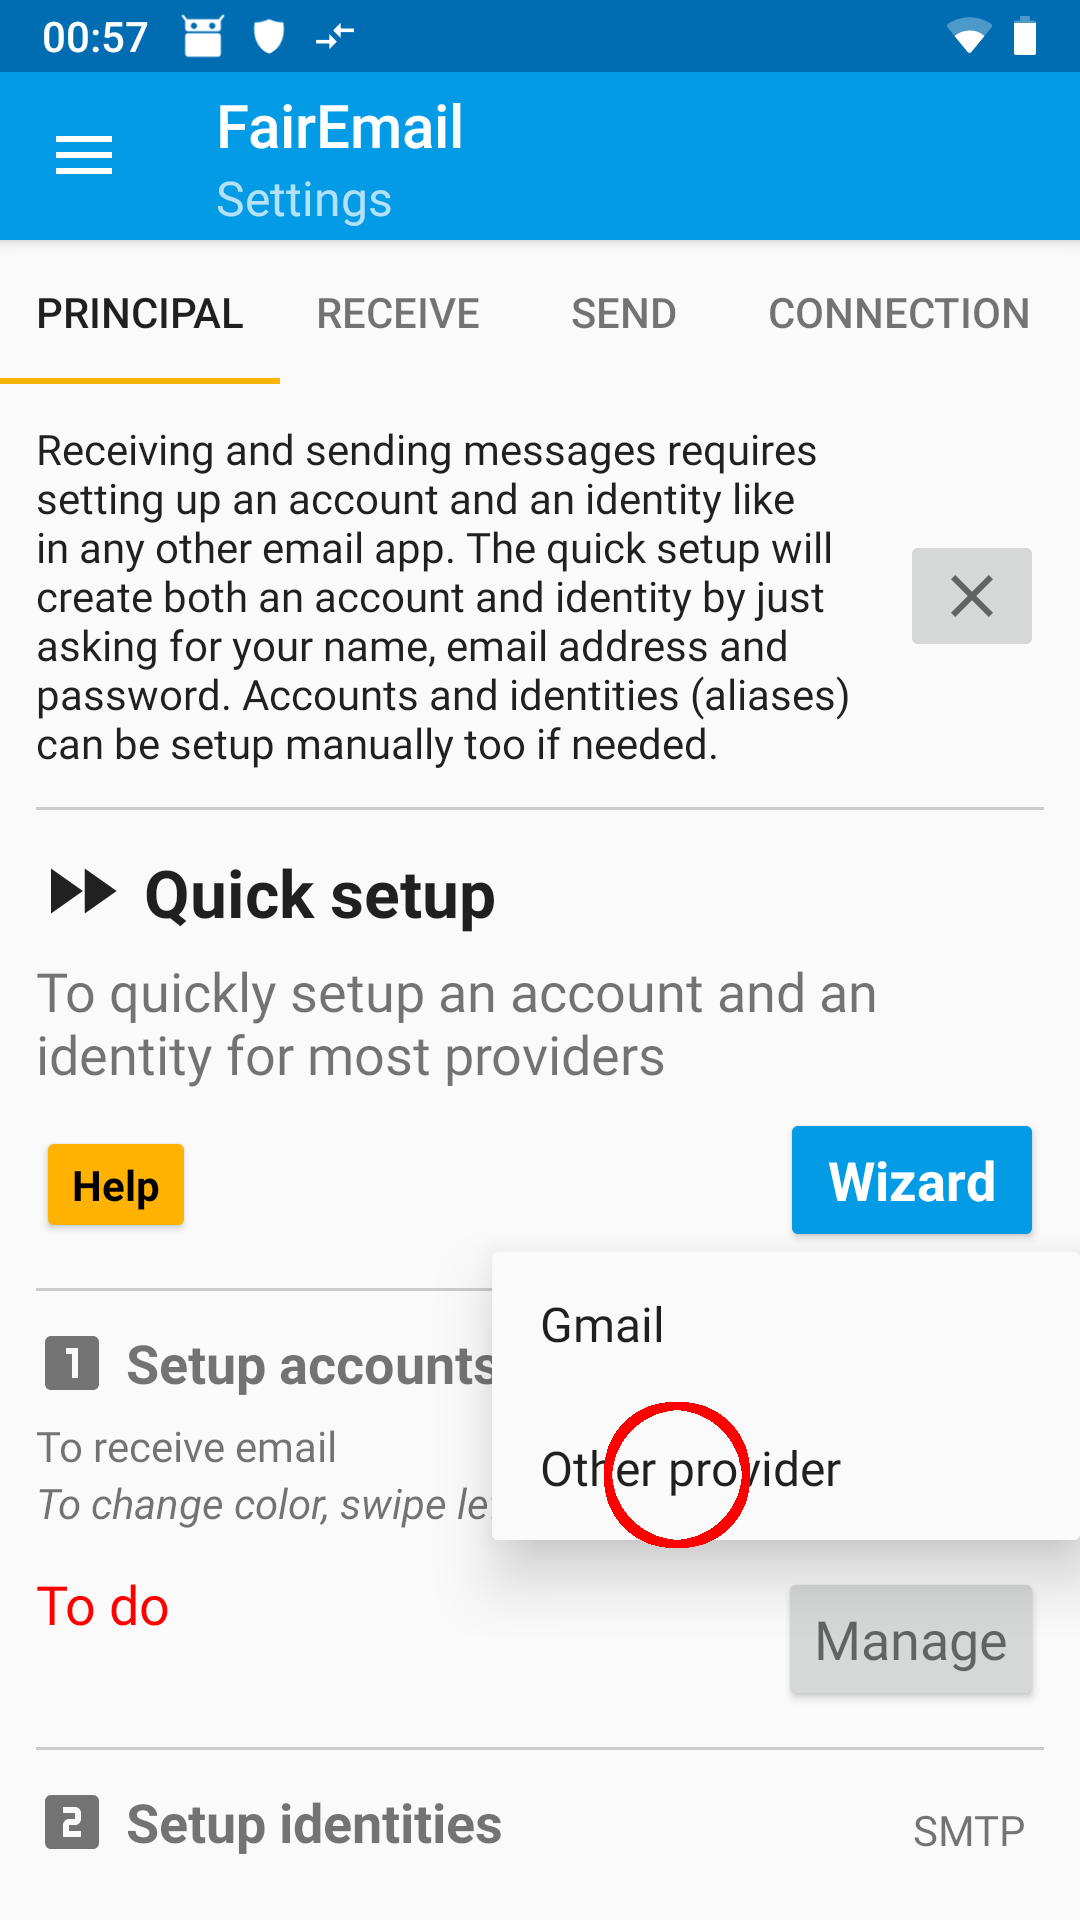
... and choose Other provider
- Fill in credentials
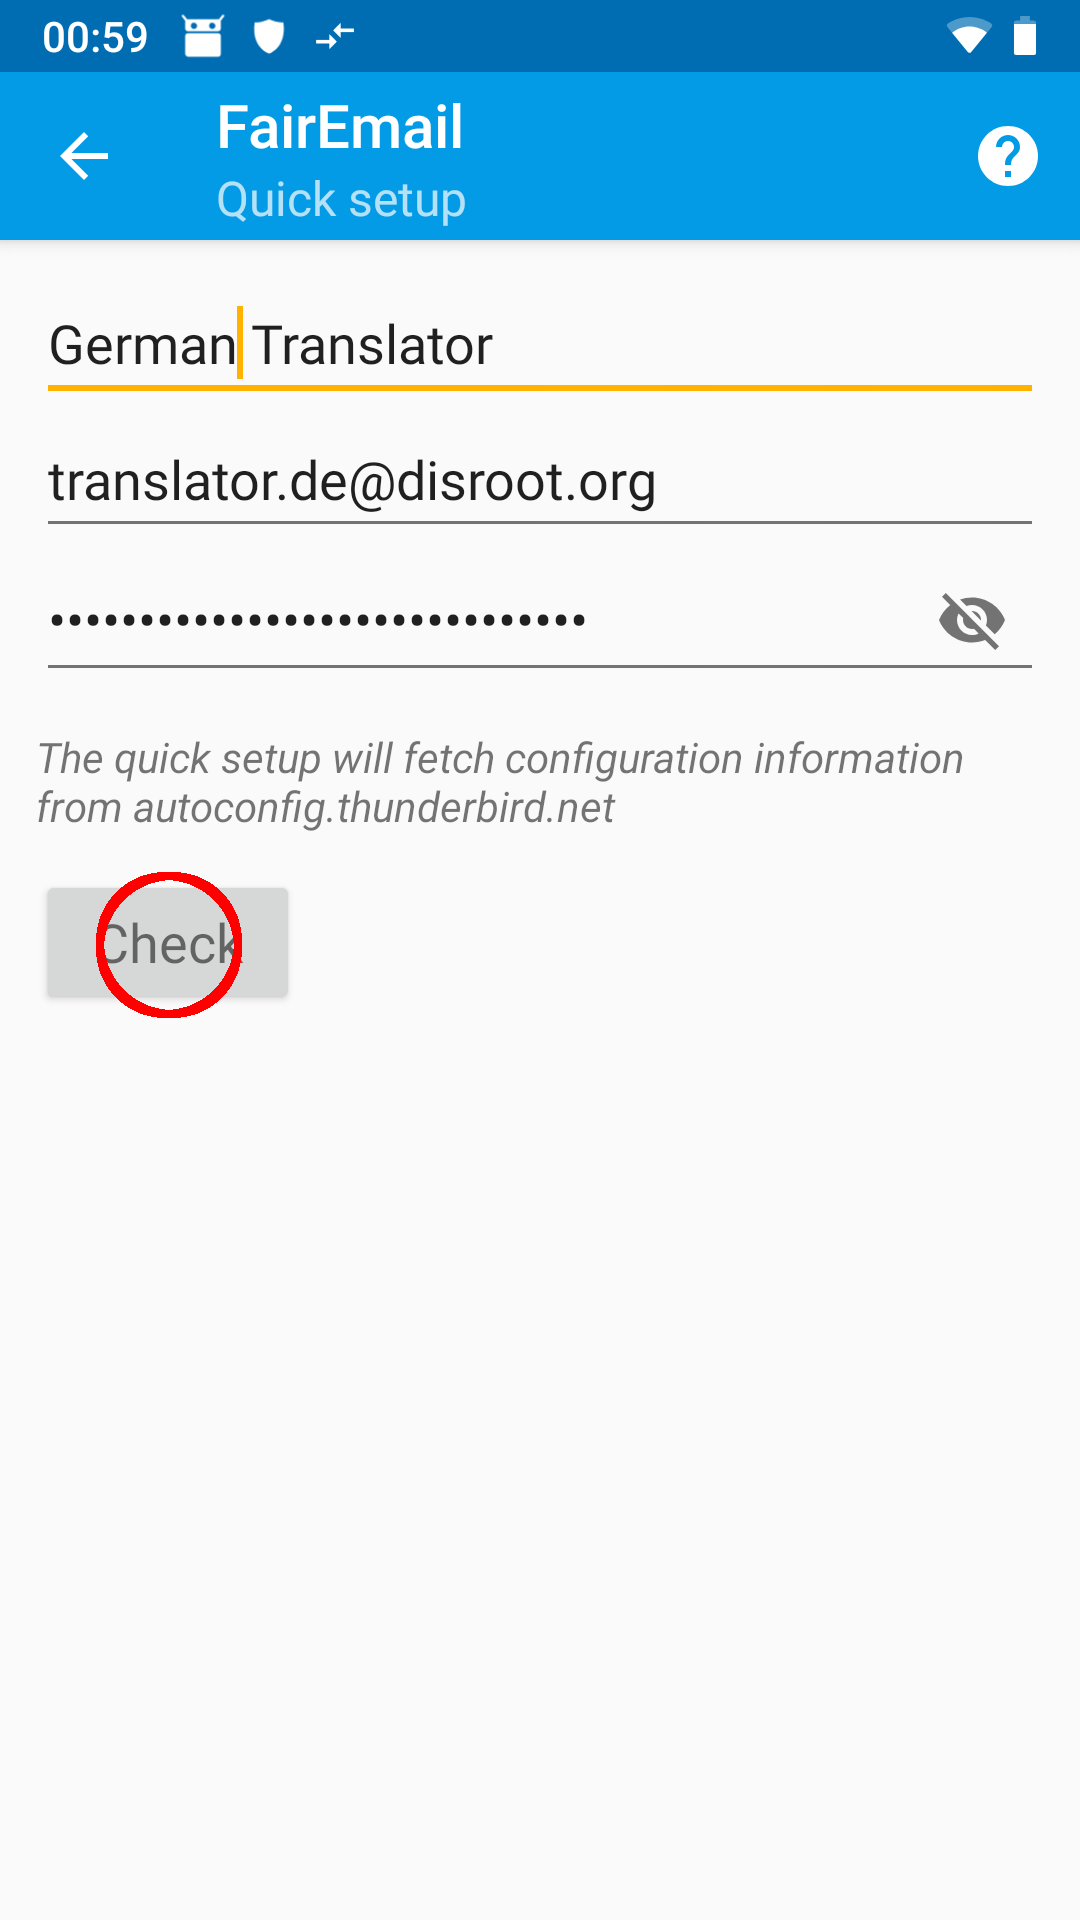
Fill in your screen name, your Disroot mail address and your password.
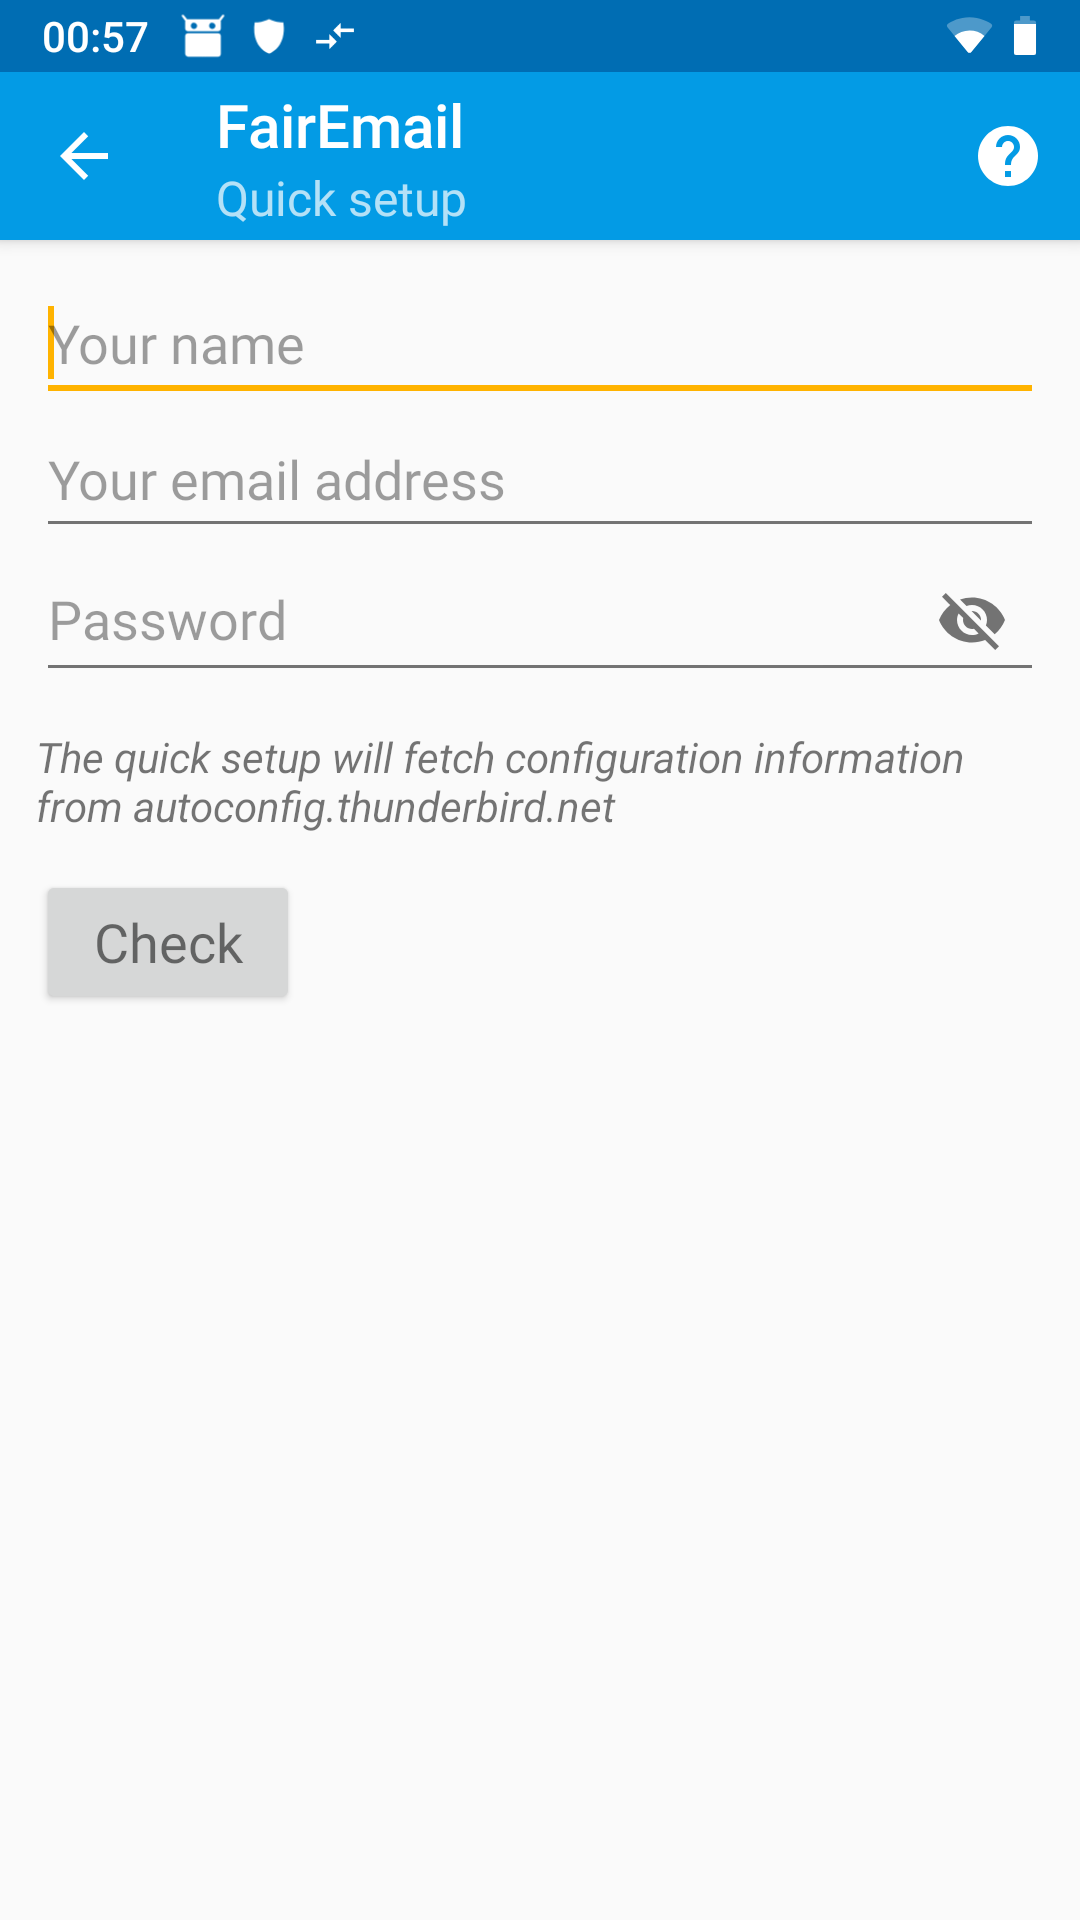
Confirm your input by tapping on Check.
The correct settings should now be automatically detected (you need a working internet connection). For verification take a look at the screenshots or the general server setup information. If, contrary to expectations, the settings aren't correct, you could either cancel the wizard and setup the mail account manually or change the settings later in the account management. Confirm with Save.

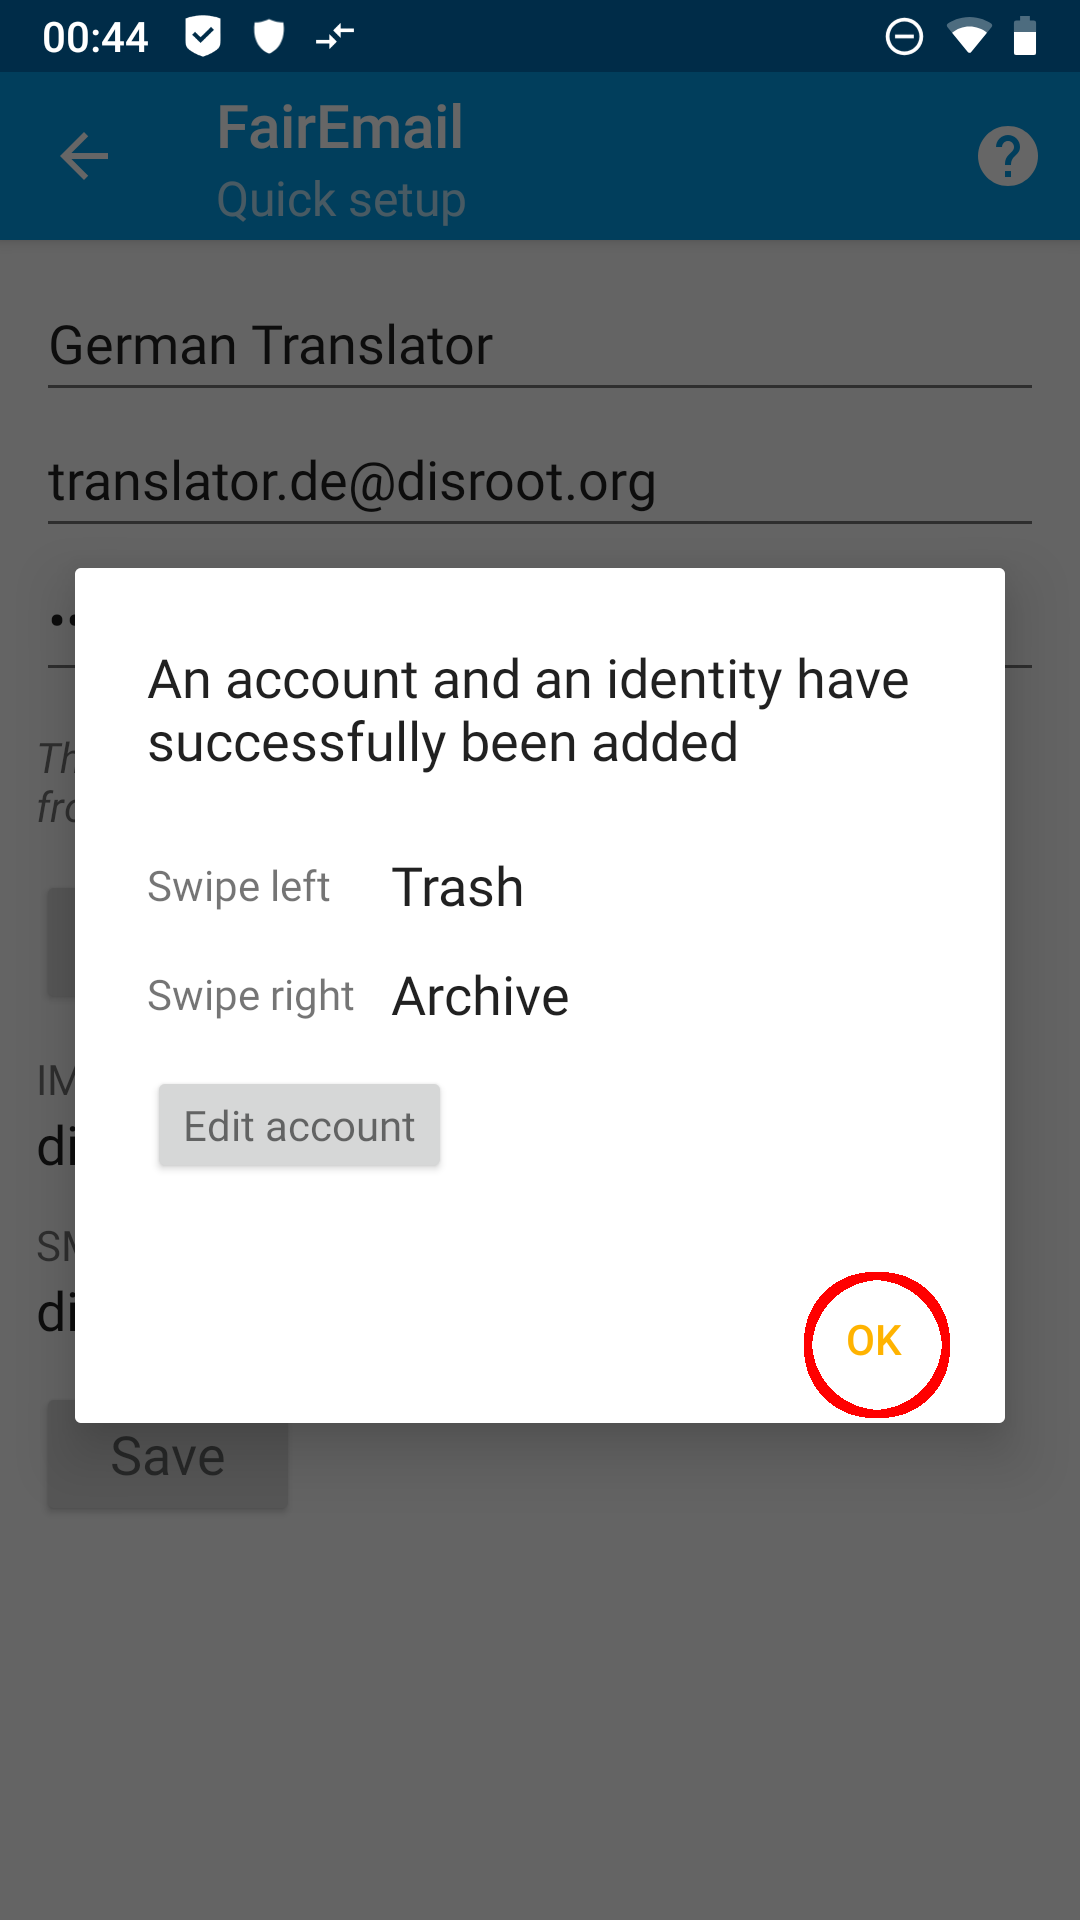
You will receive a confirmation message for the set up account.
- Done! (principally)
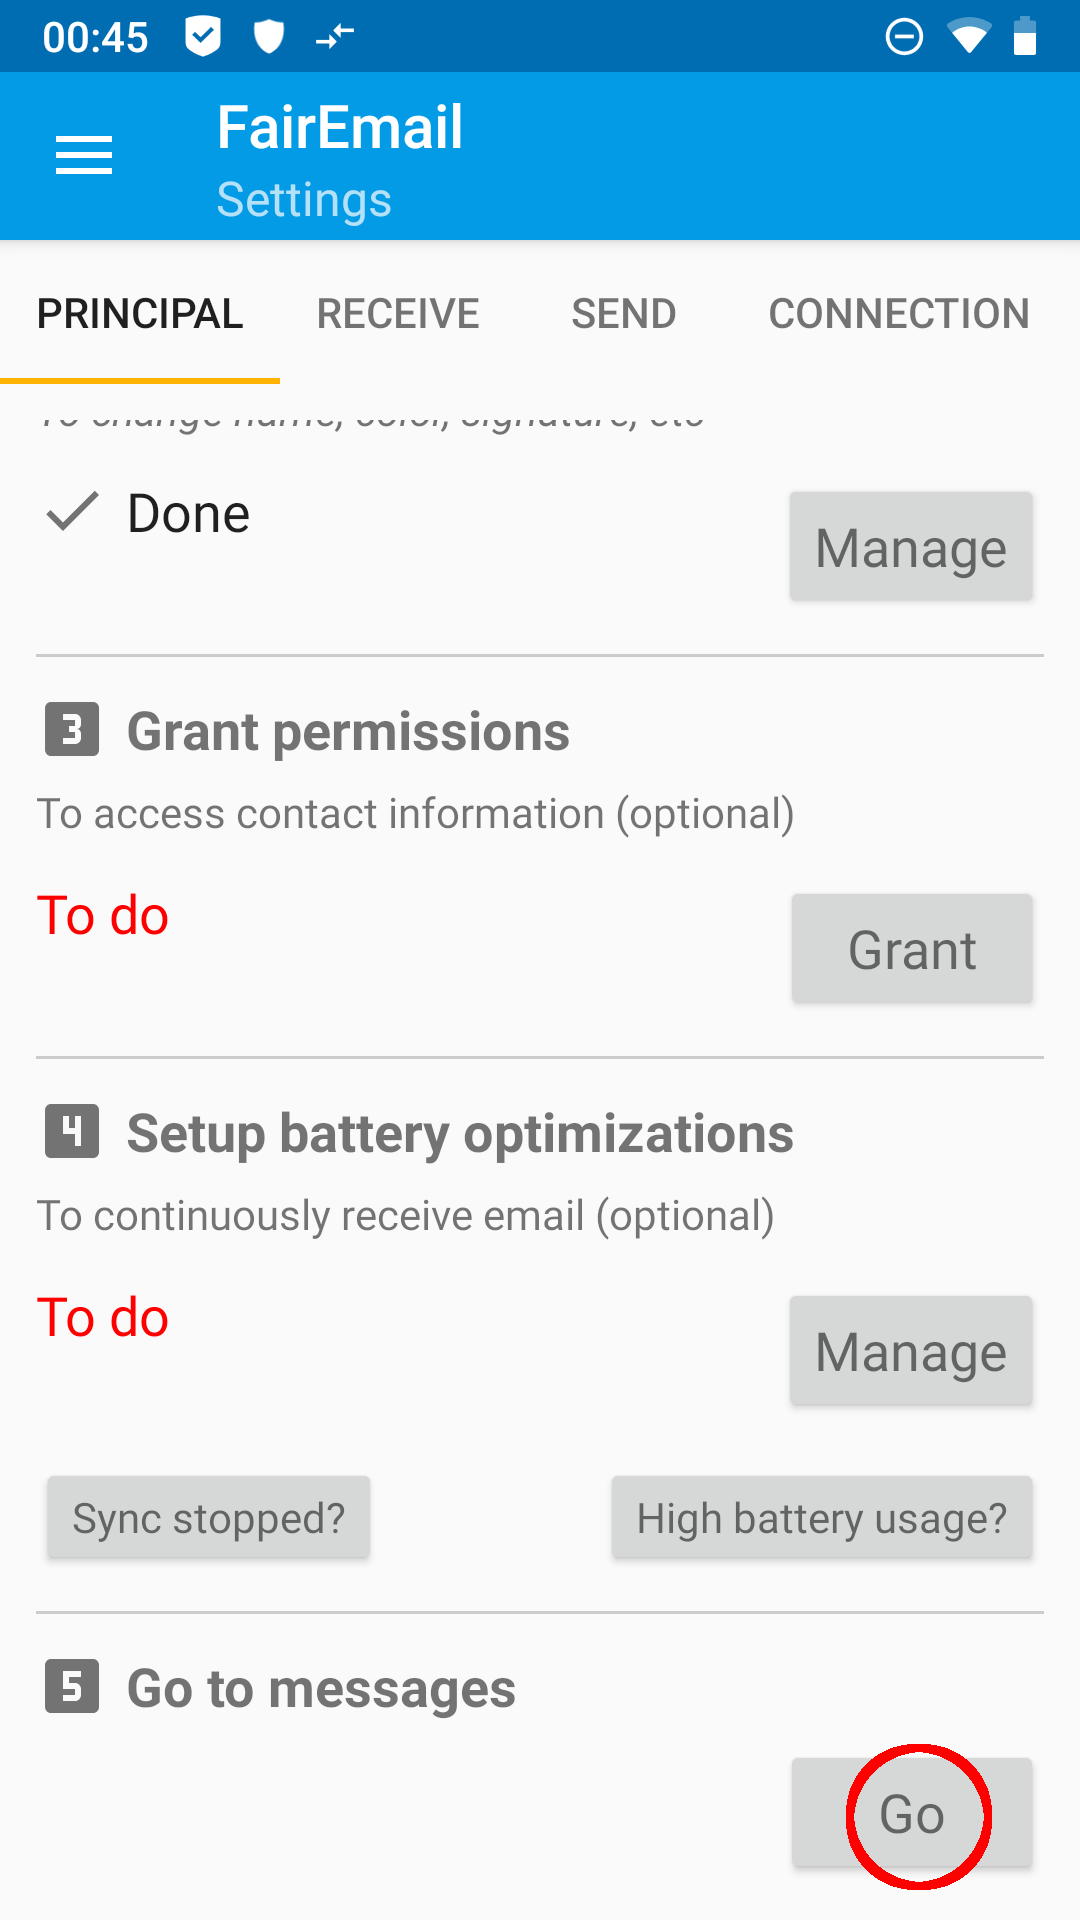
By tapping OK in the confirmation message you get back to the main settings. If you want your email to be synchronized in the background you need to adjust the battery optimization for FairEmail under point 4 in the menue.
By tapping on Go under menue point 5 you get to your emails, which will now be retrieved for the first time.
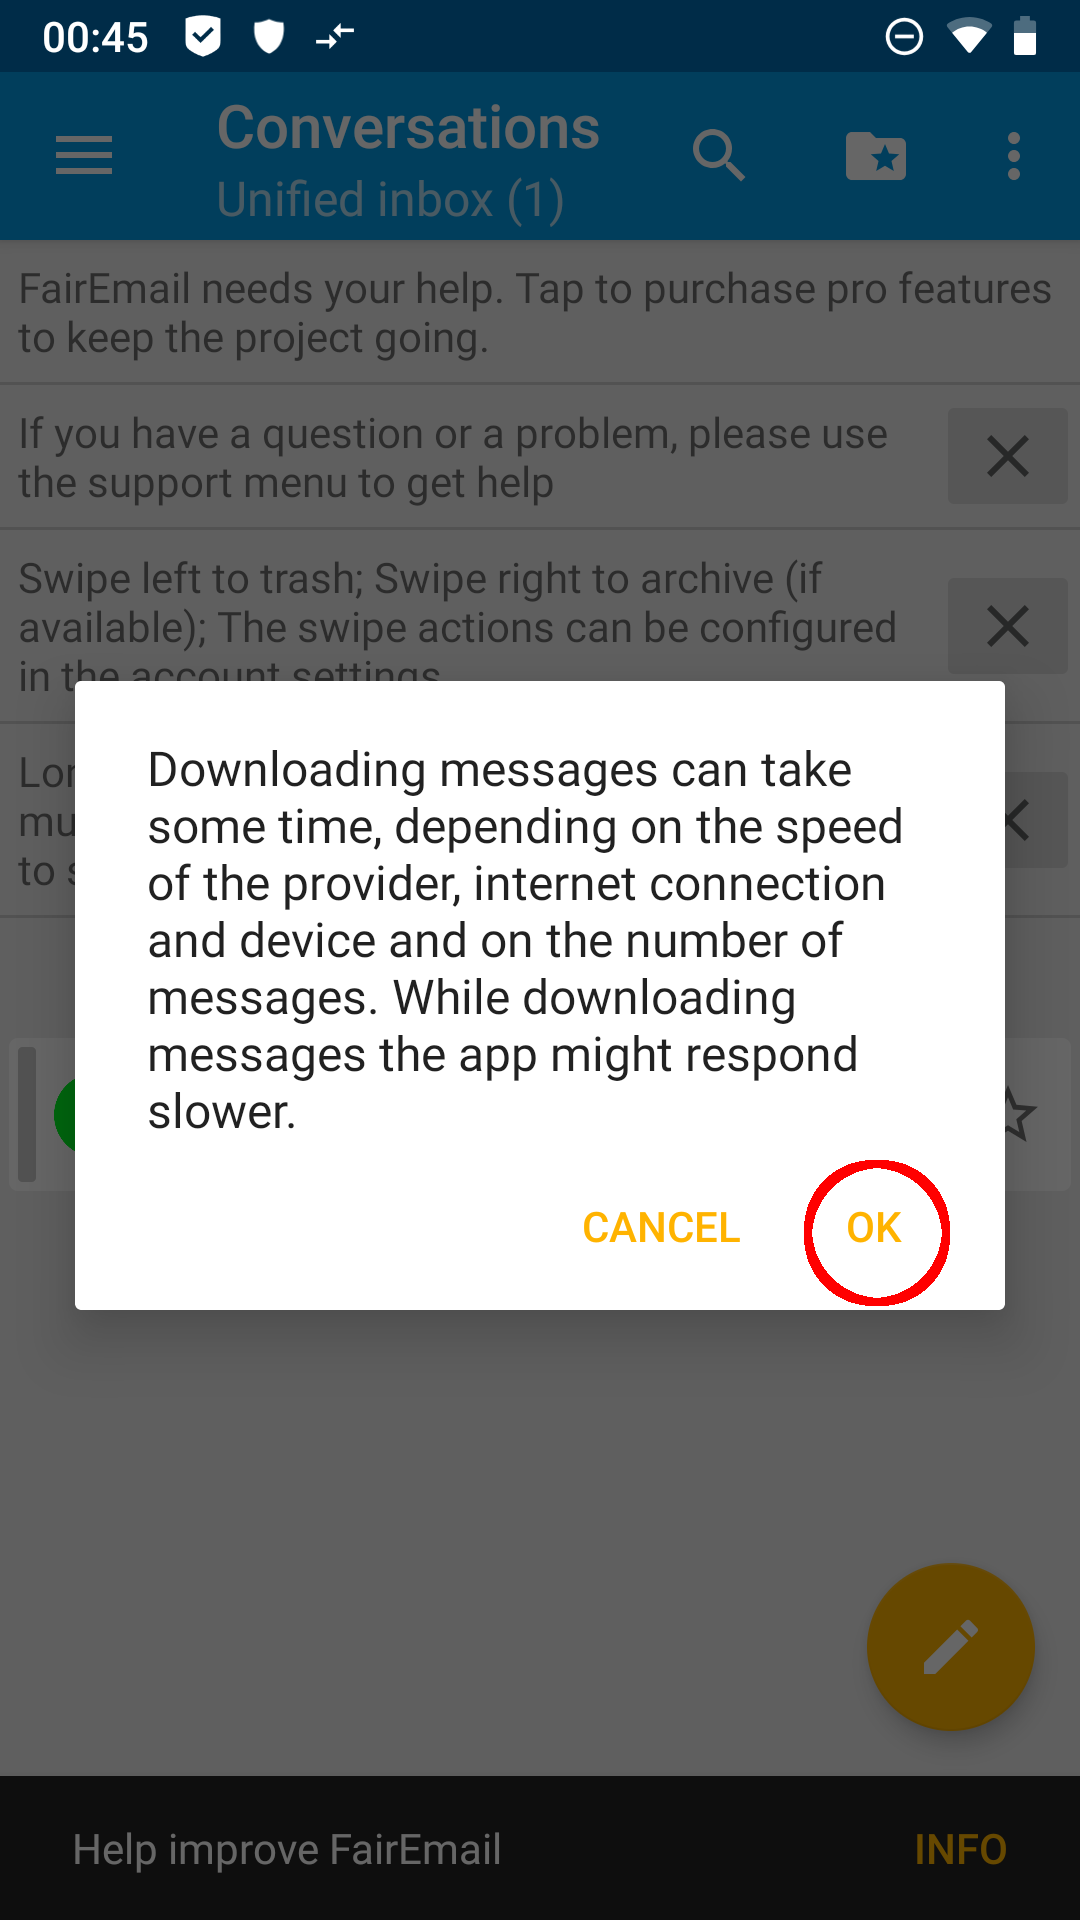
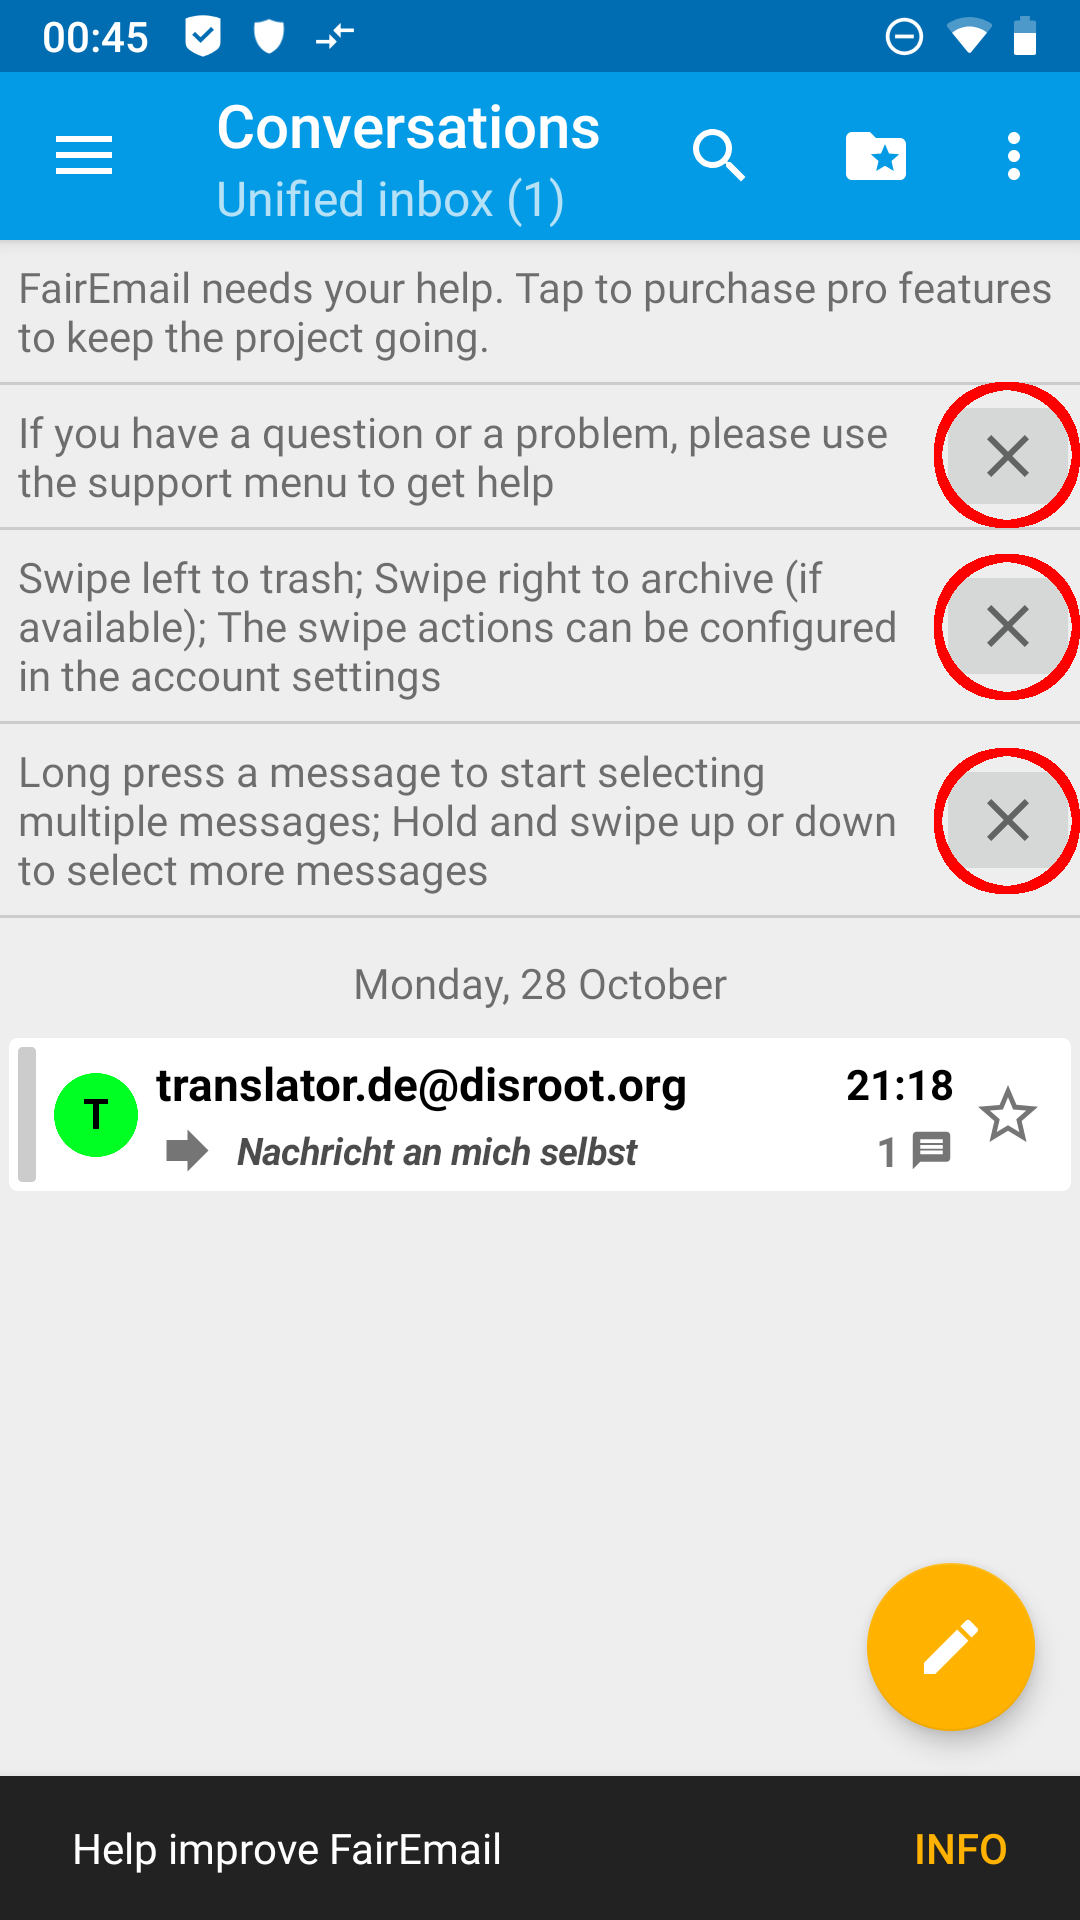
With your first visit to your inbox you get some informations about the usage of FairEmail, which you can dismiss by tapping the X.
- (optional) Changing start screen
By default you will see a unified inbox on your start screen, which will summarize the inboxes of all your mail accounts in FairEmail. If you prefer to have a classic account view on start, maybe because you manage a greater number of email accounts with FairEmail, you can do this as follows:
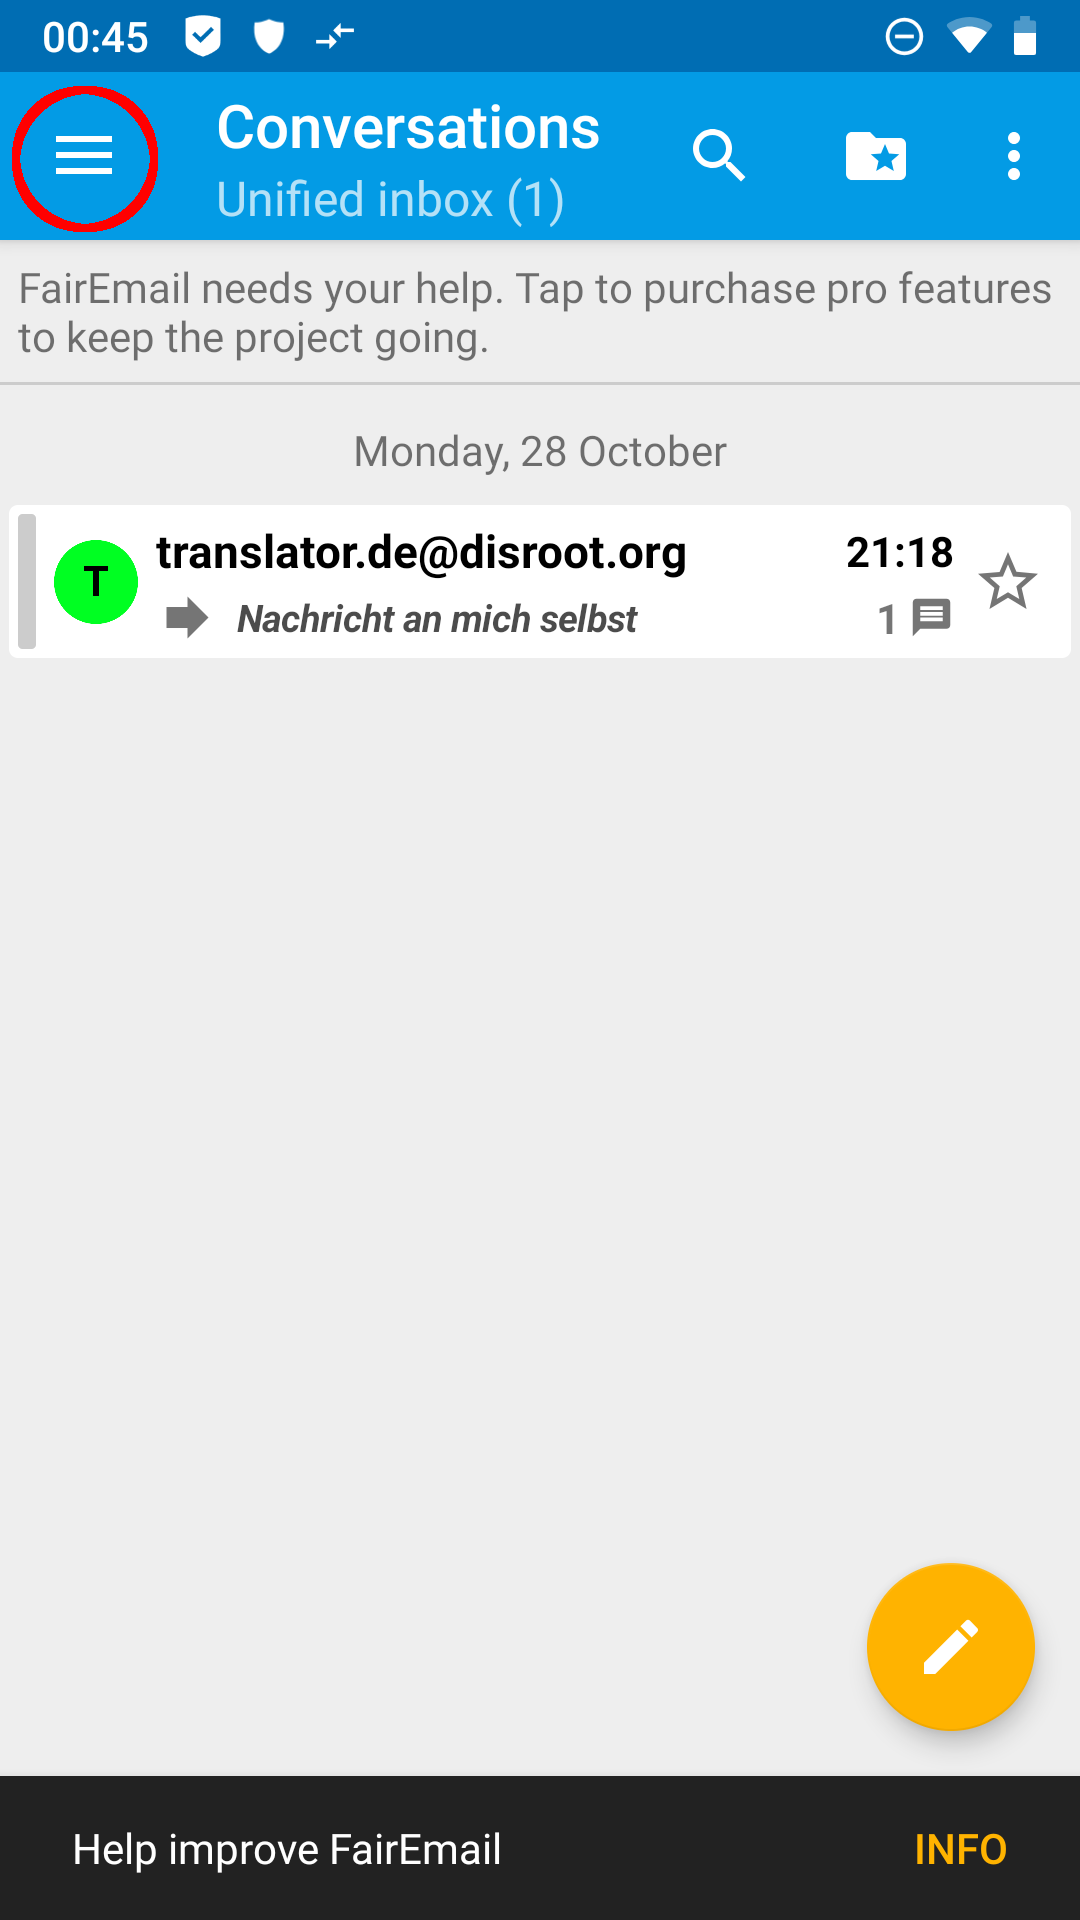
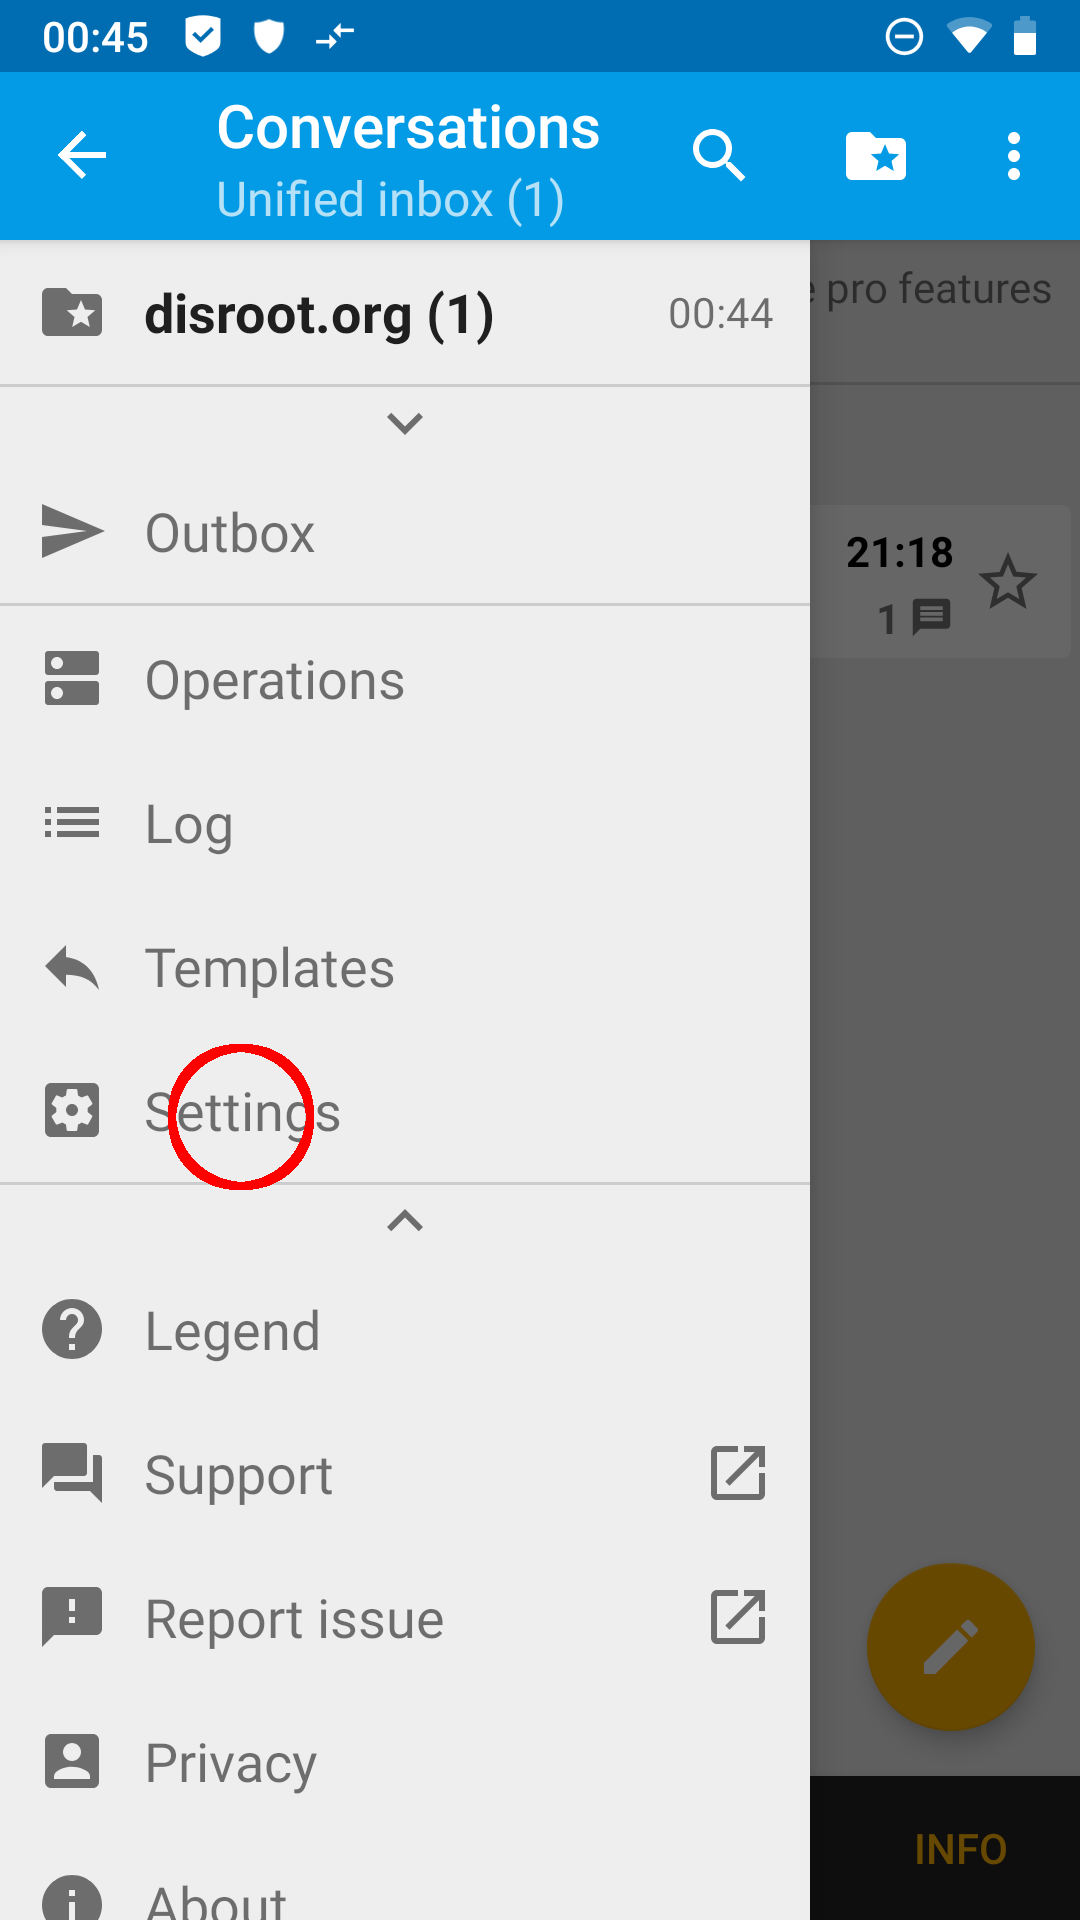
Open the menue by tapping the three dashes in the top left corner and choosing Settings.
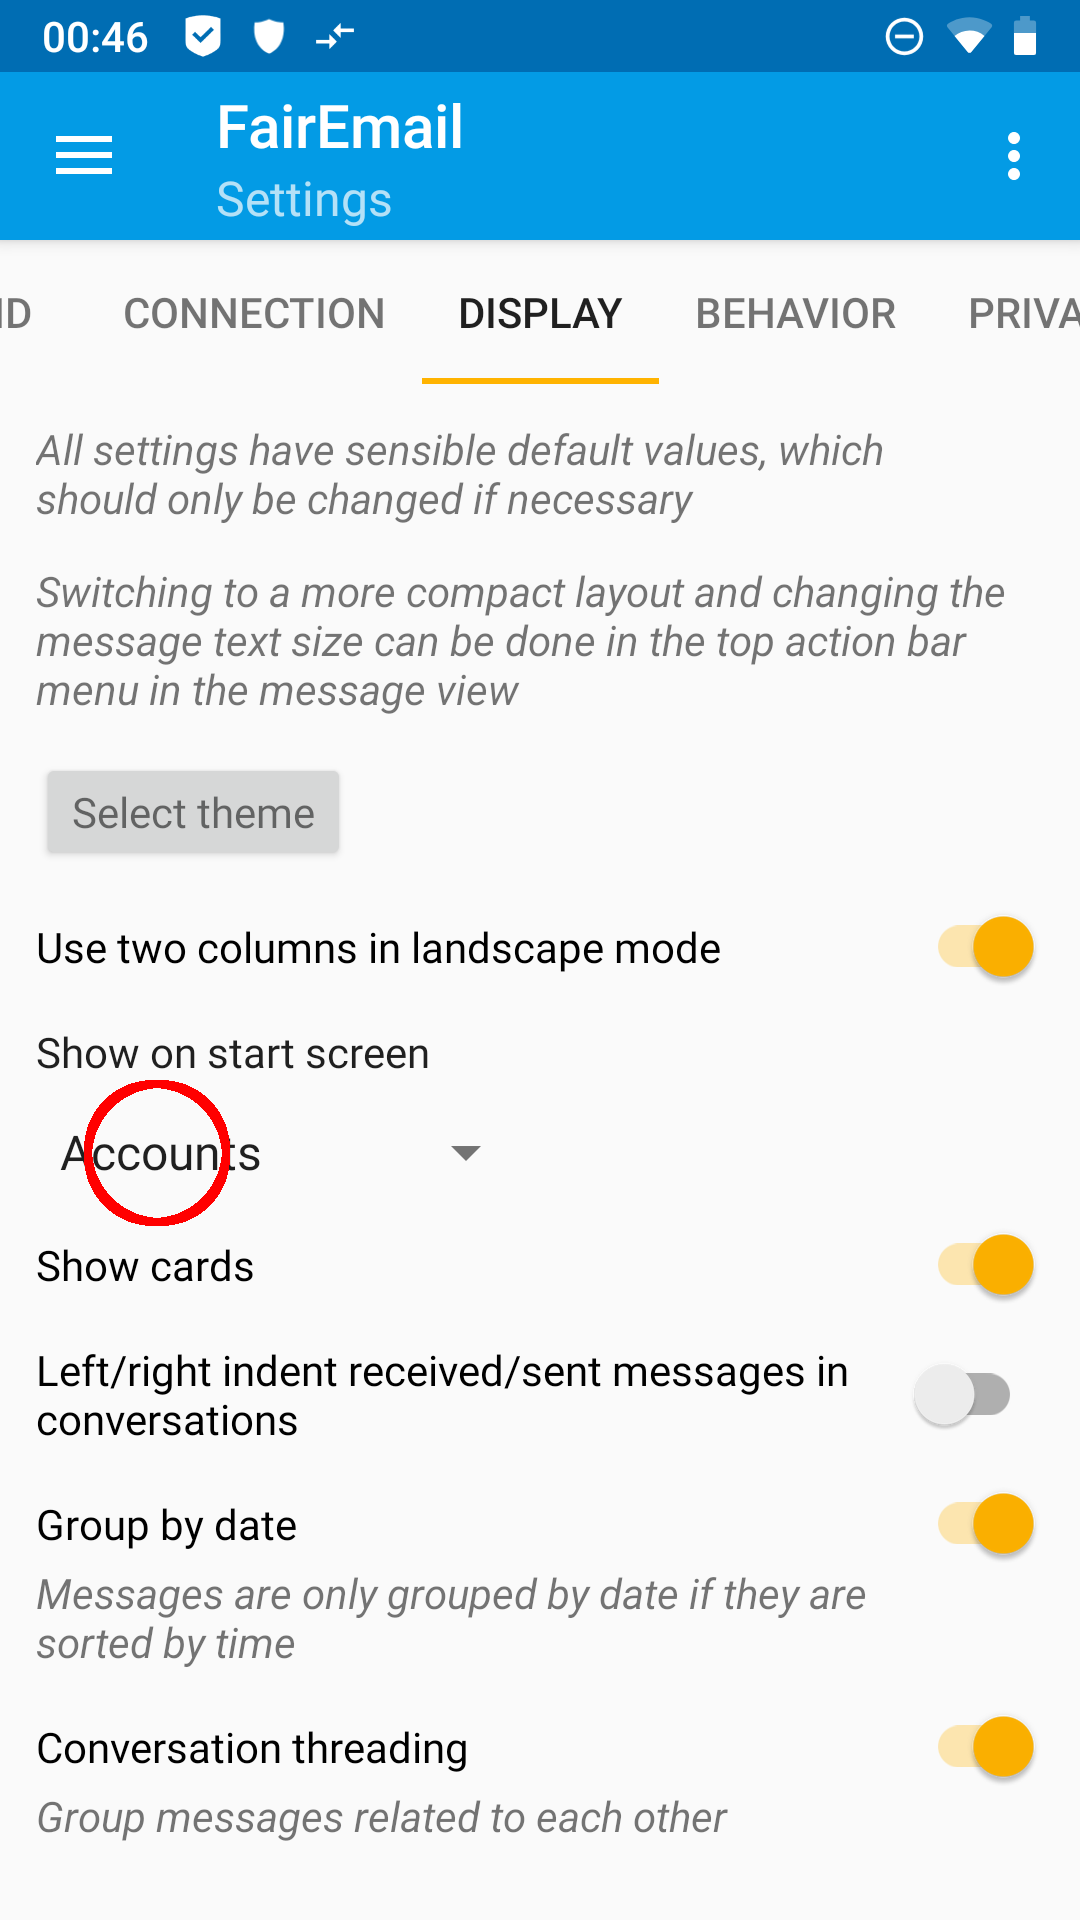
By doing so you get back to the main settings. You can now scroll through the menu bar by swiping left and right. Under the menu tab Display you will find the option Show on start screen with a dropdown menu. Choose Accounts in this menu.
Heading back to your emails via point 5 of the principal settings you will now see the account view.
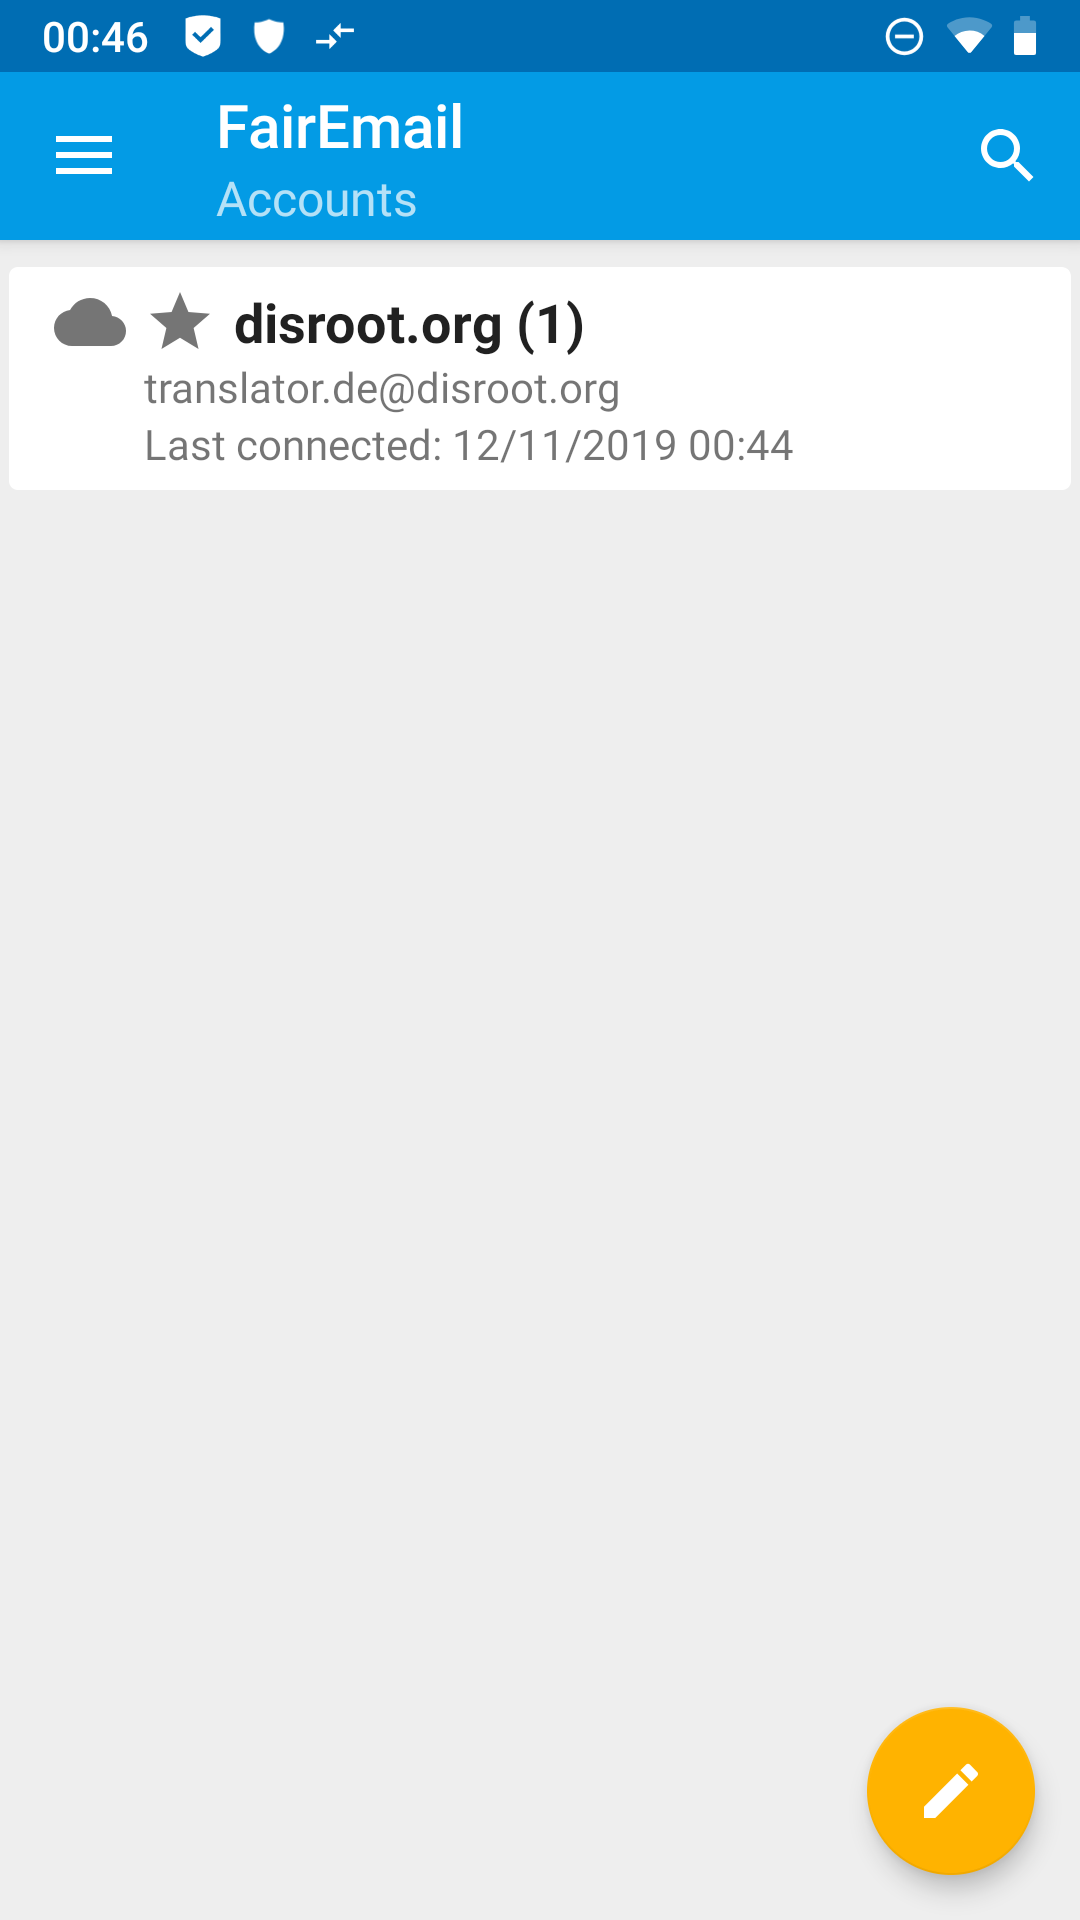
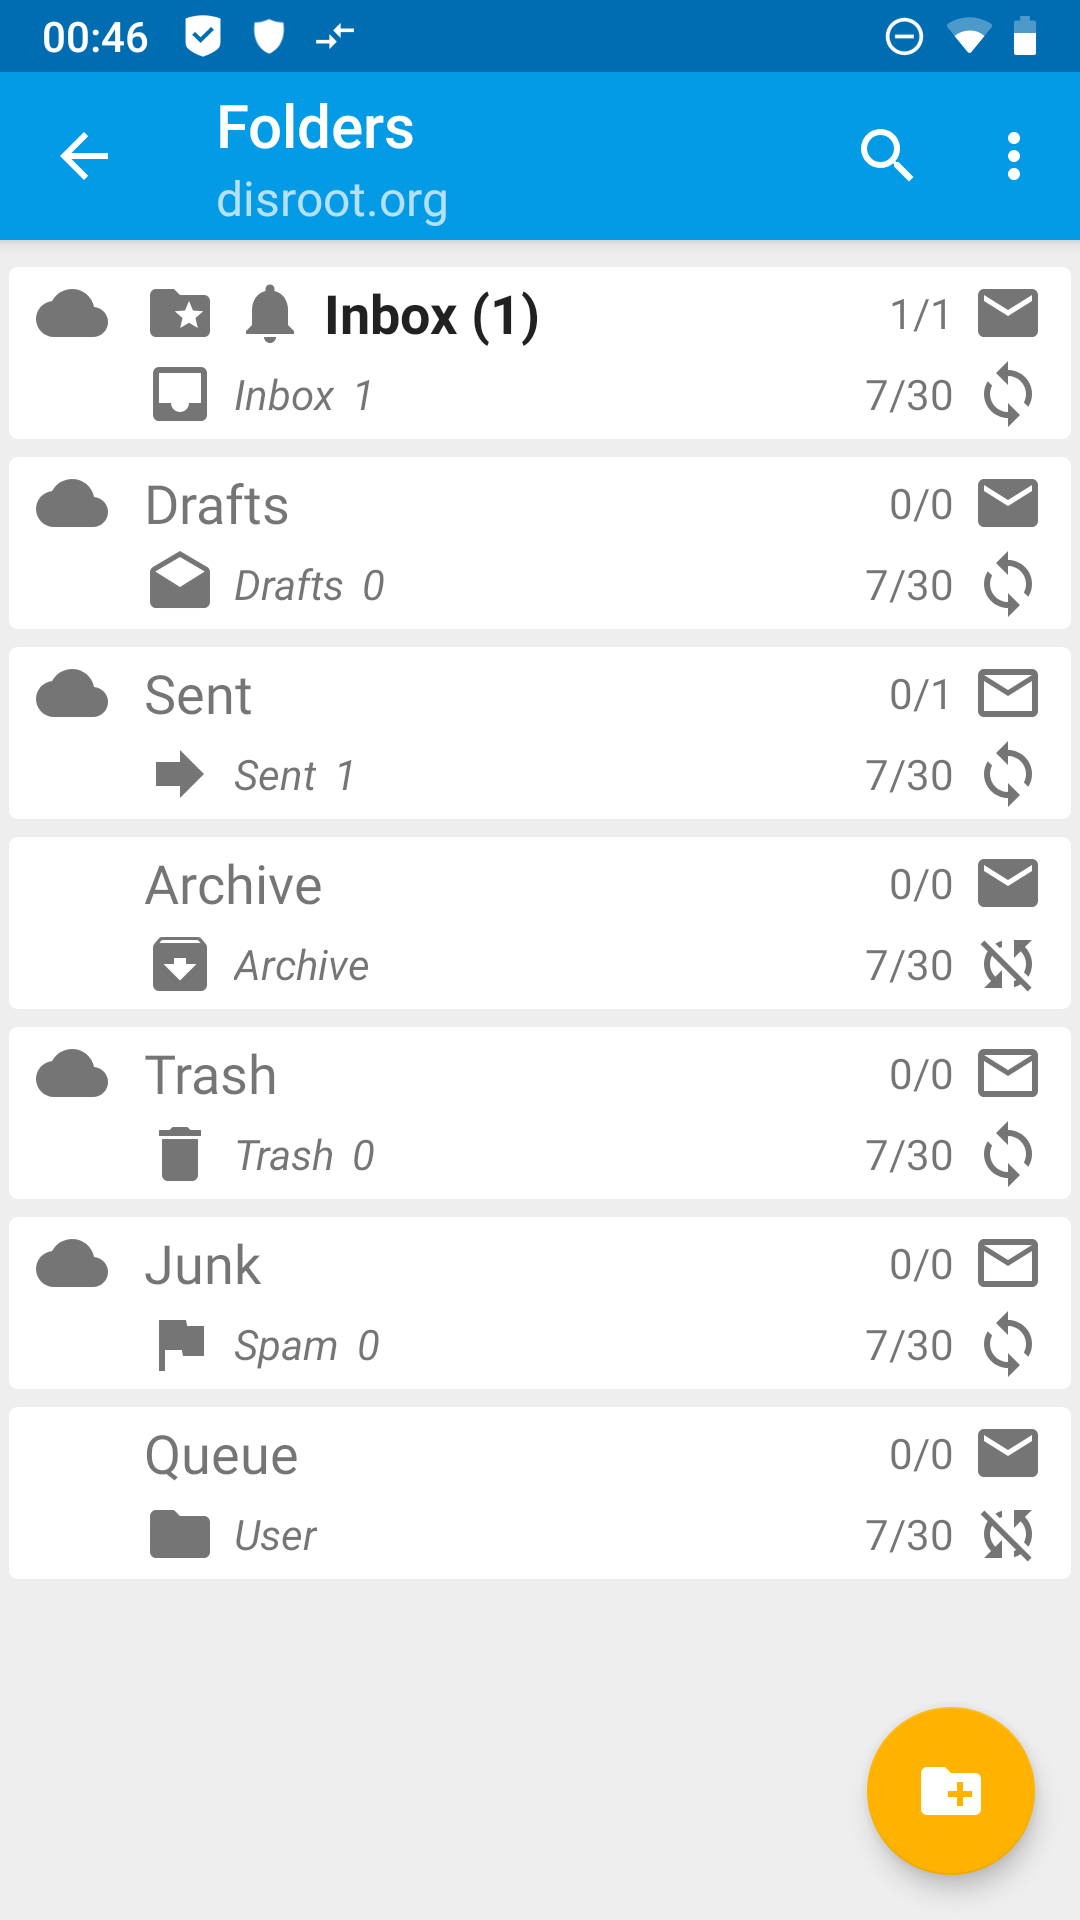
By tapping on your account you will get to the folder view.
 .
.
- (optional) More settings
FairEmail has a lot of customization options. Too much to explain them all here. Just play around a bit and find out what fits your taste. You will find out quickly, that the user interface of FairEmail is very intuitive.
If questions about some features of FairEmail will pile up, we may of course add some explanation to this tutorial in the future.
