Settings
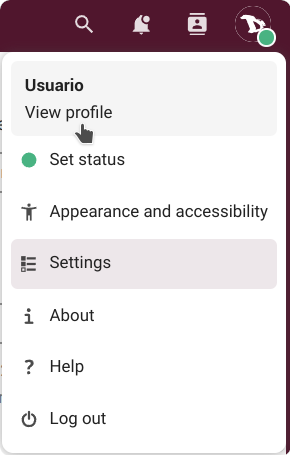
As it was mentioned in the previous chapter, to access our settings we just click on our profile picture on the top right corner and choose "Settings" (if we did not set a picture yet, we will see a round avatar with the first letter of our username inside).
Here is where we can manage our personal and cloud settings.
Let's start with our Personal info.
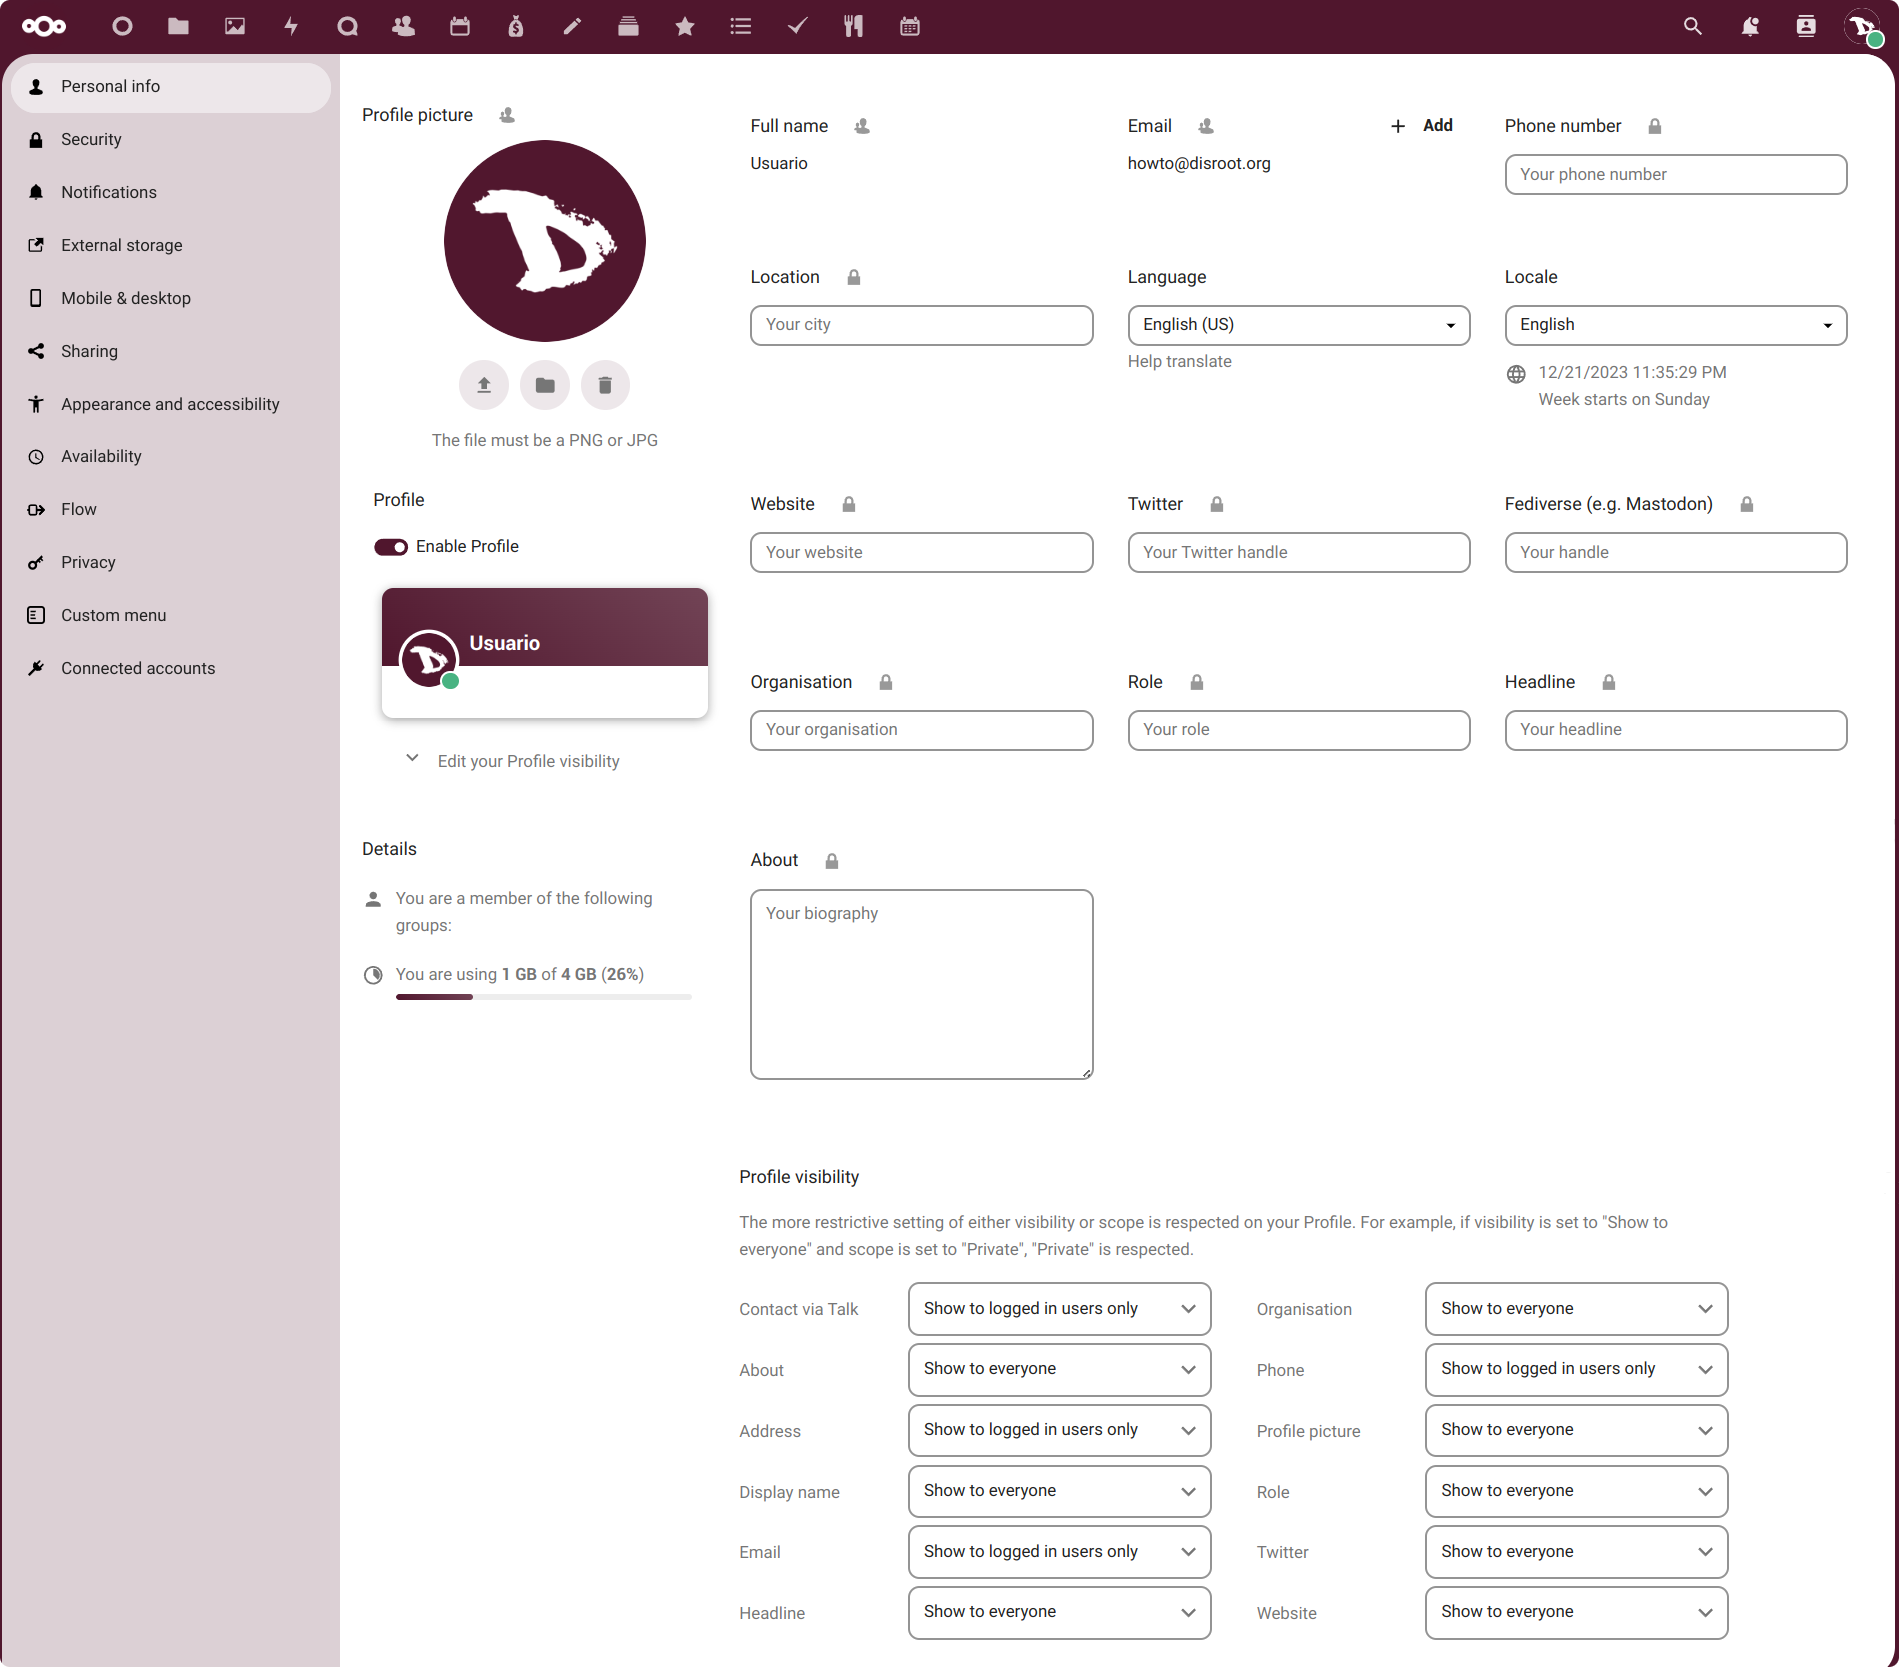
Personal Info
Here we can add information about ourselves, which then we can choose to share or not with others.
We can identify three "sections".
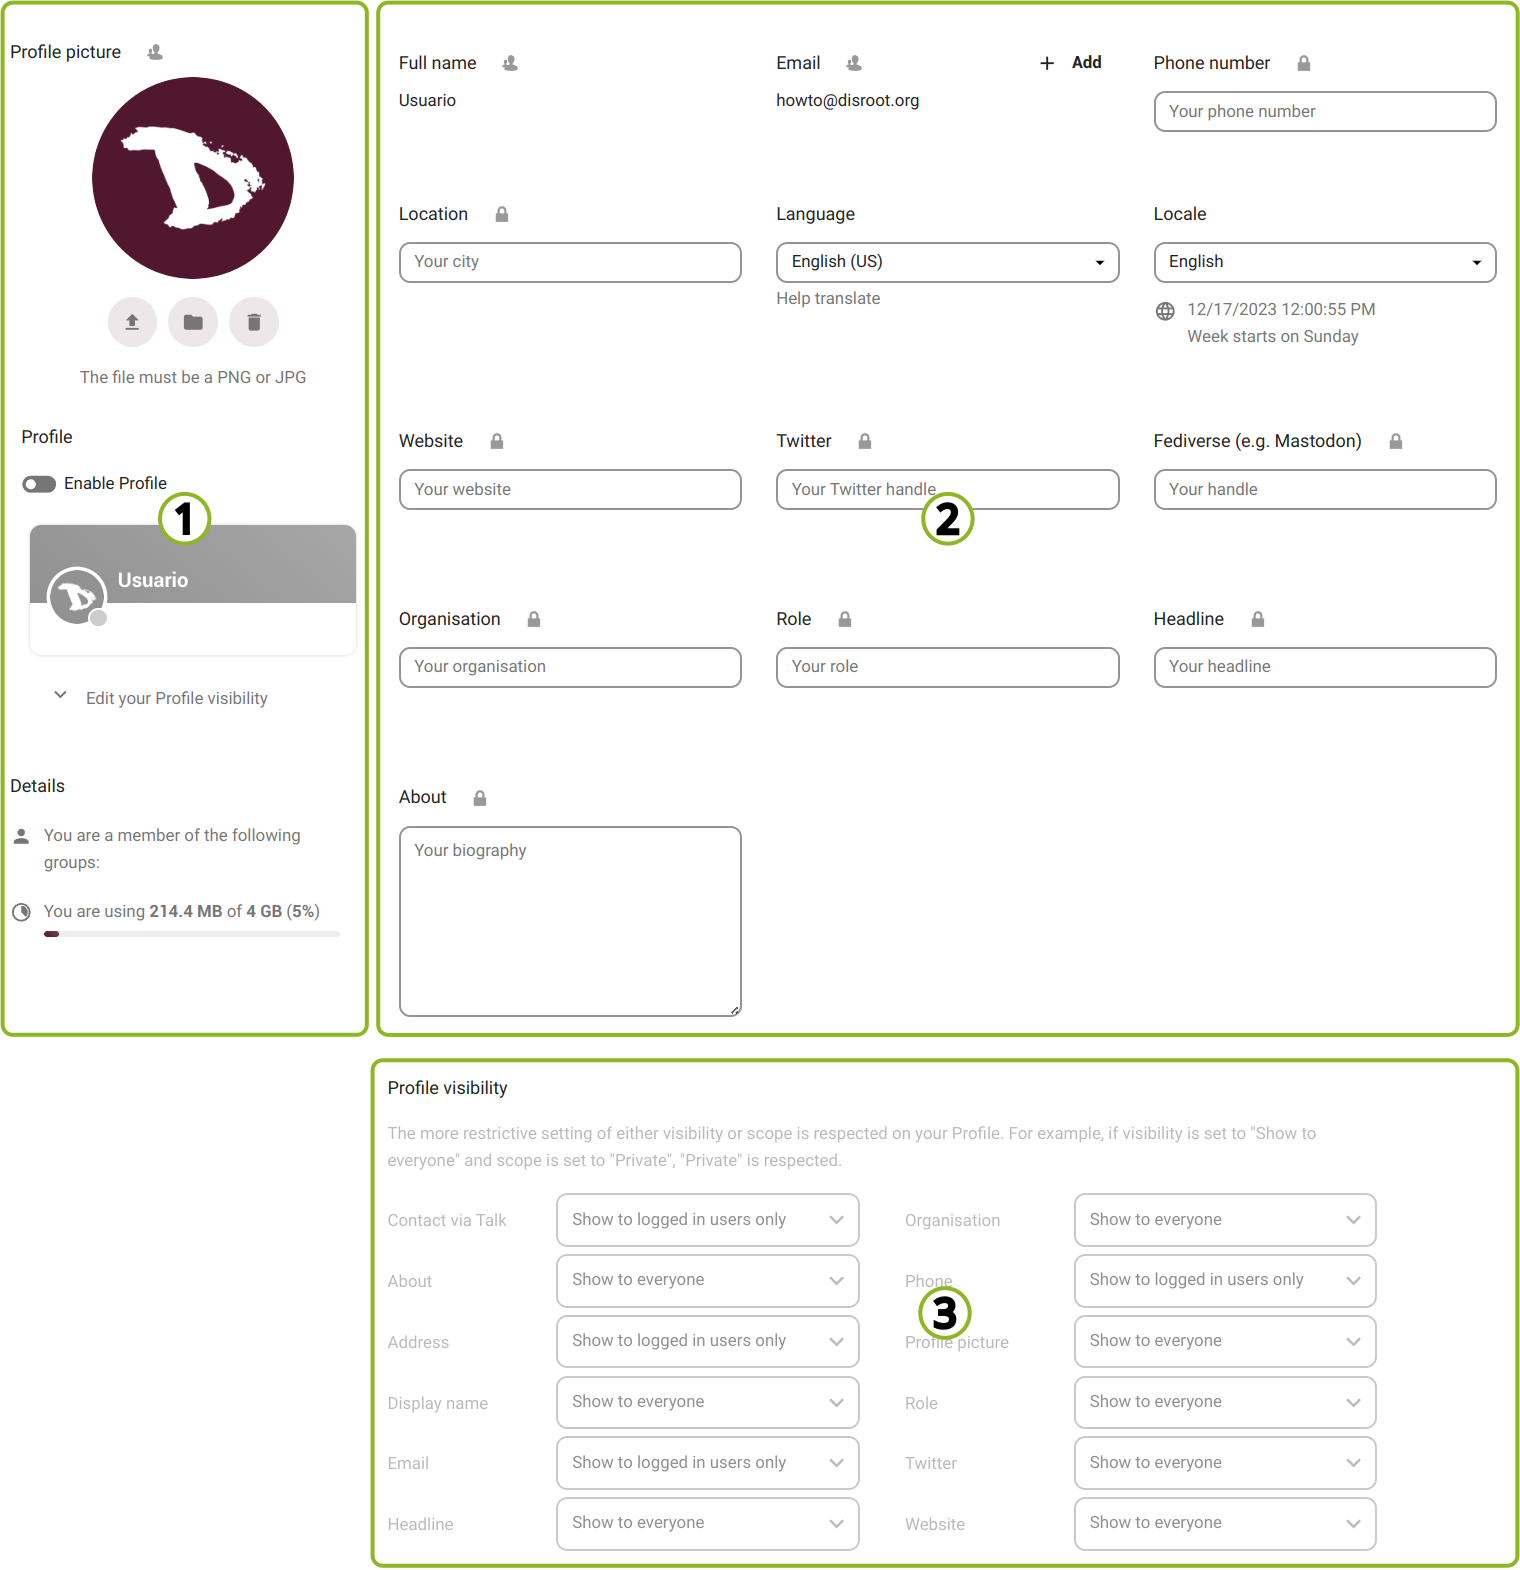
1. The profile section
In this section we can:
-
change our Profile picture by uploading an image or selecting one from our files in the cloud;
-
enable/disable our Profile which is a page that contains certain information we choose to share. When enabled, access to our profile appears in the user menu;
-
see our cloud account Details which are
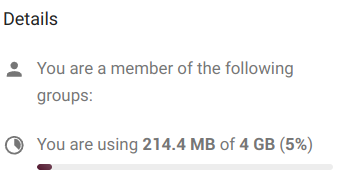
- the groups we belong to (if any), by default, Disroot accounts are not associated with any group, and
- the quota of storage space we are using.
Now, we may have noticed that right next to the title, in this case of the Profile picture, there is a user icon. By clicking on it we can set the privacy scope we want to assign to this particular information.
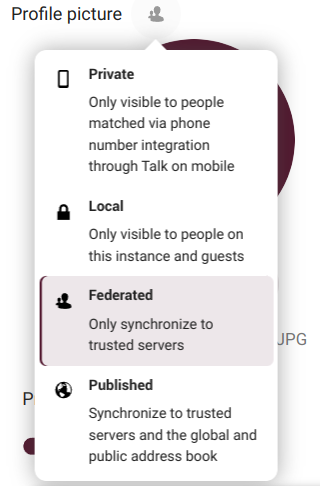
And depending on the information, the scopes we can choose are:
-
Private: this means it will be only visible to us;
-
Local: only visible to other Disroot Cloud users;
-
Federated: besides other Disroot Cloud users, the information will be seen by other Nextcloud trusted instances (those added by our cloud administrators); and
-
Published: the information can be viewed by anyone.
2. The user and contact information section
Except for our full name and email (which are taken from our Disroot account settings), we can fill in or modify the rest of the information fields.
To learn how to change our full name, we can check this tutorial.
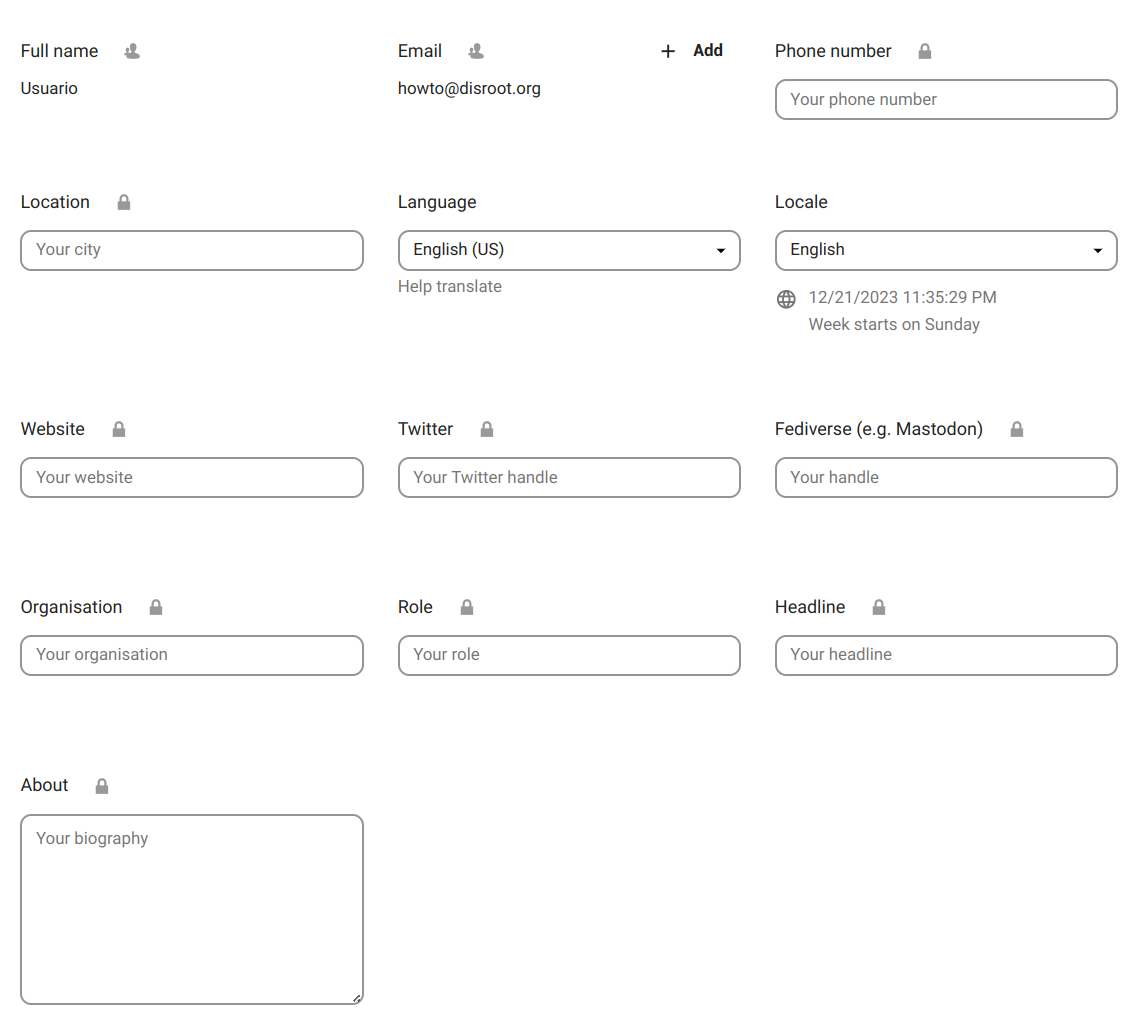
In this section we can also change our Language and the Locale (which defines how dates and other formats are displayed).
3. The profile visibility
To finish with our profile settings we have the third and last section, the profile visibility.
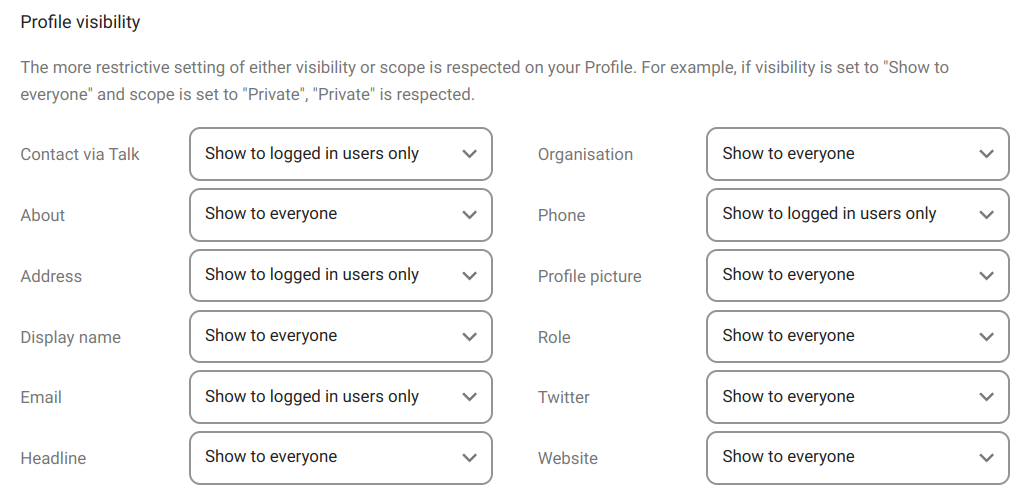
In the previous section we have a number of personal information that we can complete and share (or not) and on which we set a privacy parameter that we call "scope".
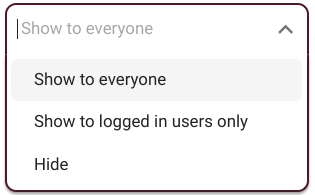
In this section, we can decide the visibility of that information in our profile.
We have to keep in mind that if we set certain information as "private", for example, and its visibility as "show to everyone", the most restrictive rule is the one that will take precedence, in this case, the first one.
All right, let's continue.
Security
Security is the place where we can review, set and revoke security settings as well as add new ones.

But before we can change anything we need to do two things:
1. to pay close attention to what we are enabling or modifying, and
2. to fully understand how some features such as two-factor authentication work,
otherwise we may end up losing our files.
Two-Factor Authentication
The two-factor authentication (2FA) is a security process that has a two steps verification, usually the combination of two factors (hence the name):
-
1: something we know (like a password),
-
2: something we have (could be a security token, a card, a QR code, etc.) or
-
3: something we are (like our fingerprint).
Let's take a an everyday example of its use to understand how it works:
- when we go to an ATM to extract money, we need to use our bank card (something we have) and a PIN (something we know). If the combination fails, we cannot extract the money.
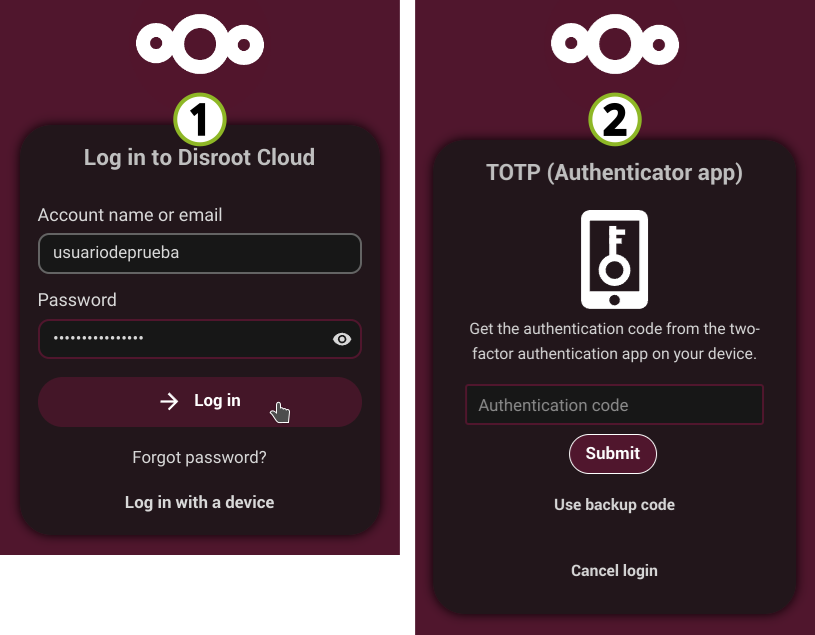
The two-factor authentication can be used if we want have a more secure login. When enabled, we will be asked not only for our login name and password, but also for an extra authentication like a one-time-password (OTP) or verification via a hardware device.
So first we will need a software to generate the temporary codes that we will be asked for after entering our password.
Examples of these programs are:
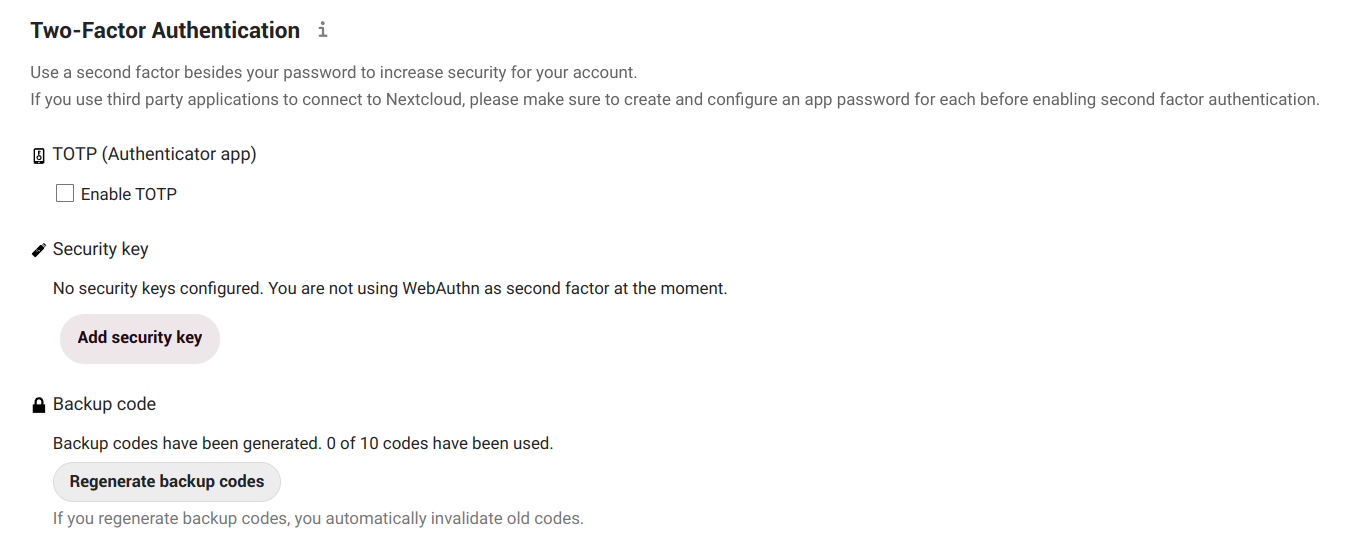
Enabling 2FA

- We enable TOTP (Time-based One-Time Password)
- Enter our Disroot password (if requested)
- We will get a TOTP secret (to manually configure a TOTP application) and a QR code to scan with a mobile app.
- In our application we generate the code and then fill in with it the verification field.
If all goes well, then we will see that TOTP is enabled.
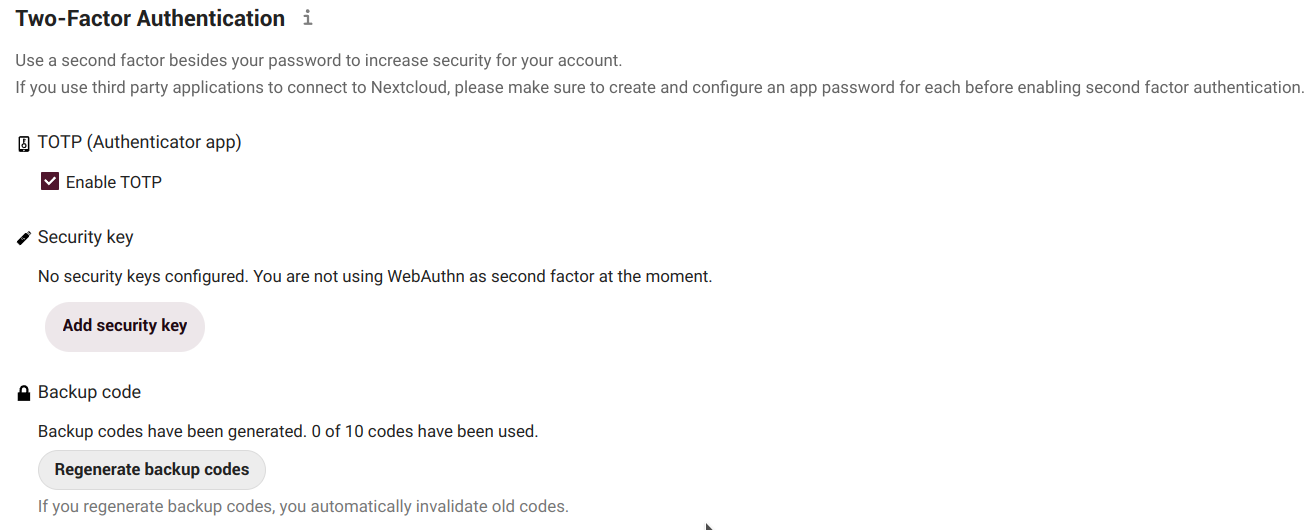
2FA Backup codes
Next step is to generate backup codes. These codes are useful in case, for some reason, our TOTP application does not work (e.g. we lost our phone). With them we can still log in again.
So once generated we should keep them in a safe place (certainly, not in our phone!).
Each code allows us to login once. Then, when we are in, we can reconfigure our OTP or disable the two-factor authentication.
Once enabled 2FA, every time we log in to the cloud we will be asked for
-
our Disroot credentials and
-
the temporary authentication code.
Security key

Besides the TOTP (Time-based One-Time-Password) method we have just seen, Disroot offers another one based on hardware tokens like USB keys.
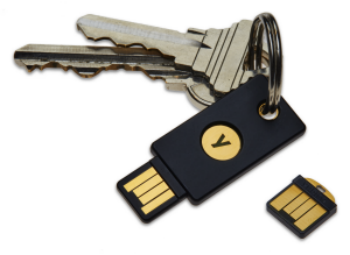
The U2F (Universal 2nd Factor) is an open standard that simplifies 2FA by using a hardware device like the USB YubiKey.
All we need to do is plug the device into our computer or laptop and press the device button to authorize it. After adding it, the browser will communicate with the U2F device to authorize us to log in.
A similar mechanics applies to Passwordless Authentication.
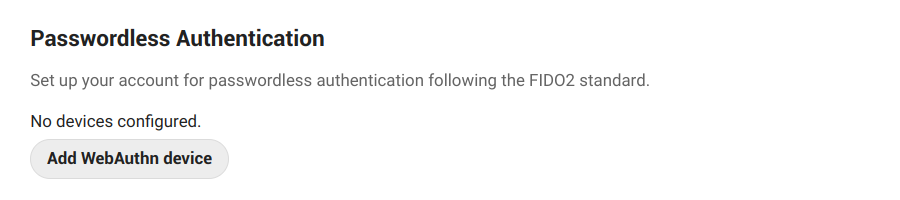
WebAuthn is a standard web API that enables users to sign in with a cryptographic key pair.
How it works?
- Our client device creates a key pair, keeping the private key on the device and registering the public key with the cloud;
- the client device authenticates us by proving possession of the private key to the service by signing a challenge (such as scanning a finger, entering a PIN, or pressing a button);
- when we go to log in, we unlock the FIDO authenticator following the same method as when we registered it;
- the device selects the correct key and signs the service’s challenge based on our account identifier;
- the service verifies the signed challenge with the stored public key and signs in us.
Basic encryption module
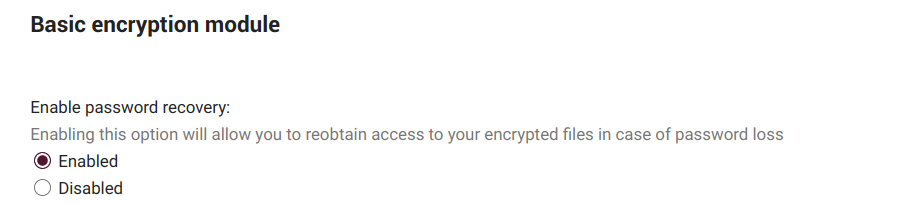
Here we can decide whether or not an administrator will be able to recover our files in case we lose our password.
Although here at Disroot we are very respectful of people's privacy and we are committed to it, the whole thing, of course, comes down to a matter of trust.
This option is disabled by default as it enables admins of Disroot to decrypt our files. So it is our choice to enable it or not but it also increases our level of accountability in managing and caring our credentials.
NOTE THAT:
enabling this option after our password was lost will not recover our files! !! We must make this decision beforehand.
Disroot strongly encourage us keep our password stored in a safe place. This is the best and only way to keep our files and account safe. We really do not want to have access to them.
Invalid private key for encryption app

If we receive a message like this when we log in to the cloud, it is because we have probably changed our password recently. Since Nextcloud uses our user password to generate the encryption keys, it is necessary to regenerate them from our new password. To do so, we must:
- go to the Settings menu and then to Security;
- scroll down to the Basic encryption module;
- type in our old password, then the new one;
- click Update Private Key Password
After login out and back into the Cloud again we should see our files and the message should have disappeared.
NOTE THAT:
if we do not remember our old password, it is still possible to reset the account but it will not be possible to recover any files on the cloud as they are encrypted with the old key.
What we have to do is to remove all files from the Cloud (this does not include calendars, contacts, etc., only files), and to contact Disroot support (support@disroot.org). Admins will then proceed wiping the key so the new key pair based on our current password can be re-generated automatically upon new login.
Devices & sessions
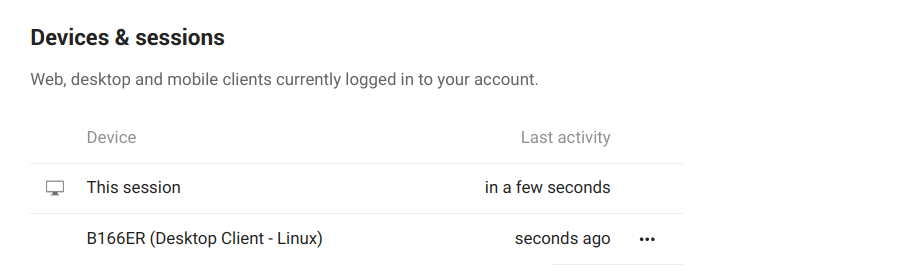
Here we can see how many devices are currently connected to our account. If we do not recognize one connected device, it might mean our account has been compromised and we should proceed to change our password.
We need to keep in mind that:
every browser, mobile, computer, etc., will be shown as separate devices each time we change our network, for example. So we do not have to freak out at first. We just seriously double check everything, before we go full on paranoid mode.
App password

When two-Factor authentication is enabled, third party applications (like our email or notes clients) will not be able to login our account with our user credentials only. For those devices we can create a specific password for the app.
Notifications
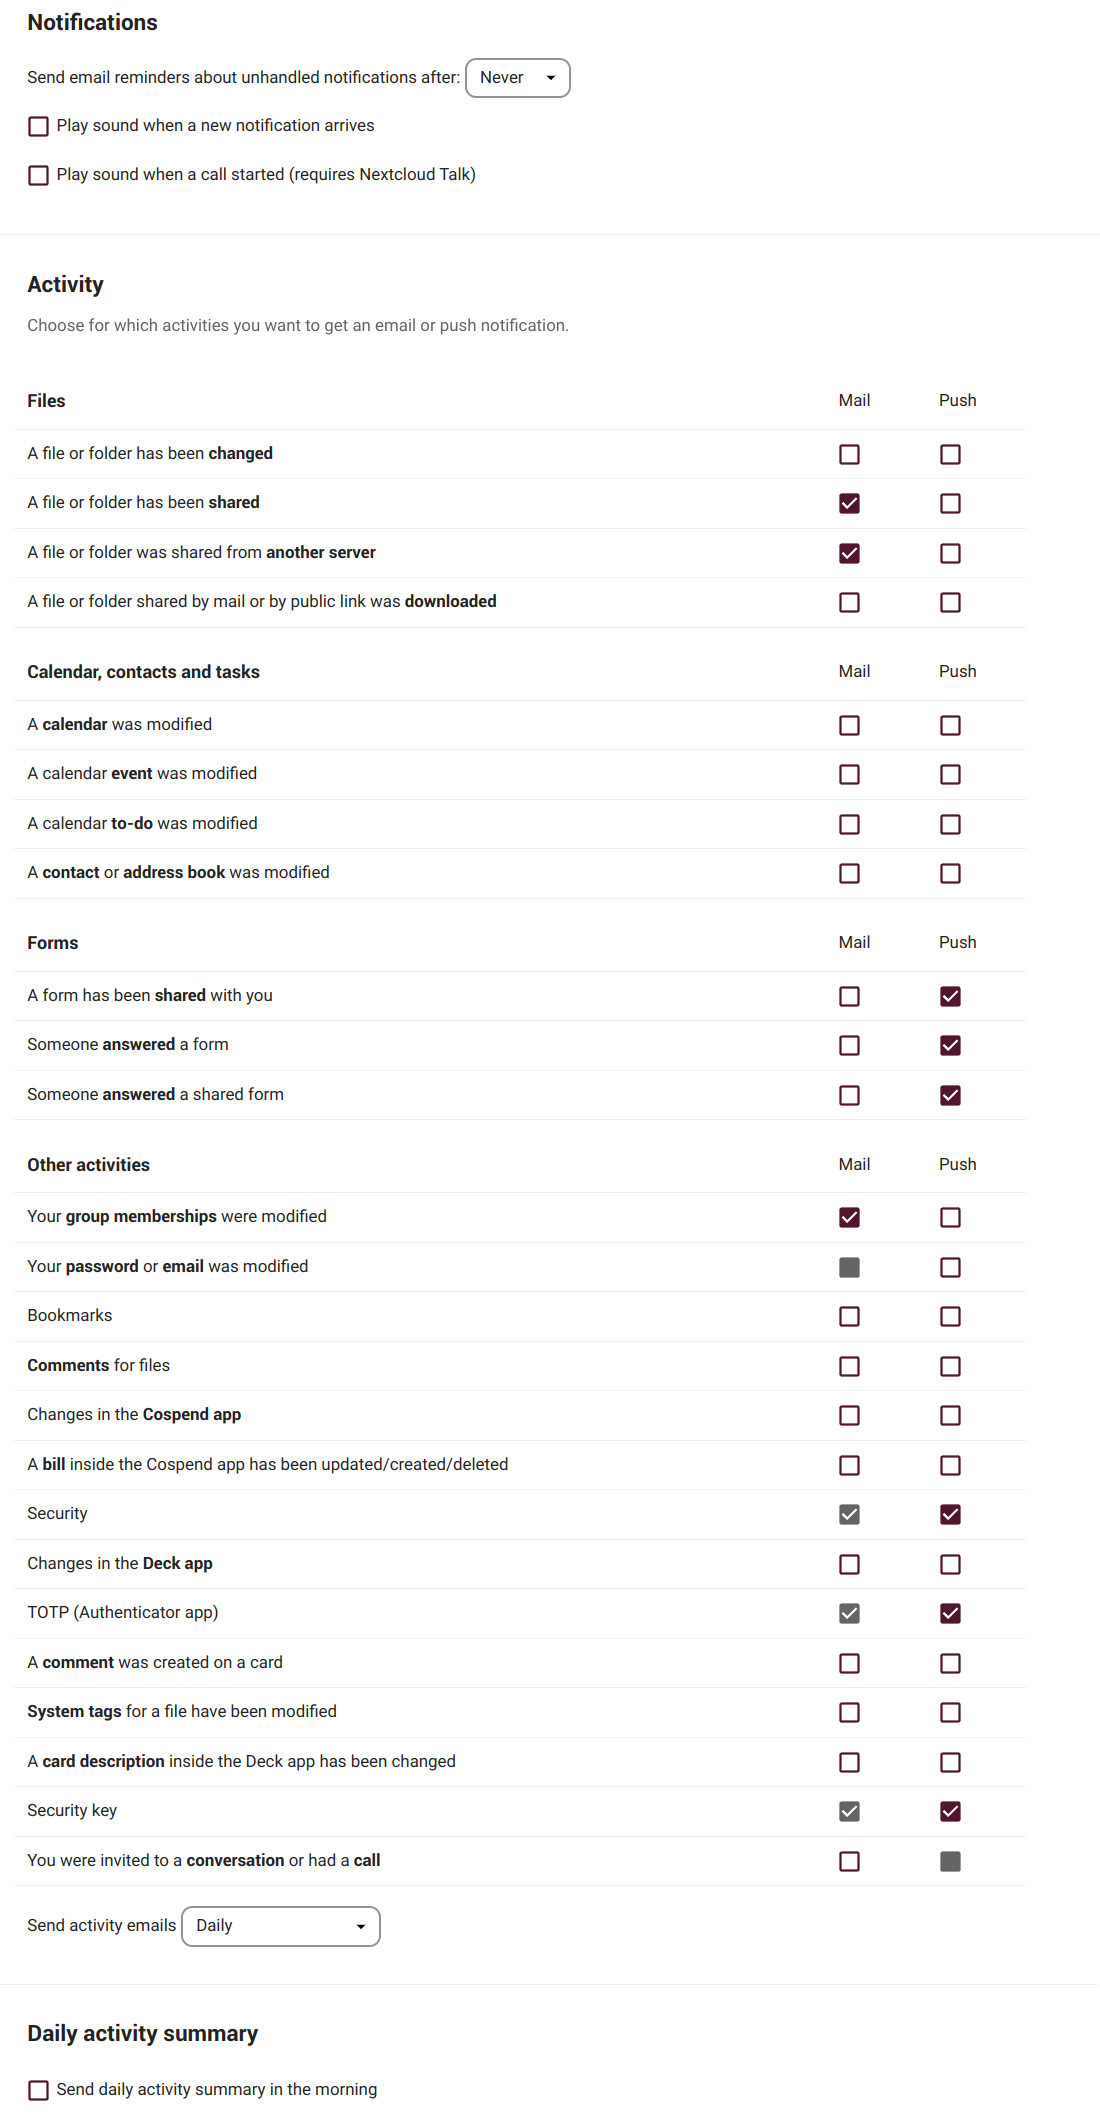
Here we can configure whether we want to be notified or not and how when certain actions or activities take place. The configurations in this section are quite simple and straightforward.
External storages
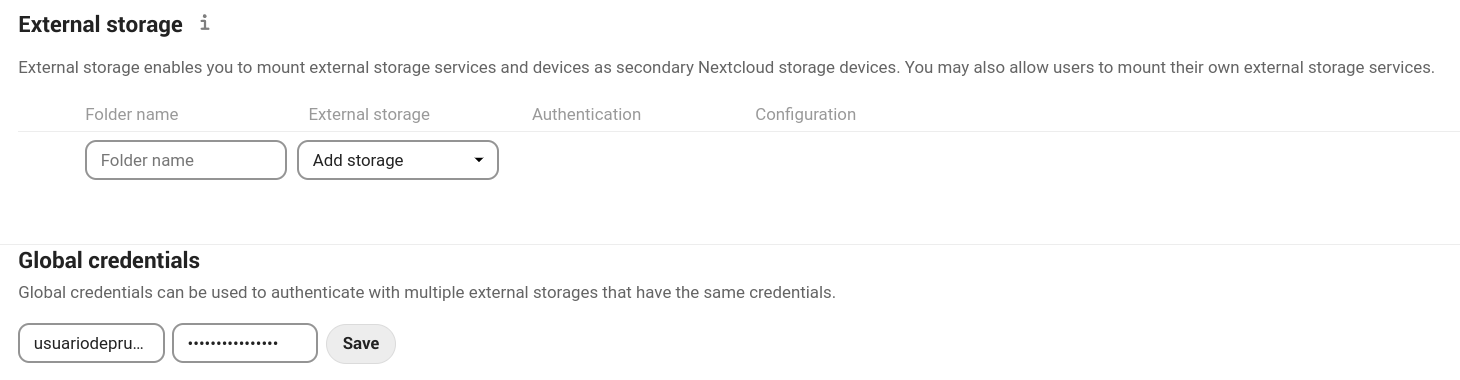
The external storage application allows us to mount external storage services and/or devices as secondary Nextcloud storage devices.
Configuring an external storage
First we need to create a folder in our Files where the external storage will be mounted. Then select an available option and then an authentication method.
-
Username and password: it requires a manually-defined username and password. These get passed directly to the backend and are specified during the setup of the mount point.
-
Log-in credentials, save in session: it uses our Cloud login credentials to connect to the storage. These are not stored anywhere on the server, but rather in the user session, giving increased security. Although sharing is disabled when using this method, since Nextcloud has no access to the storage credentials.
-
Log-in credentials, save in database: as the previous method, it uses your login credentials to connect to the storage, but these are stored in the database encrypted. This allows to share files from within this mount point.
-
Global credentials: it uses the general input field for “Global credentials” in the external storage settings section as source for the credentials instead of individual credentials for a mount point.
-
Global credentials, user entered: similar to the previous method, but credentials need to be specified by each user individually. Before the first access to that mount point the user will be prompted to enter the credentials.
Mobile & desktop
Here we will find shortcuts to the mobile and desktop Nextcloud applications...
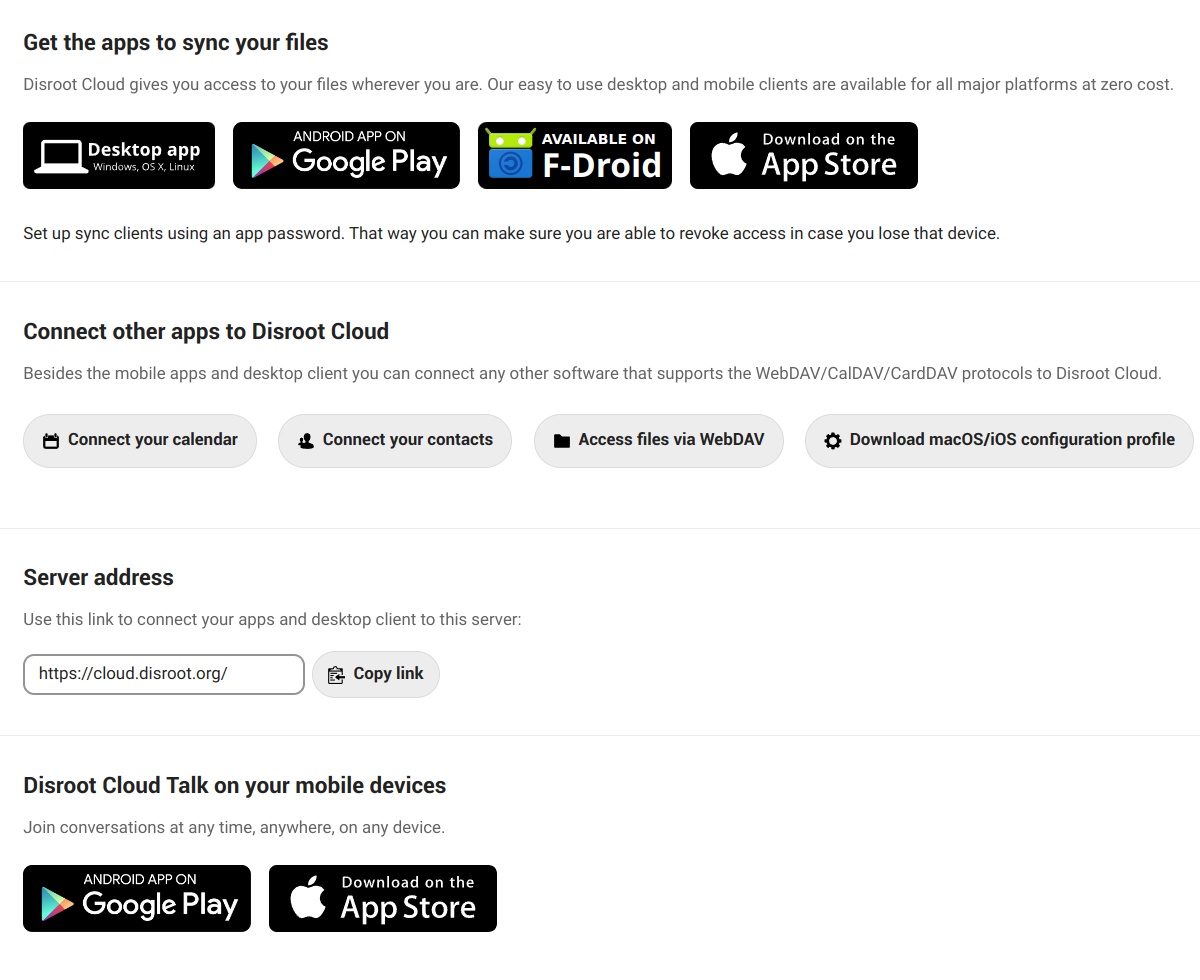
... as well as shortcuts to documentation about how to connect our calendar and contacts, access via WebDAV or download the configuration file for macOS/iOS.
Sharing
In this section we can find our Federated Cloud ID, our identity in the ecosystem of platforms that use the same or similar software to store and share information.
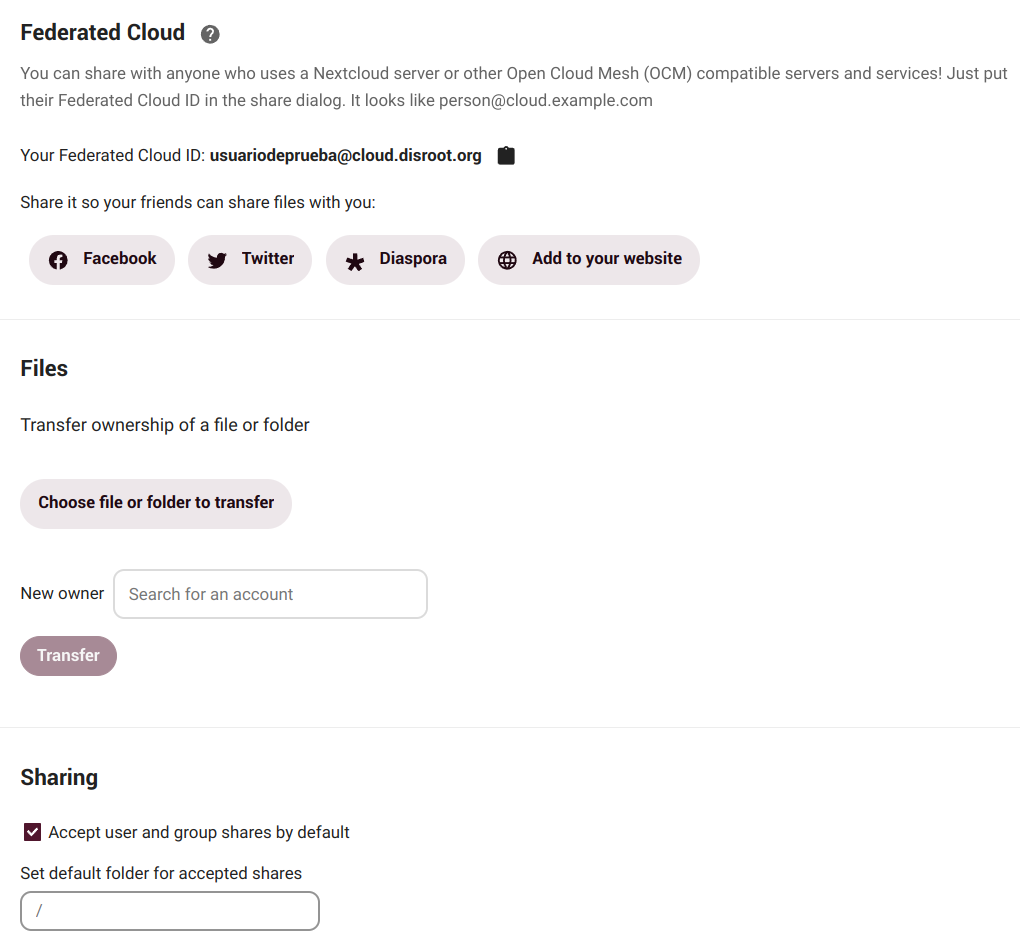
Federated cloud
Nextcloud allows us to share files, calendars, contacts, etc., between users of different platforms that use similar software, so we can collaborate with each other regardless of the service provider. We can share our Federated Cloud ID with others by just sending a link or via predefined platforms (we can add our preferred ones if they are not included).
Files
Here we can change the ownership of a file or folder by selecting it and entering the username of the person to whom we want to transfer ownership.
![]()
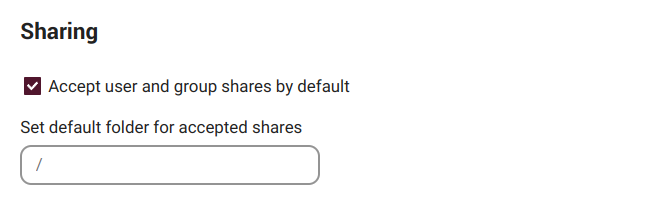
Sharing
By default, we will automatically accept user and/or groups shares. We can disable that option here and set a default folder for accepted shares.
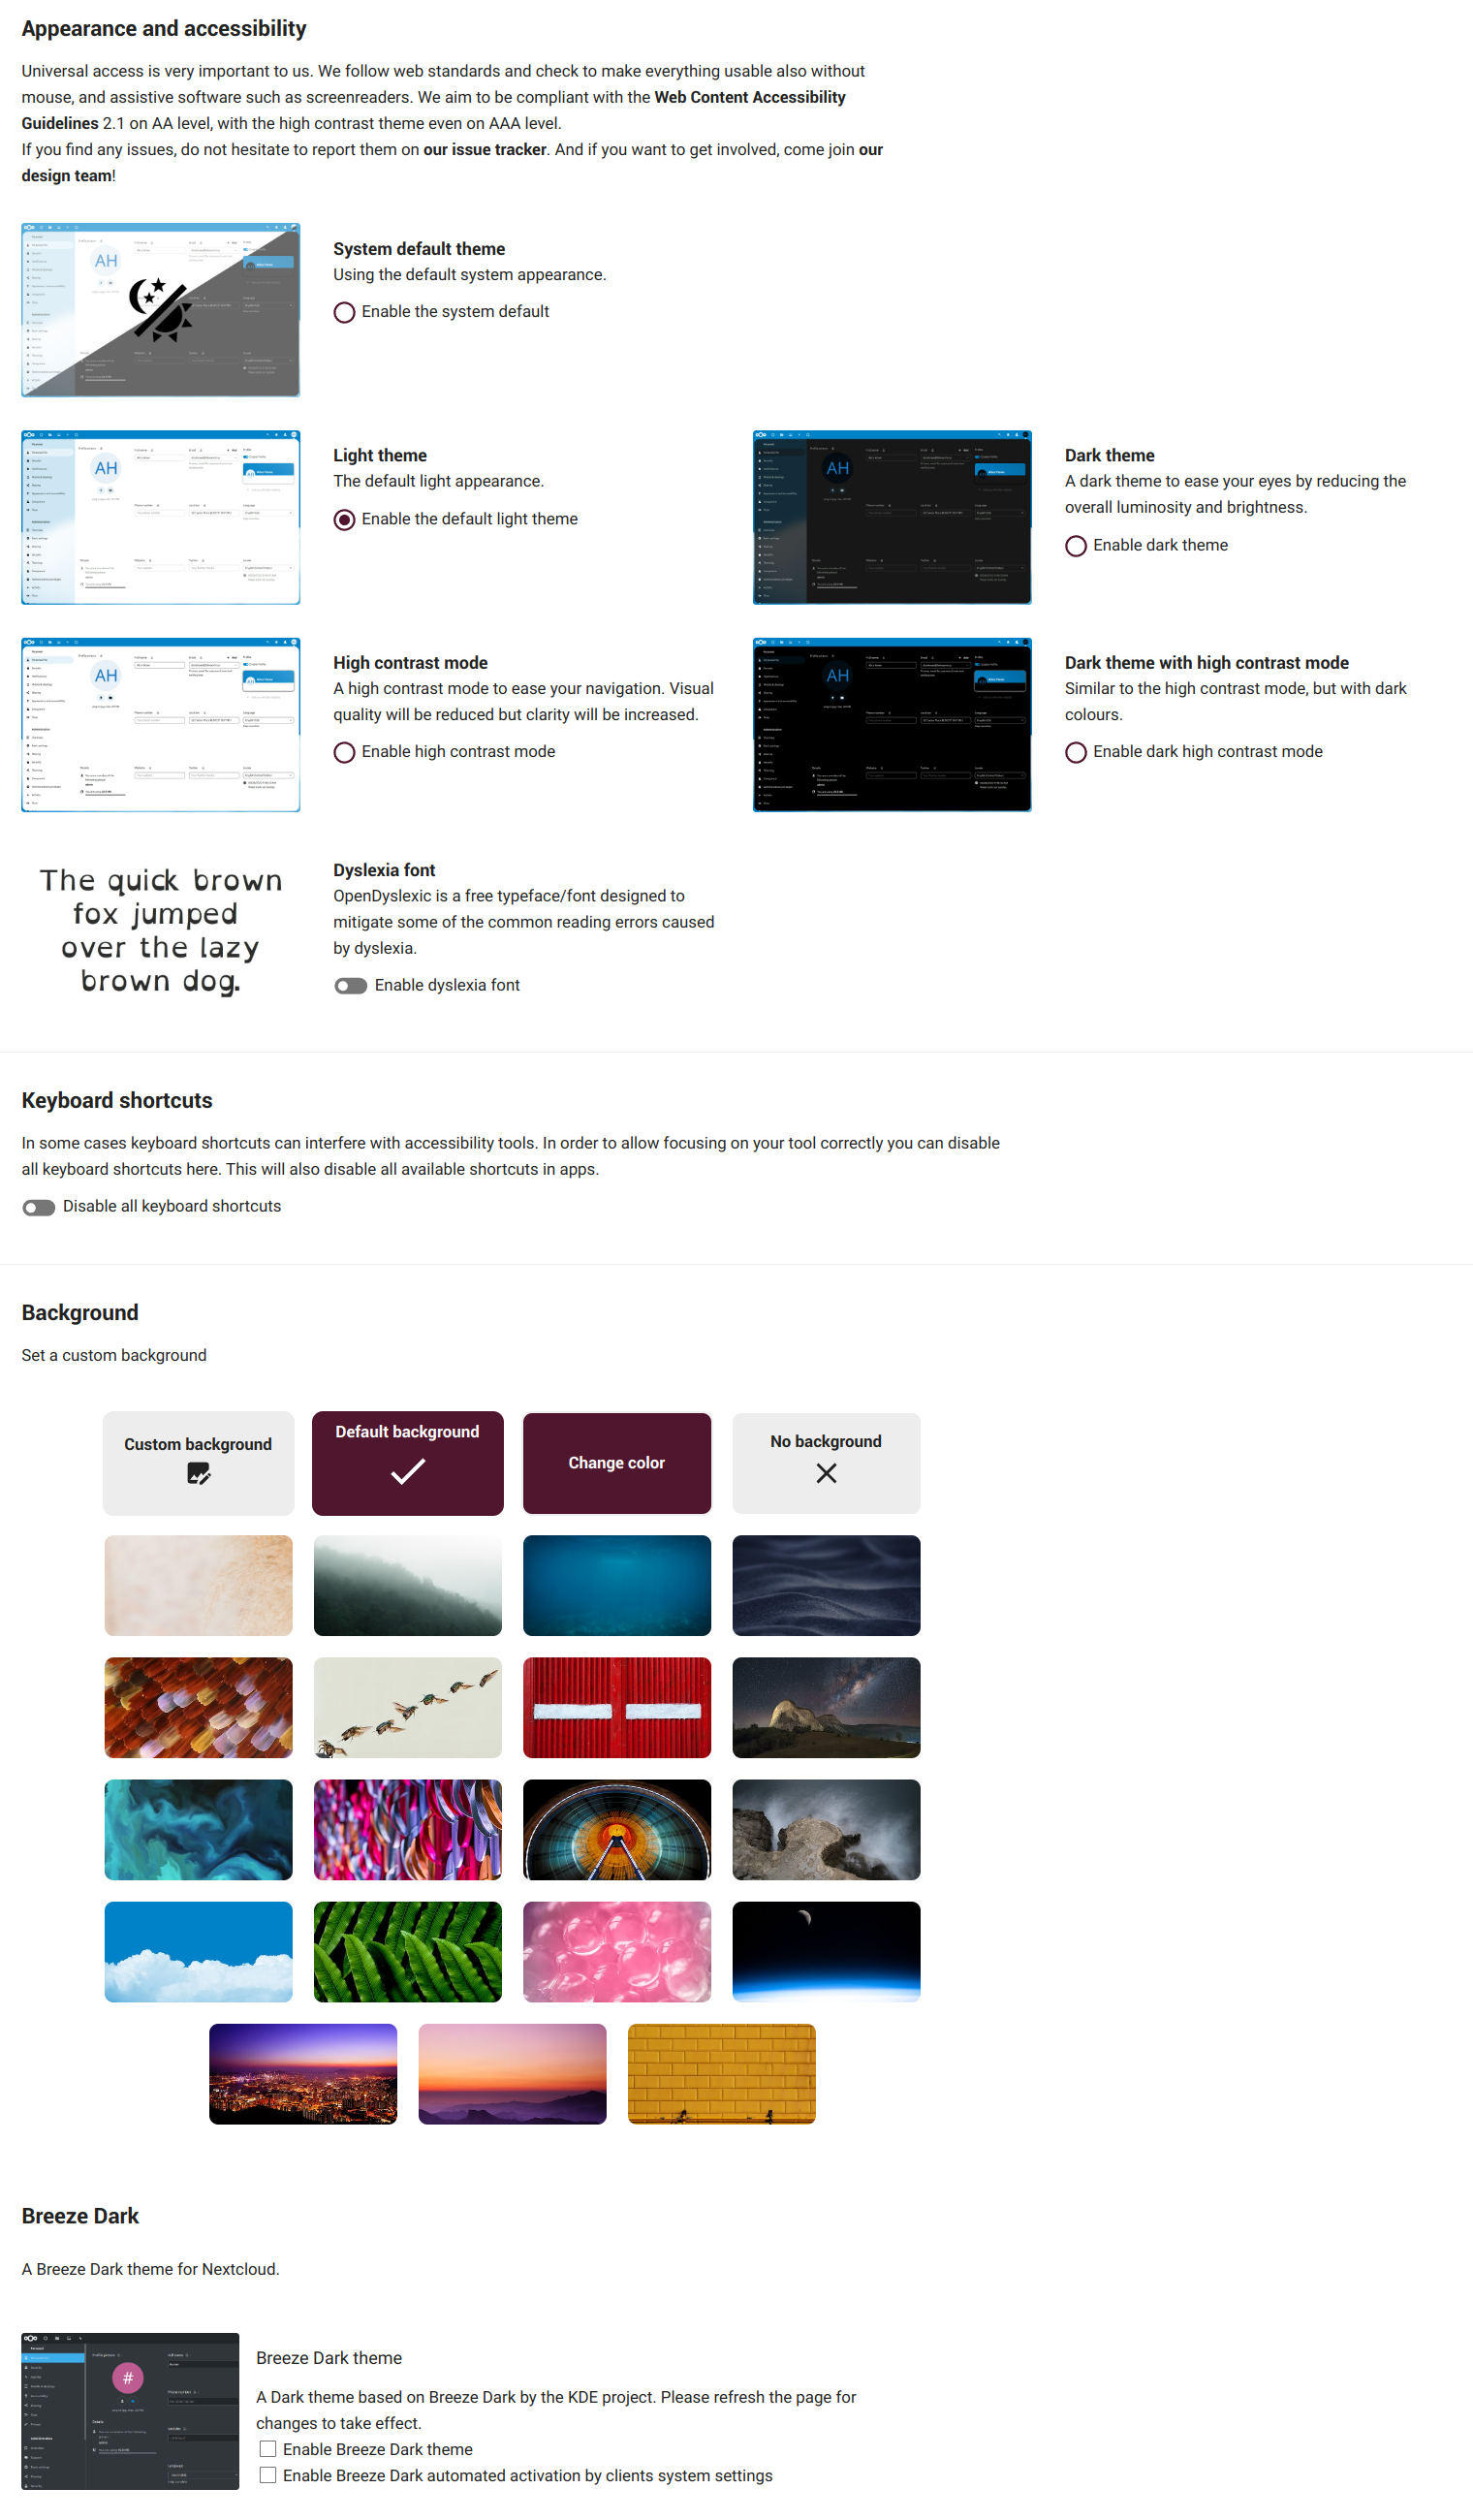
Appeareance and accesibility
In this section we can change the cloud theme and the default cloud font to the Dyslexia font.
Keyboard shortcuts
Enable/disable the cloud keyboard shortcuts.

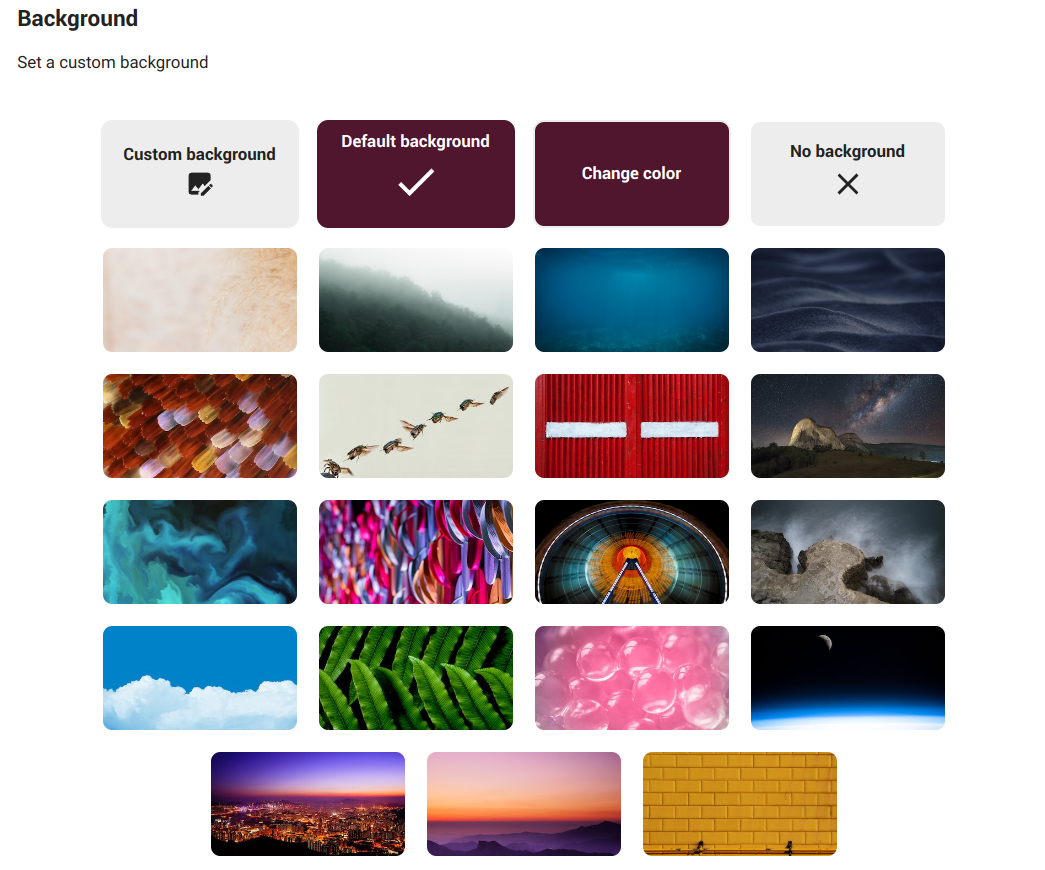
Background
To set a custom background.
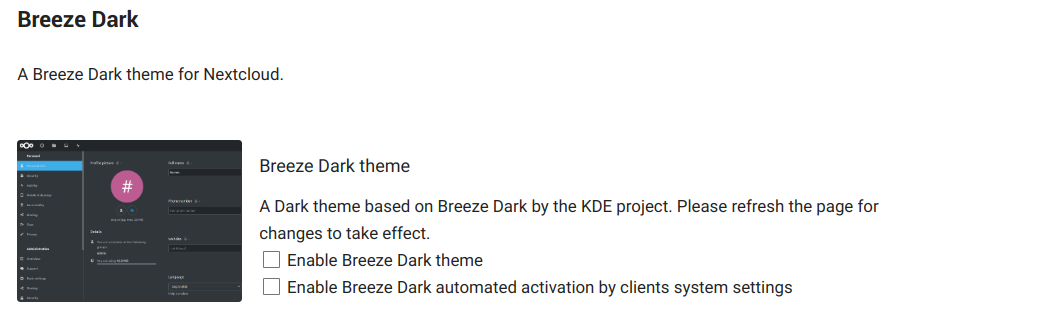
Breeze Dark
Set the KDE Breeze Dark theme for Nextcloud.
Availability
Here we can configure our working hours, this way other users will see when we are out of office when they book a meeting, for example.

Flow
Flow is an application designed to help users automate tasks. For example, if we are working in a group on a document, we can set up a flow that sends a notification to our team's chat room when someone changes the file.
Current workflows available:
-
Write to conversation: it writes event information into a conversation of our choice.
-
Create bookmark: it takes a link and adds it to our collection of bookmarks.
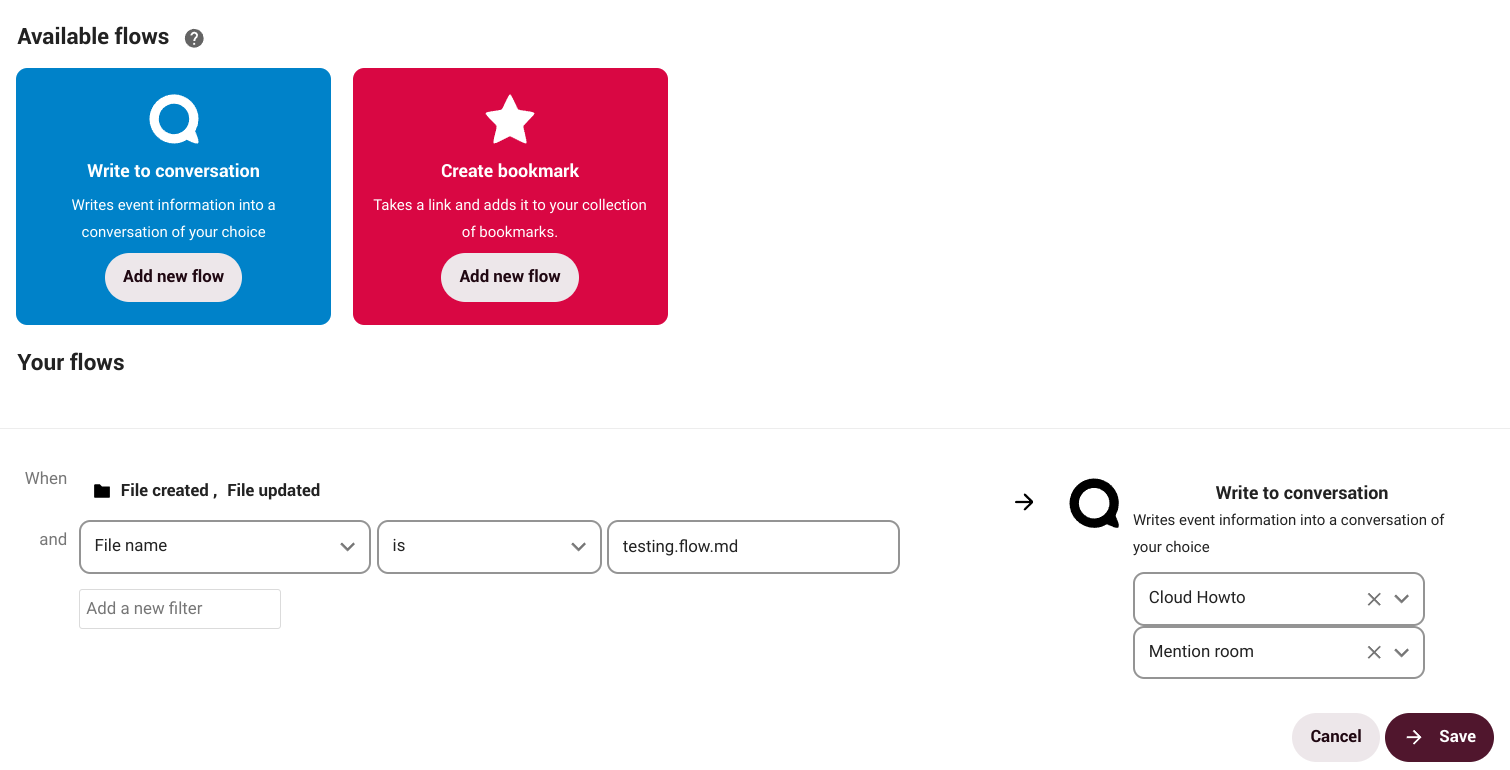
How does it work?
Suppose we create a document that requires the participation of others and for that we create a conversation with our group via NC Talk. Through Flow, we can establish that every time the document is modified the group will be notified in the conversation. We can set a number of actions and tasks not only on a document, but also on a folder or other files.

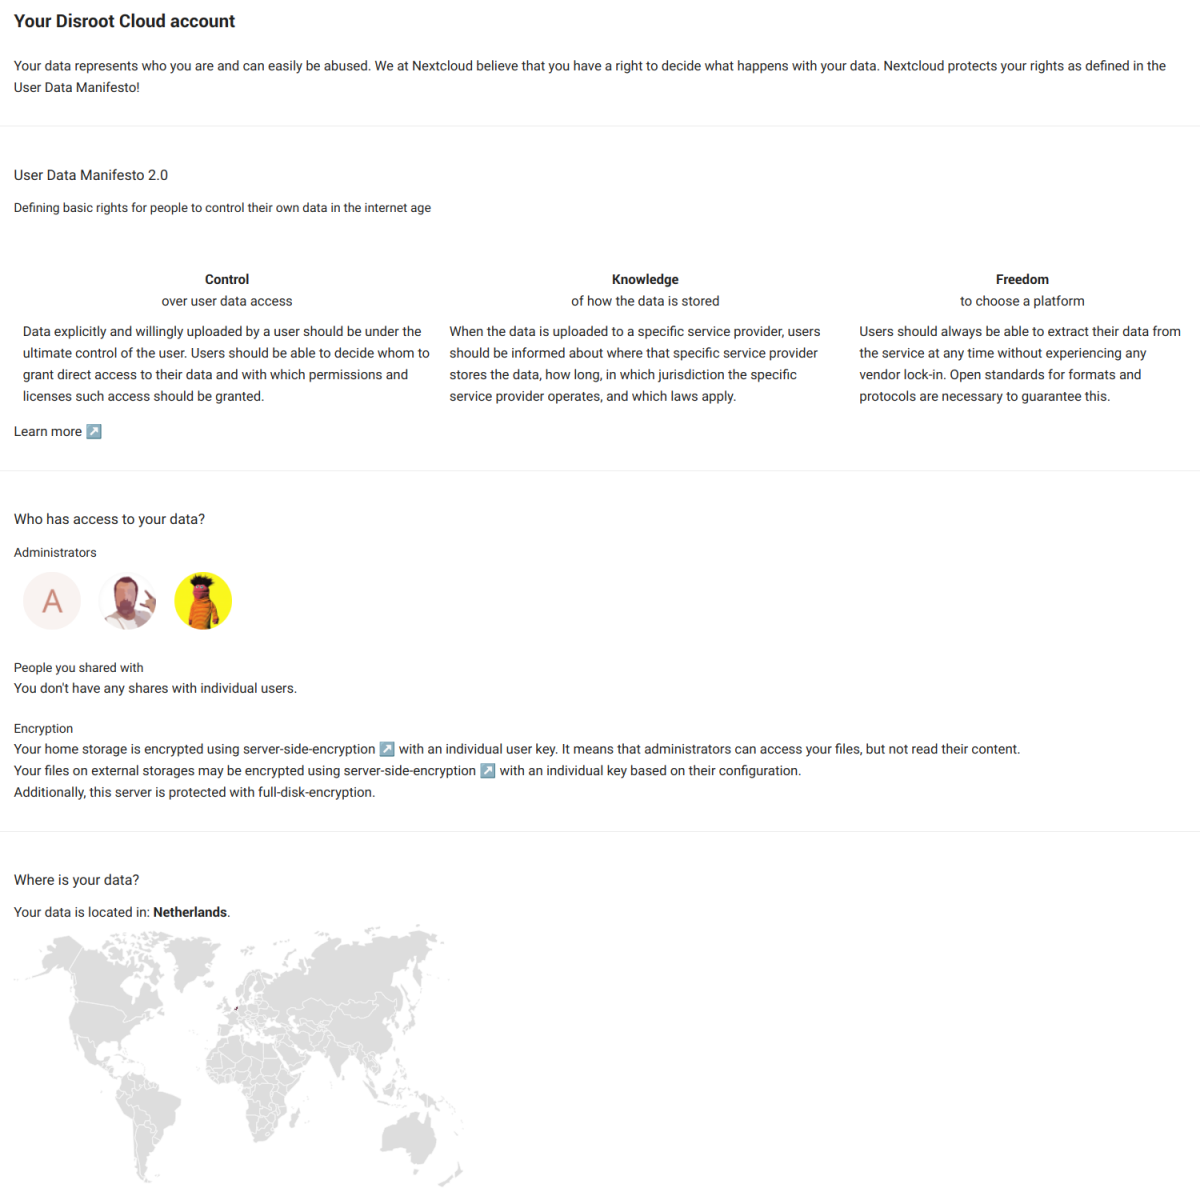
Privacy
This section is merely informative. Here we can find the Nextcloud User Data Manifesto, who has access to our data (in our case, Disroot admins), with whom we have shared something, how our data is encrypted and where is it located.
Custom menu
Here we can set whether or not to use our own custom menu.
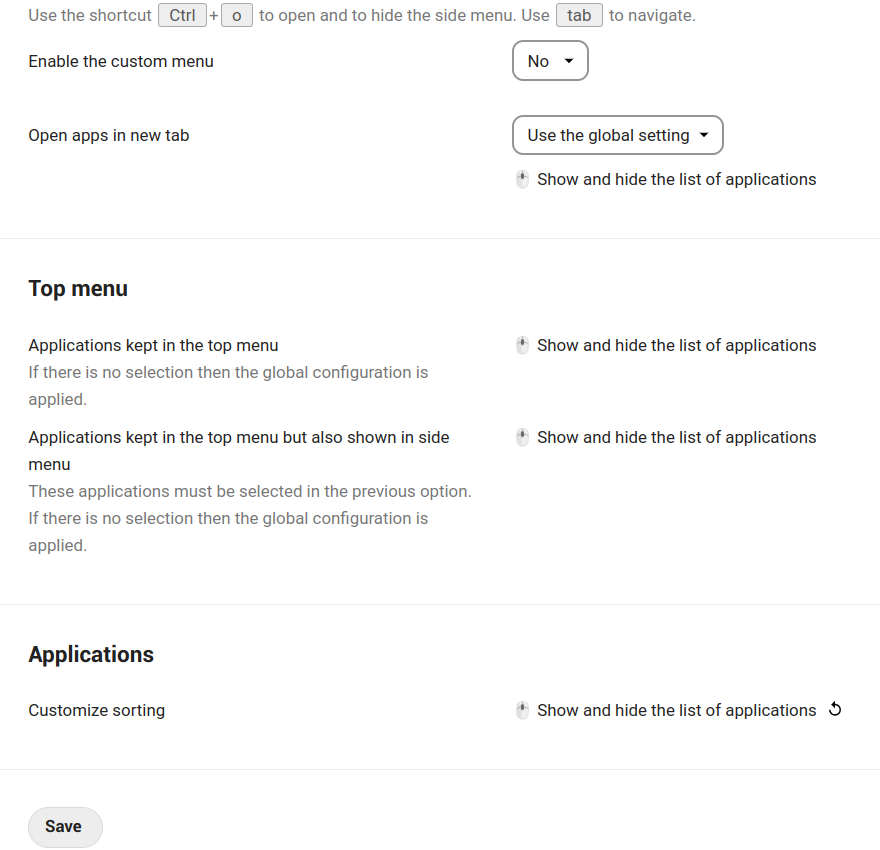
Its use is quite intuitive. We can choose which applications and in which order we want them to appear in our menu.
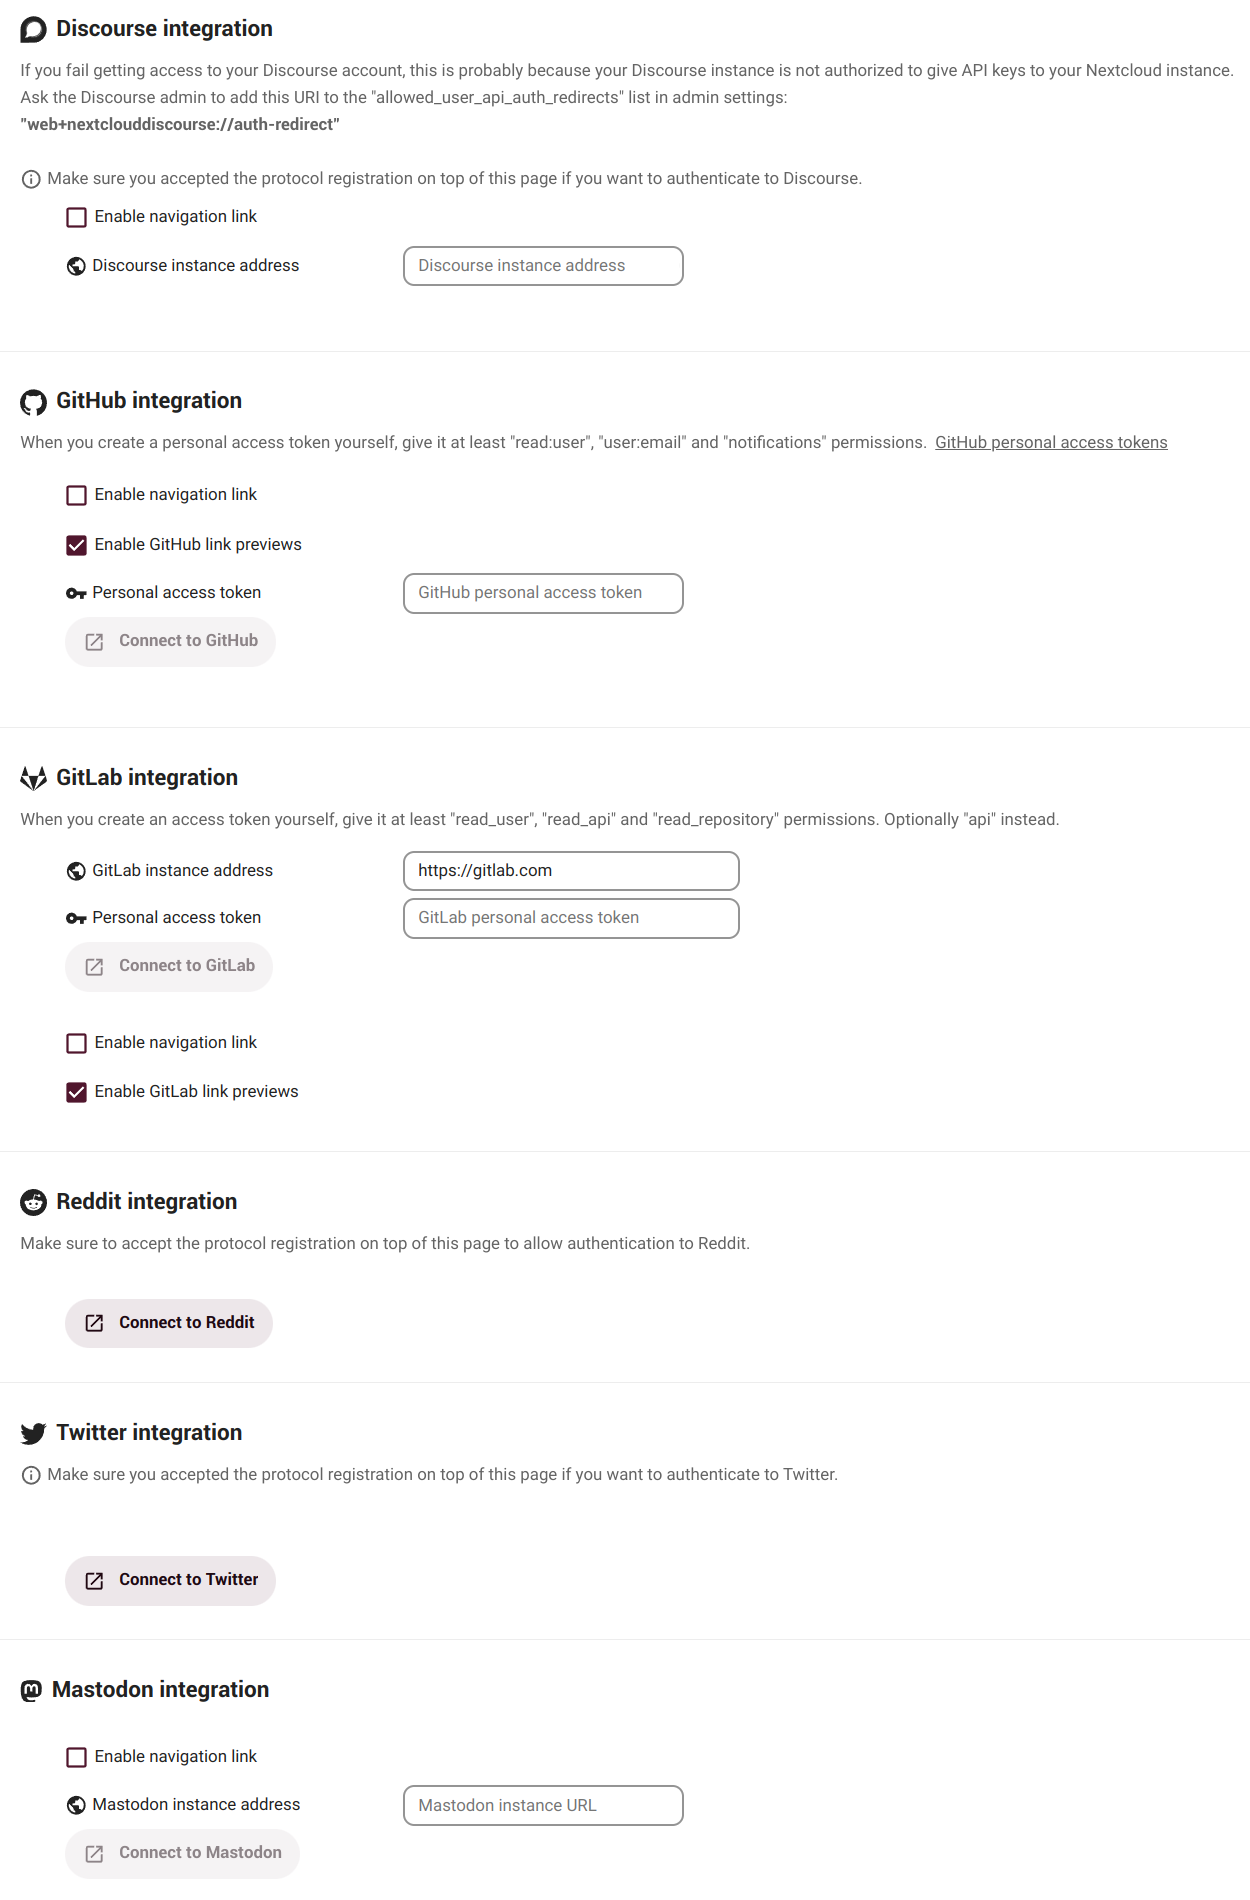
Connected accounts
In this section we can integrate a number of services we can access from our dashboard app.
These are our settings. Time to work with our files.
