Evolution
![]()
If we do not have Evolution installed, we can get it via the software manager of our system or download and install it as a Flatpack file.
Configuring our Disroot calendar
If we have never used Evolution before, the first time we open it we will prompted to set up an account.

We click on Next to start setting up our calendar.
In Identity section we will be required to enter our name, our email address and optionally other information such as a Reply-To address, Organization, Signature and Aliases.
Once we are done, click on Next.

Evolution will automatically fetch the server information, configure the account for us and present a summary to verify the information and if we are satisfied, we click on Next.

And that's it.

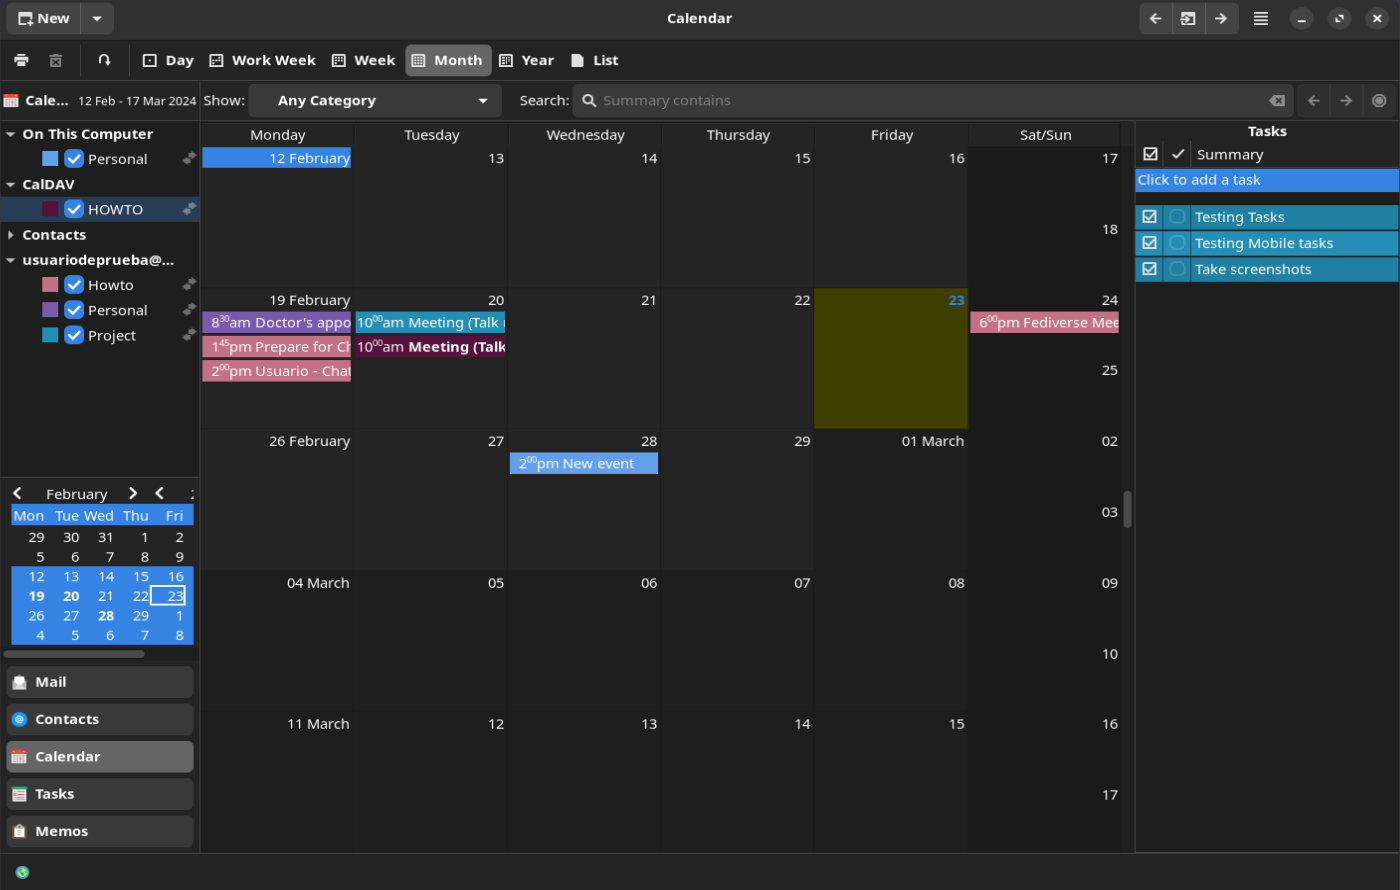
Now we can access our calendar from Evolution.
Configuring a new calendar
To add a new Disroot calendar, we click on the New menu in the upper left corner and select Calendar.

A dialog will open and we will need to select CalDAV from the Type options and then OK.
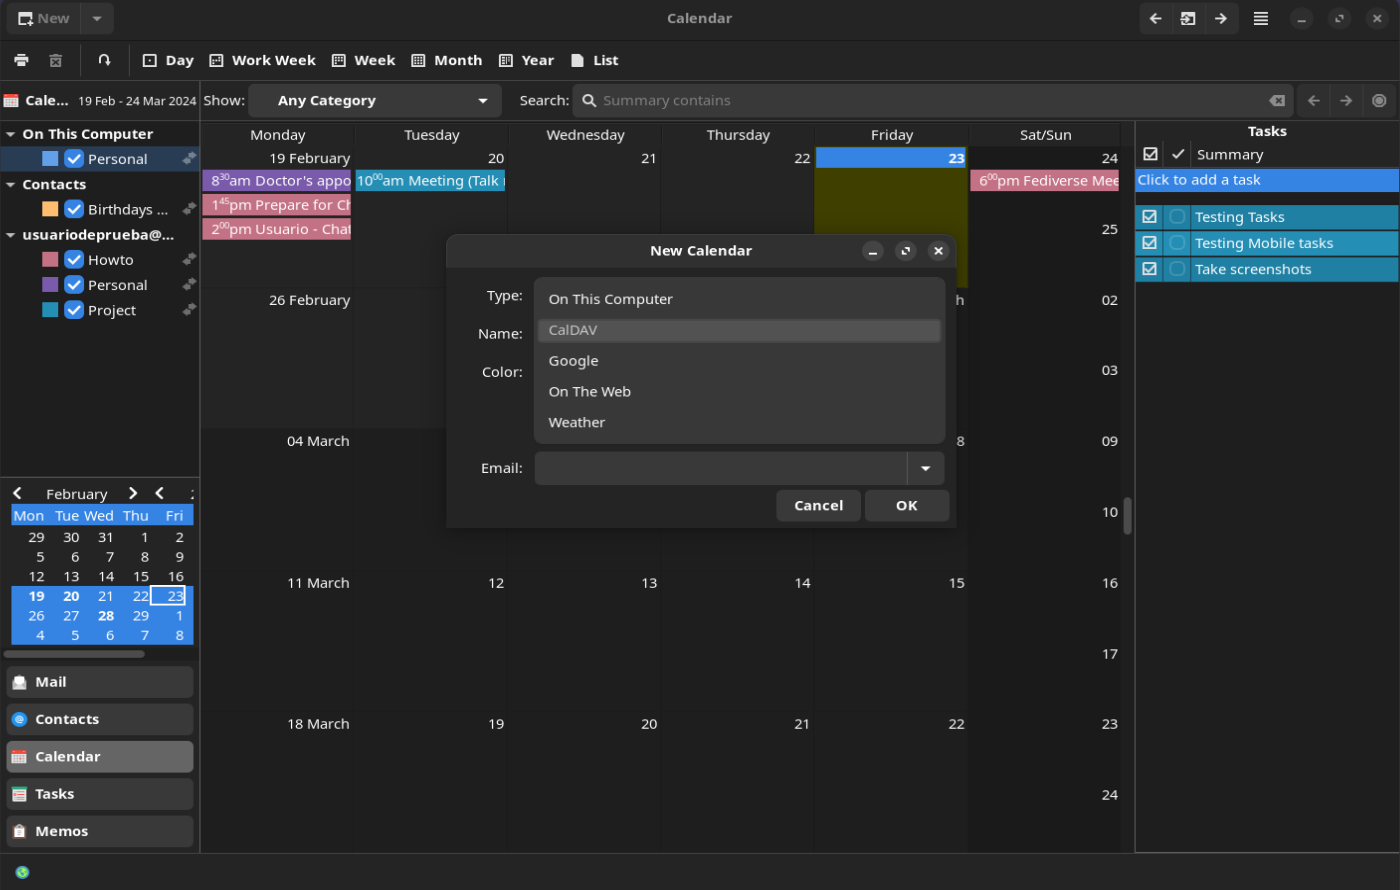
We can set a name and a color for the calendar. In the URL field we need to enter the CalDAV address of our new calendar, in Disroot's calendars case it is https://cloud.disroot.org/remote.php/dav. Next step is to enter the Disroot username linked to calendar we want to add and then click on Find Calendars.

We will be required to enter the account password. Then click OK.

Evolution will fetch information about the calendars configured in the cloud and we can choose the ones we want. Then click OK again.

We can select, or not, to link the calendars to the email of an account, if the server will handle meeting invitations or it will be done from the client, the refresh frequency and if we want Evolution to sync with the cloud on a metered network. We click OK for the last time.

It will synchronize the client with the cloud account and we will see our calendars synced and connected.