
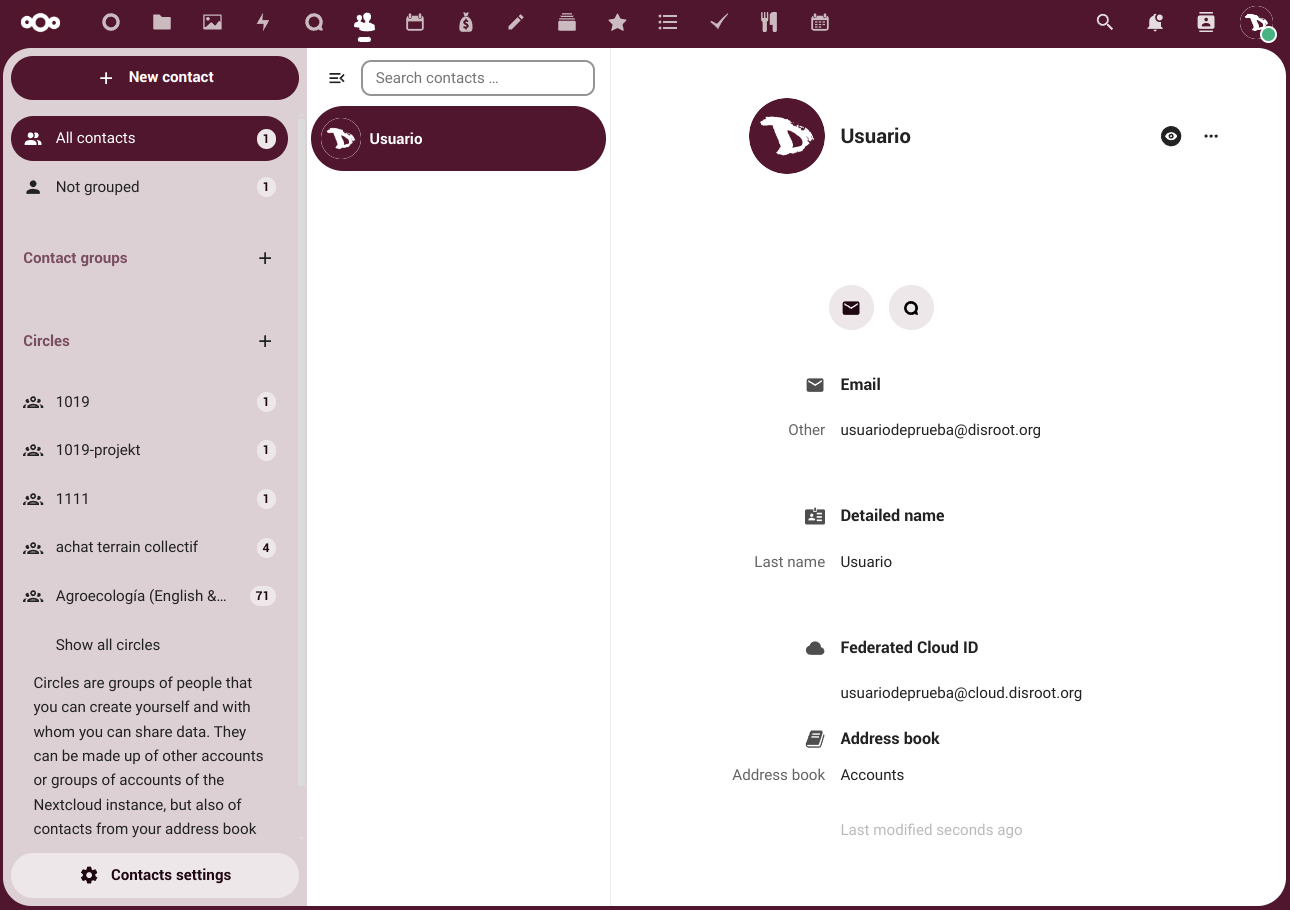
Contacts
We can access the app by clicking on the Contacts icon on the top bar of the web interface.

Creating and managing contacts
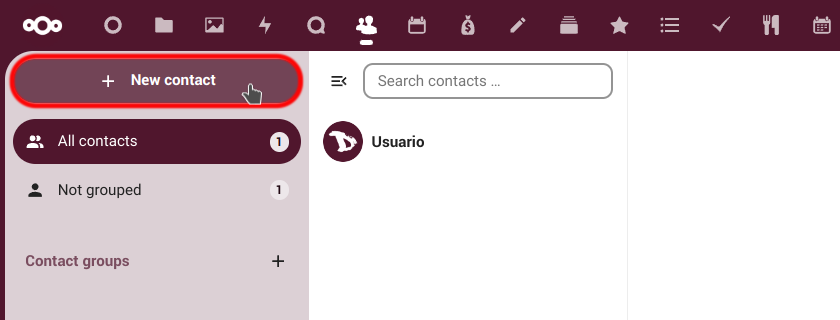
New contact
To create a new contact we just click on the + New contact button on the left side panel.
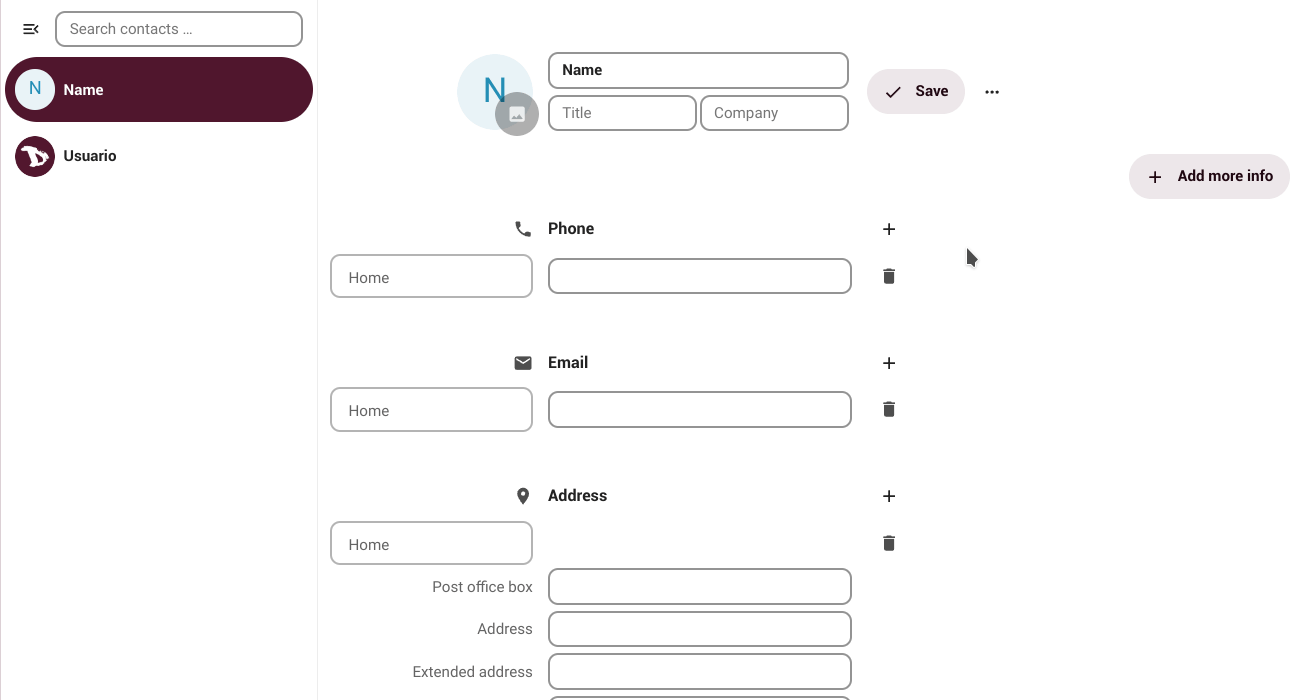
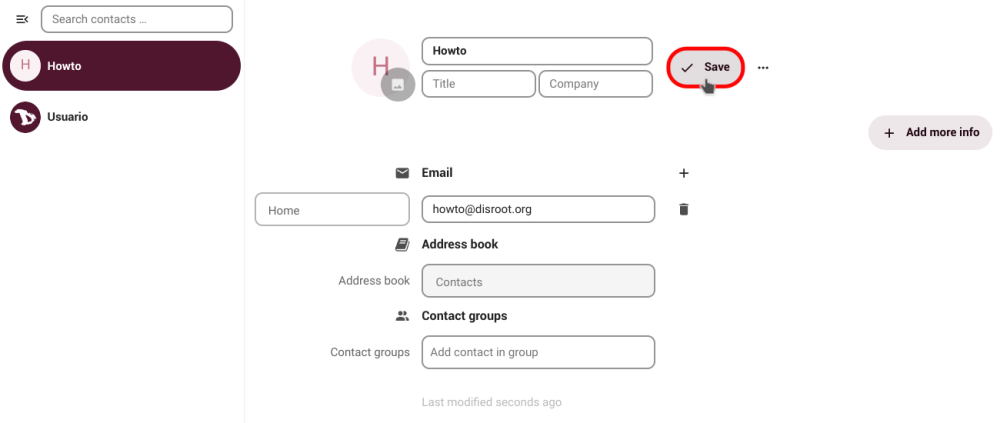
The View Editor will be opened in the main window. Here we can specify all the information we want/need about a contact.
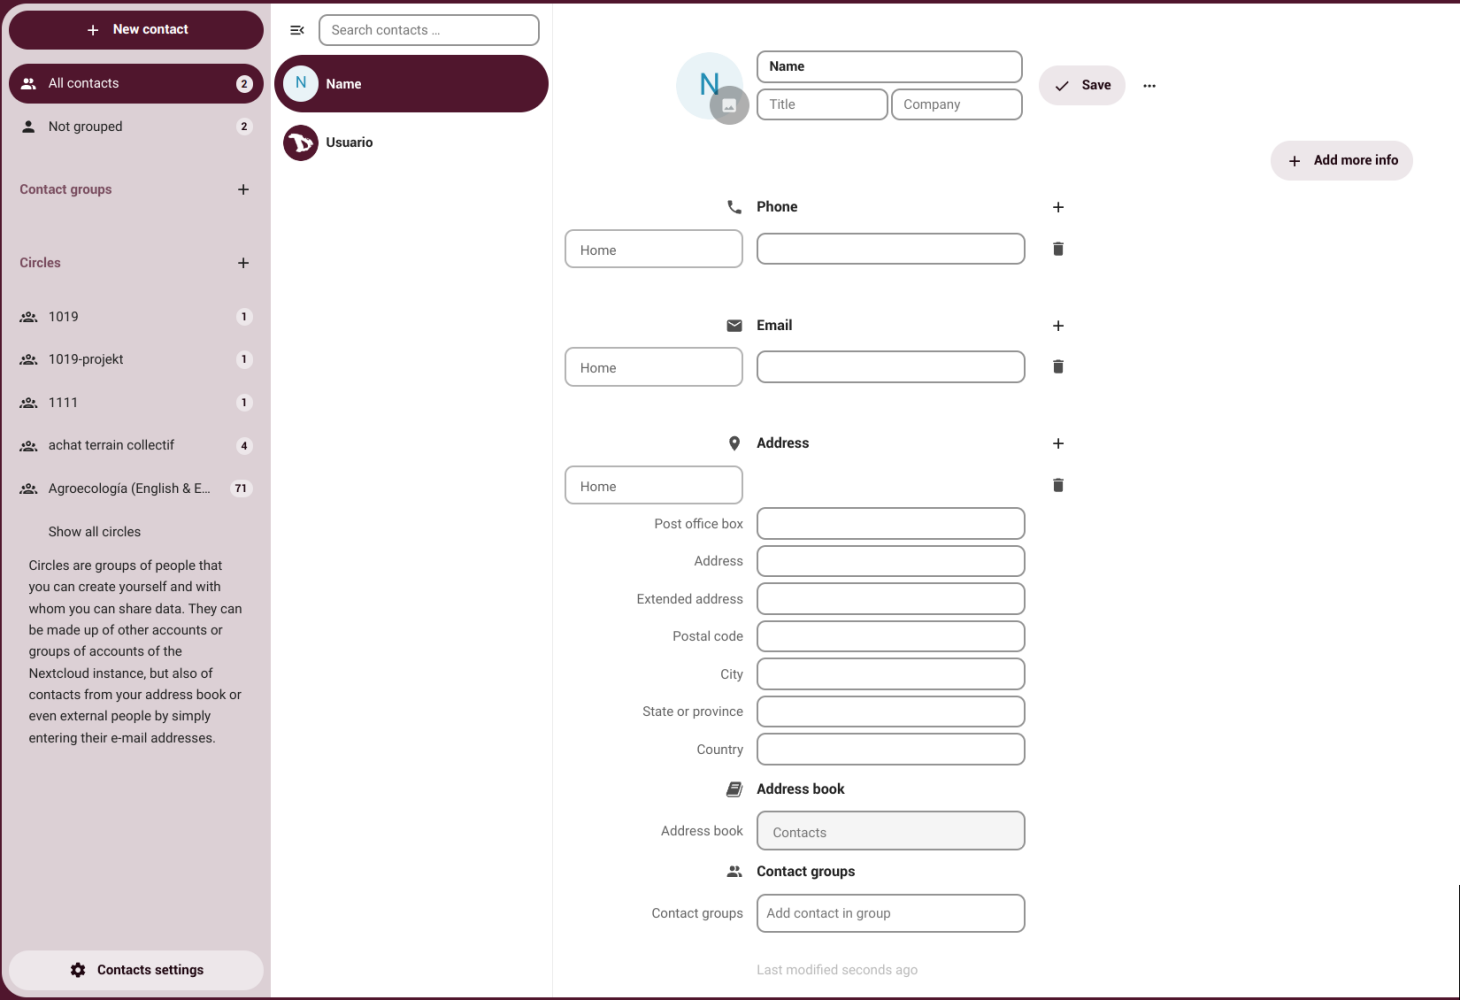
We can also create or remove property fields and add more information if we need it.
Once we are done, just click on Save.
Delete a contact
Now, to delete a contact we have to select it and then click on the three-dots menu at the right of the Edit button and click on Delete.
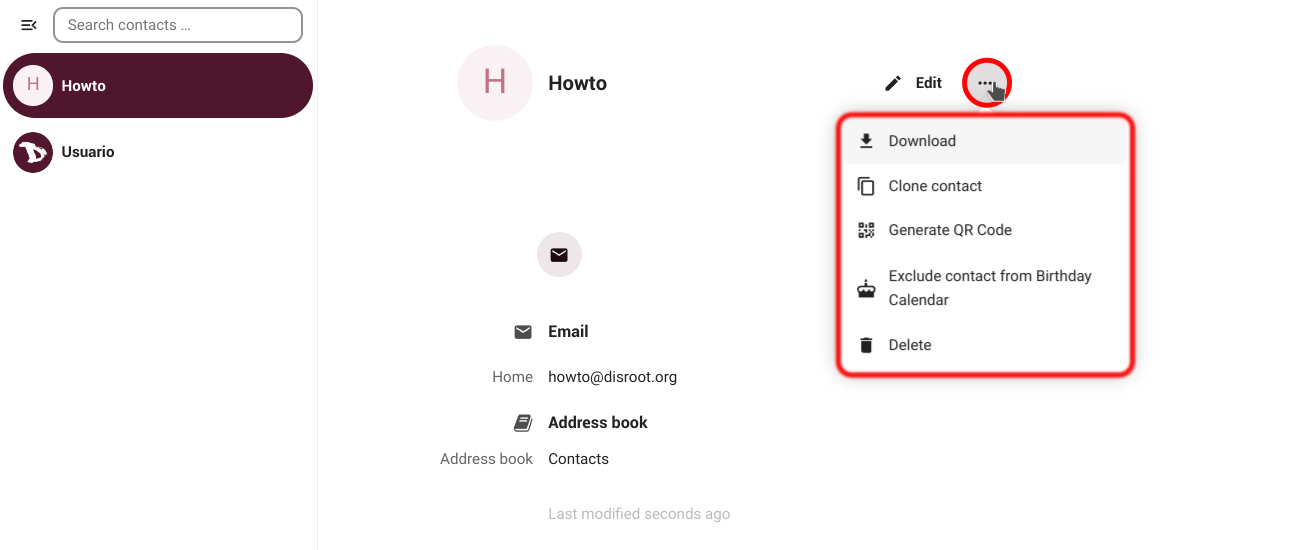
From this same menu we can download a contact, clone it, generate a QR code for it and exclude it from the birhtday calendar.
Importing contacts
Another way to add contacts is by importing a .vcf file (vCard format).
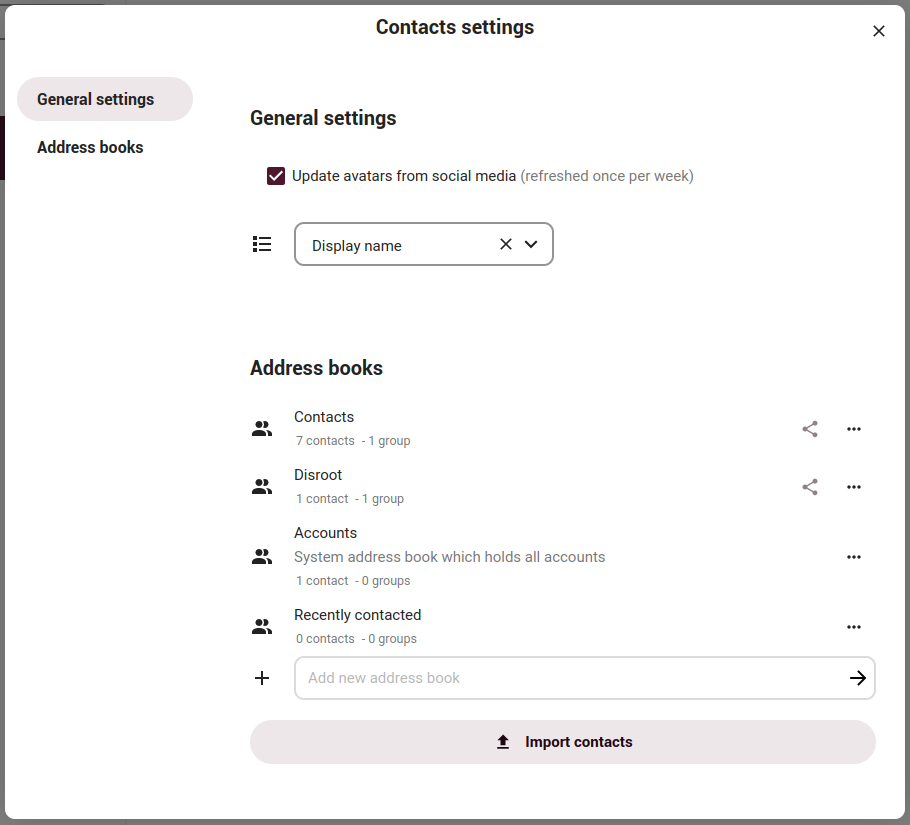
- We click on Contacts settings at the bottom of the left side panel;
- then click on Import contacts;
- we select if it is a local file in our computer or a file we already have in the cloud;
- we choose the file and the contacts will be added to our address book.
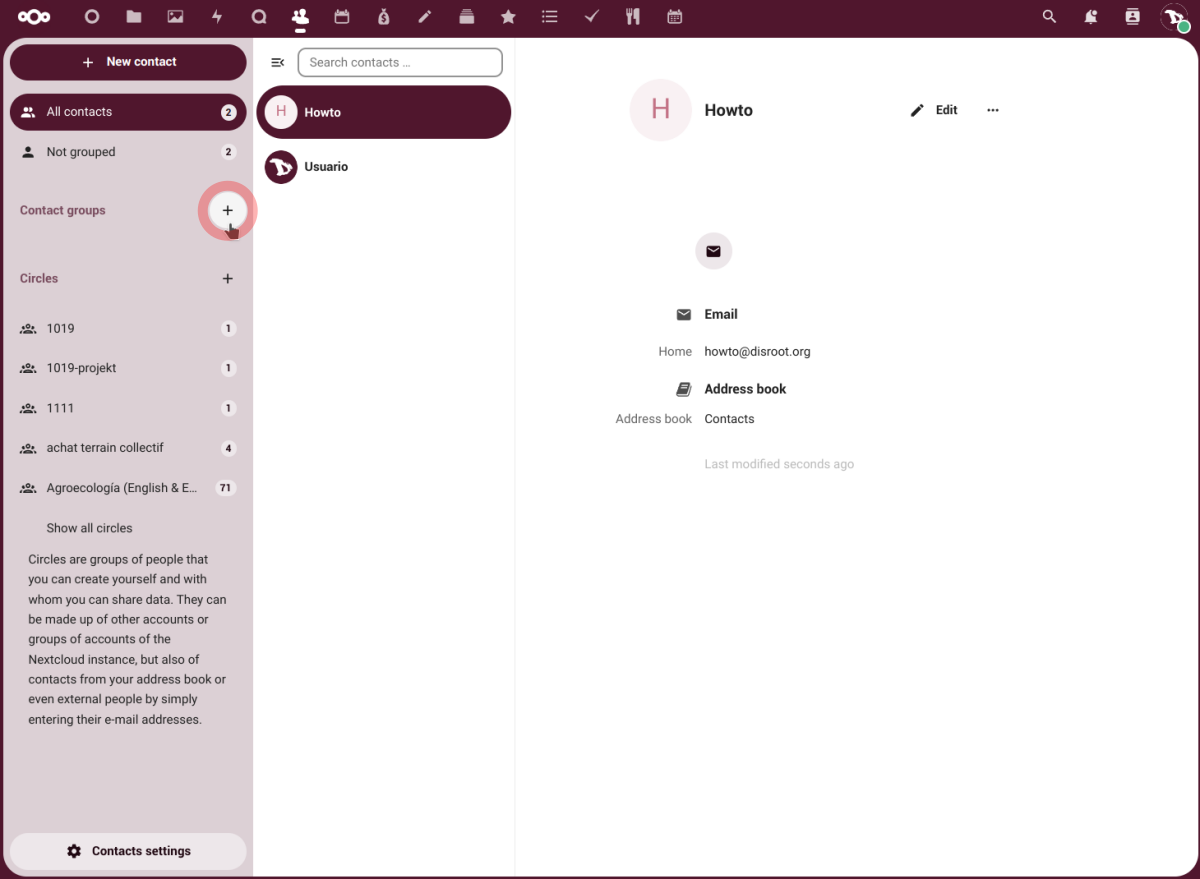
Contact groups
We can create groups to organize our contacts, for example: school, work, friends, etc.
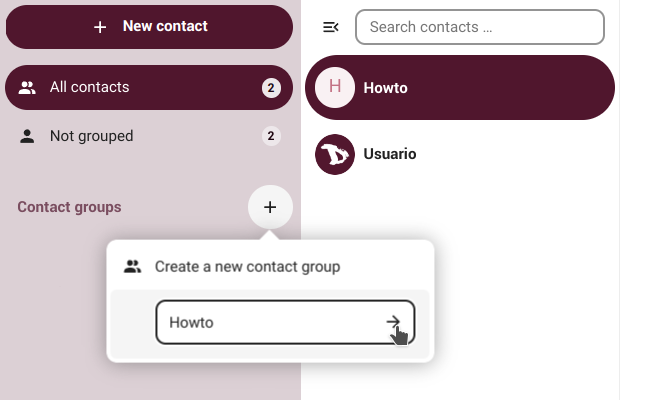
To do so, we click on the + (plus) icon in the Contact groups option in the left side panel.
We write a name for the group and press Enter or click on the arrow icon.
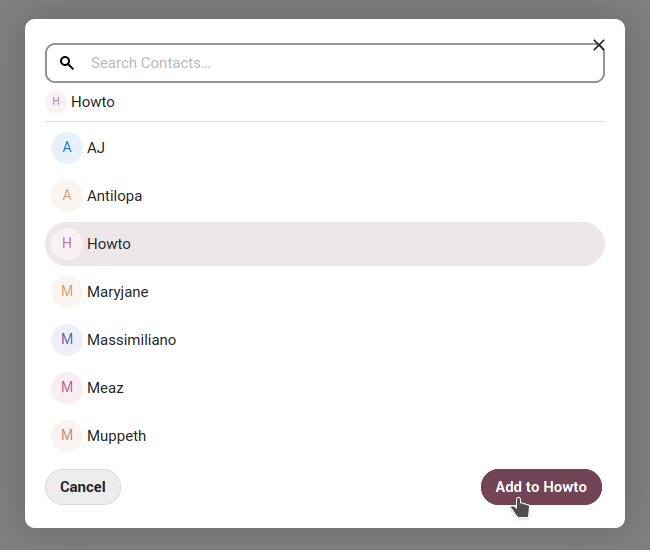
Once created the group we can assign new contacts to it by clicking the three-dots menu at the right of its name and selecting Add contacts.
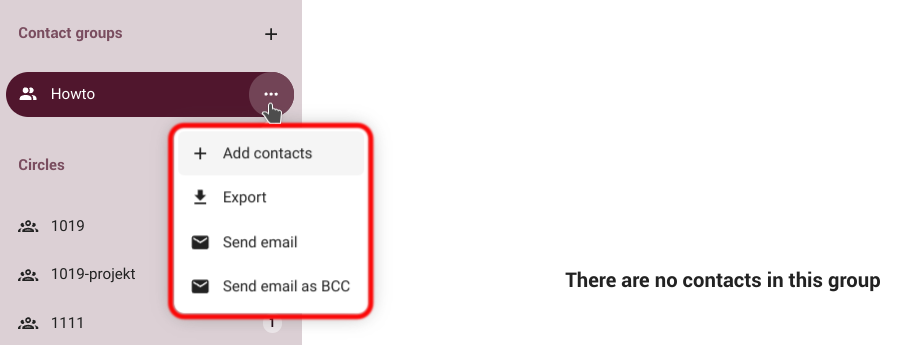
A contact search dialog will open where we just type the name of a contact, select it and finally clicking on Add to ....
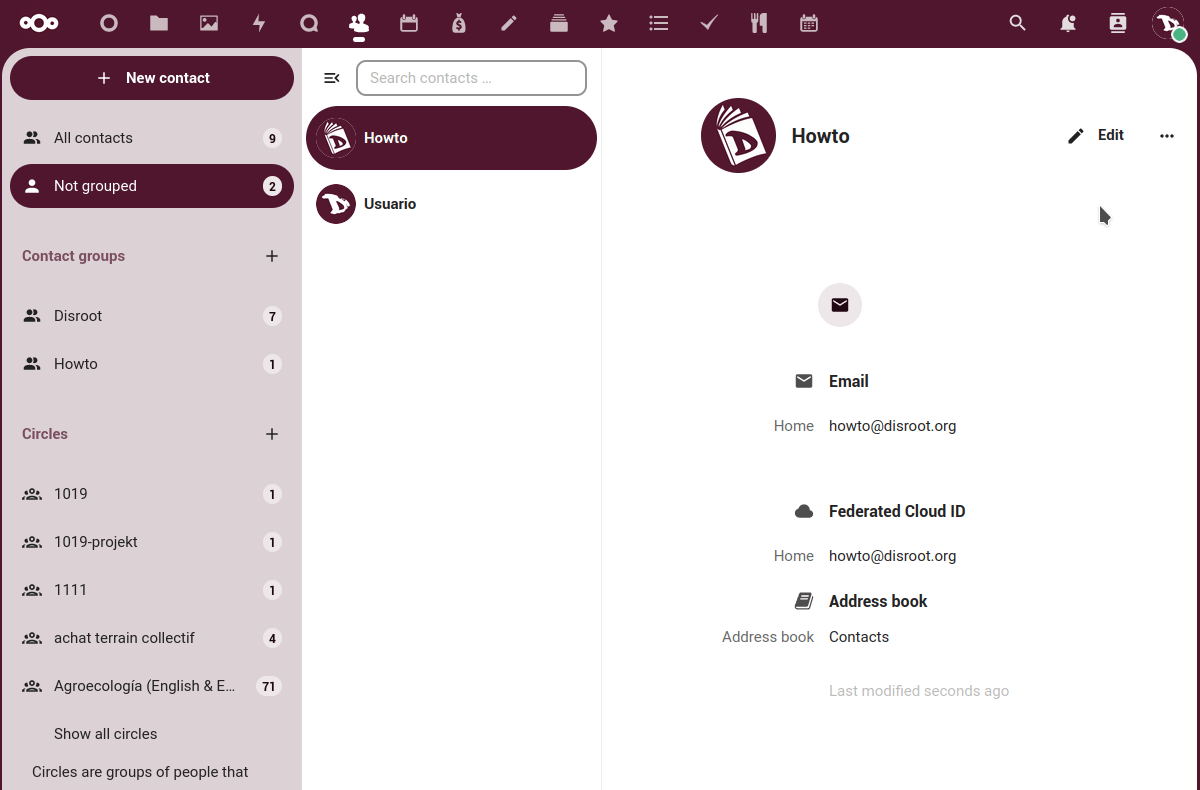
We can also assign a contact to a group from the contact's options, by clicking on Edit and adding it in the Contact groups field.
From the group options menu we can also select to send an email to the contacts of a given group.
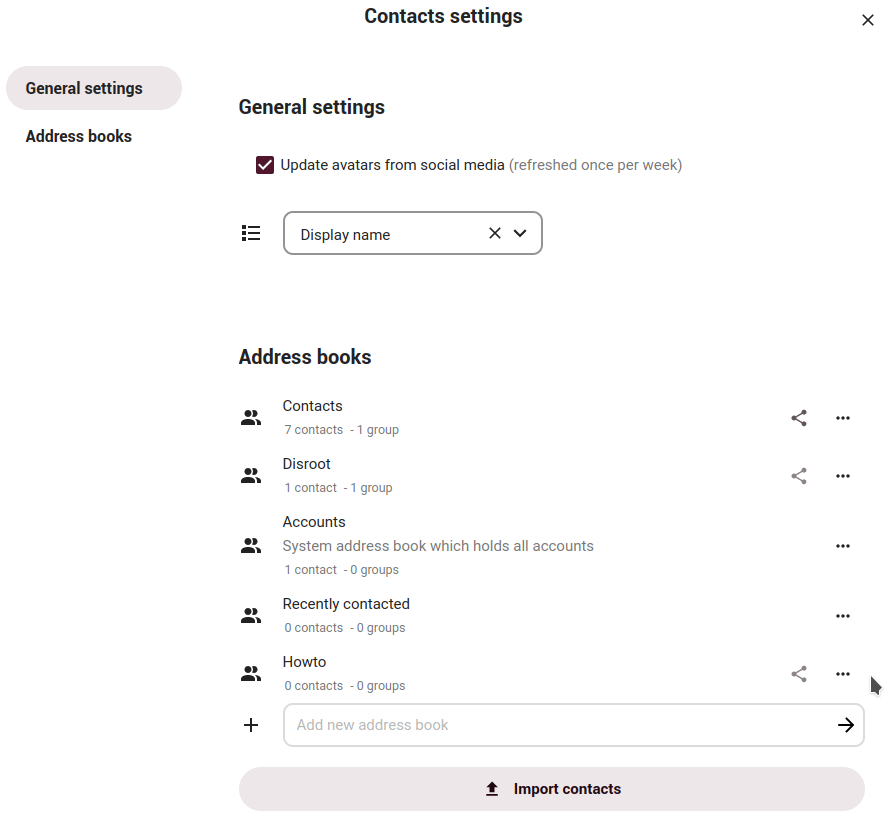
Creating and managing Address Books
We can manage our address books from the Contacts settings.
Create a new address book
To create a new address book, we just write its name on the Add new address book field next to the + (plus) icon and press Enter or click on the arrow icon.
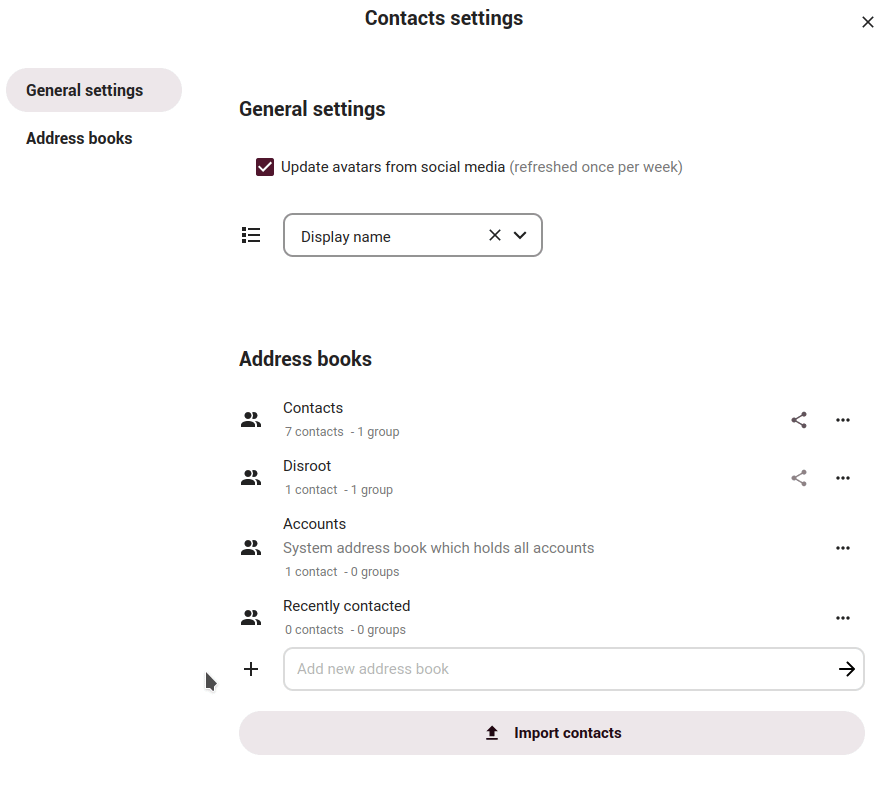
By clicking on the three-dots menu at the right of an address book we can

- Copy link, the CardDAV URL address of our address book;
- Download it in a
.vcfformat file; - Show or not the address book in the Contacts app;
- Rename it or
- Delete it.
Sharing an address book
We can also share an address book with other Disroot cloud users. We need to go to the Contacts settings and click on the Share icon at the right of the address book title. Then enter the contact name with whom we want to share it and enable or not their permission to modify it.
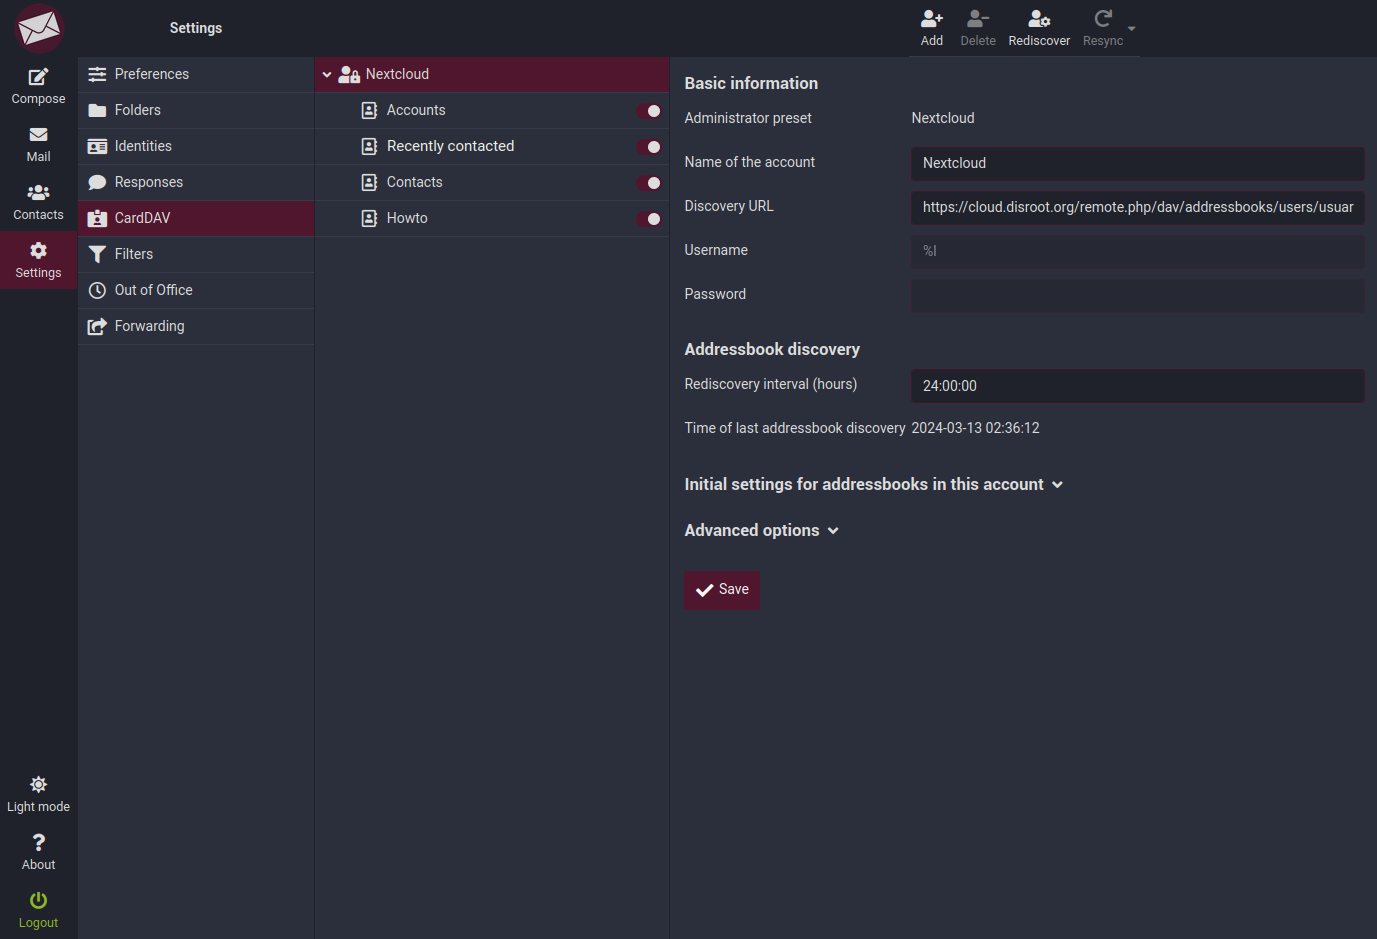
Syncing cloud contacts with webmail
By default, our contacts and address books in the cloud are synchronized with those in our webmail.
We can verify and manage this in the webmail Settings, in the CardDAV option.
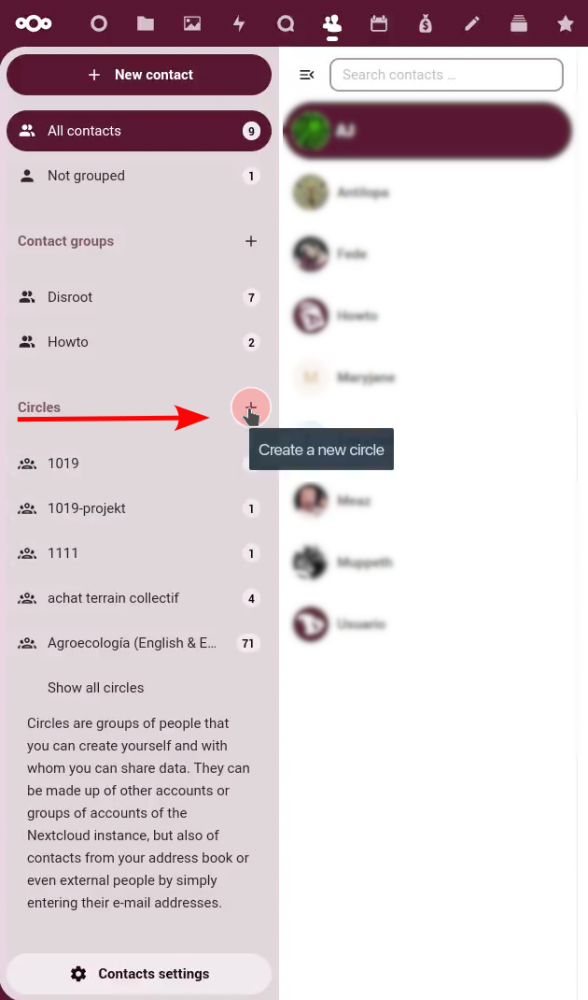
Circles
Circles is a Contacts app feature that allows to create our own groups ("circles") of users/colleagues/friends/family, etc. We can use these circles to share files, messages, documents and more.
Creating a circle
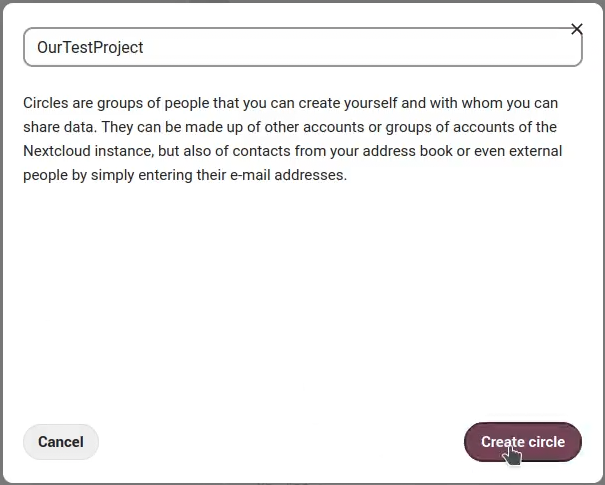
To create a circle we click on the + (plus) icon next to Circles.
In the next dialog we write the name for our circle and click on Create circle.
Once created, a circle settings page will be displayed where we can:
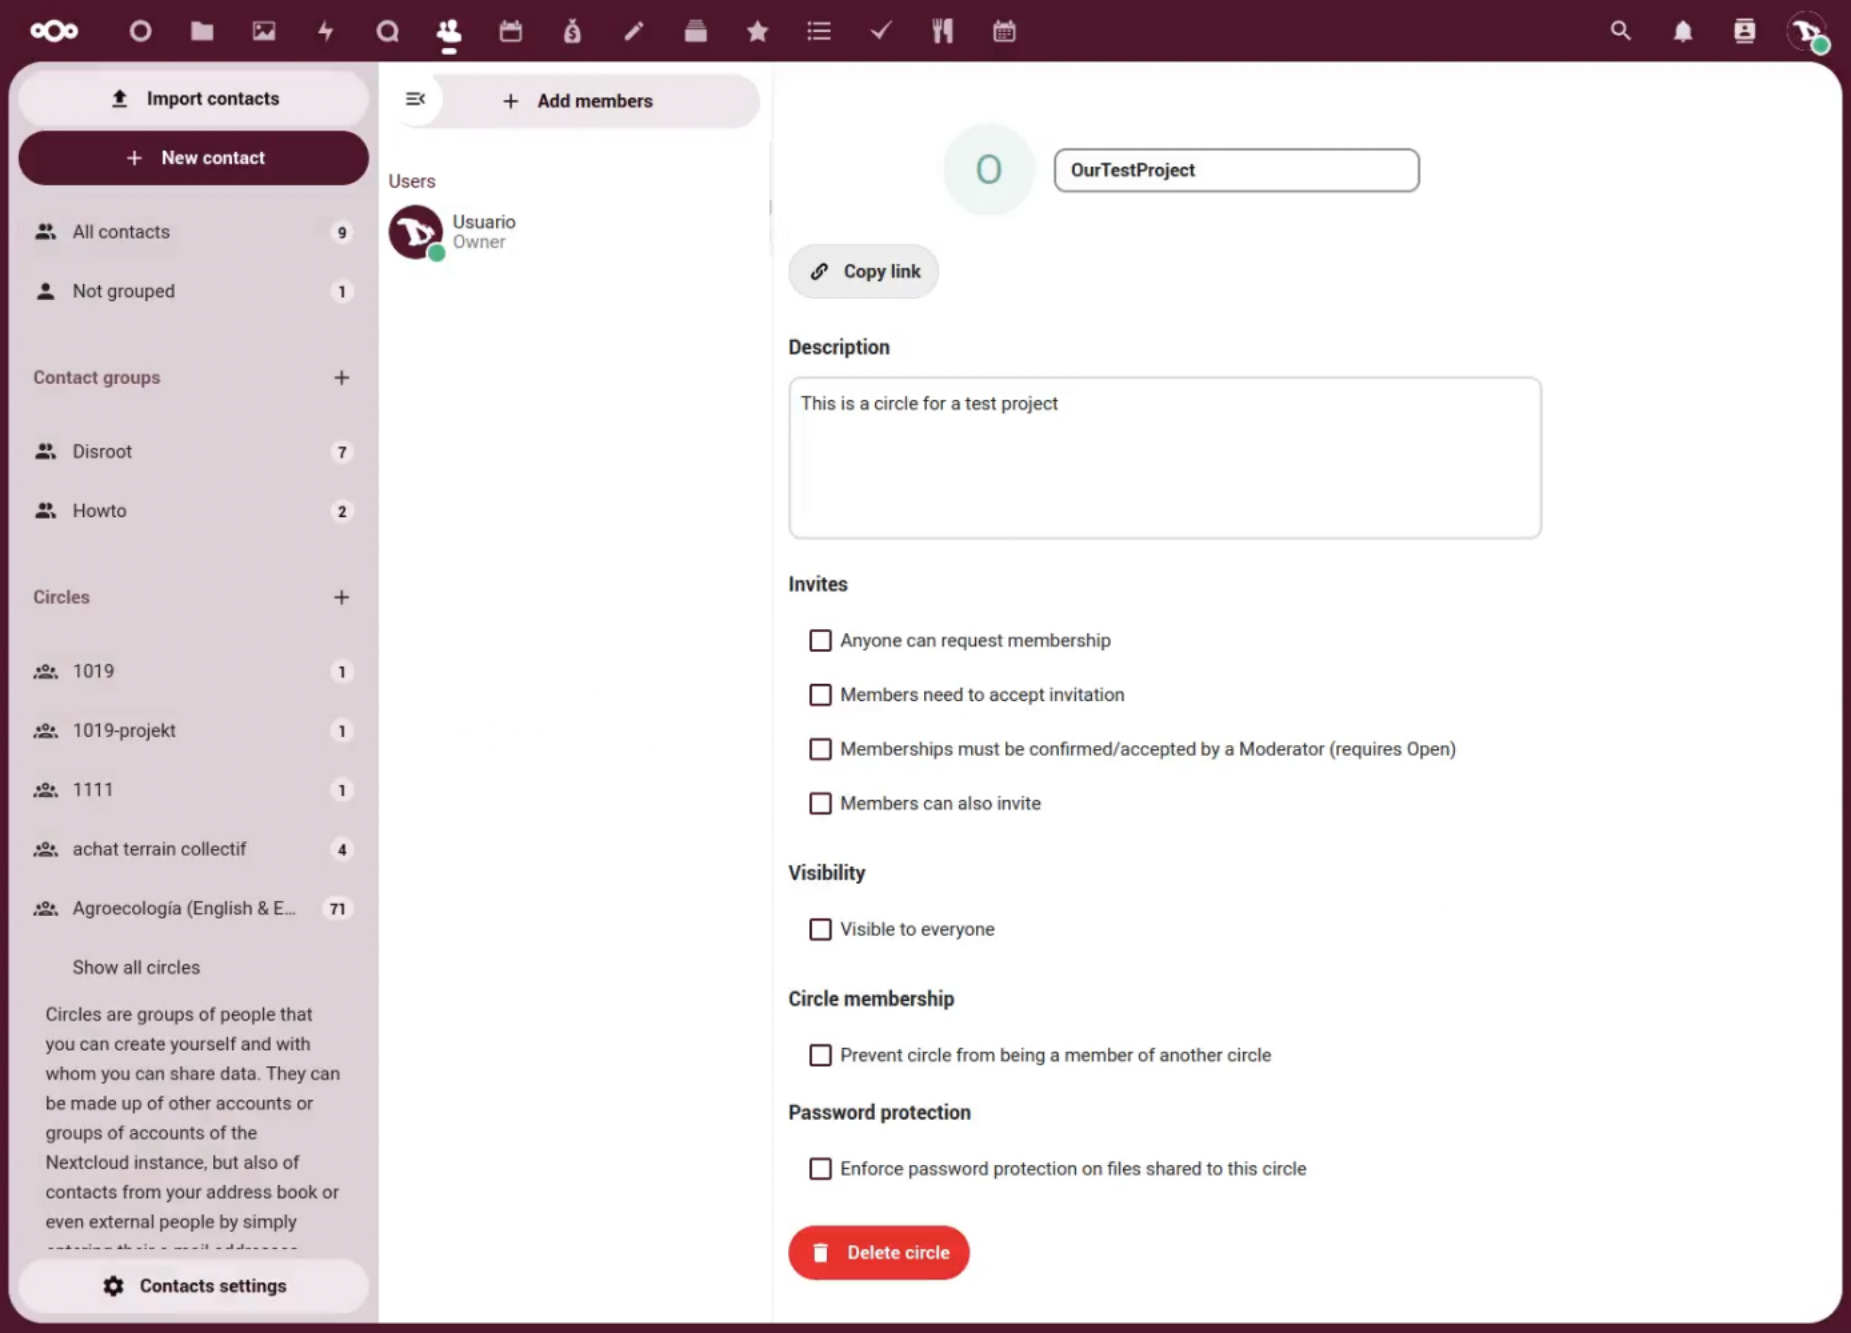
- Copy the link of the circle;
- add a Description;
- manage Invites and memberships;
- set the Visibility of the circle;
- prevent the circle from being a member of another circle; and
- set Password protection on files shared to the circle.
Depending on how we decide to manage the Invites and the Visibility, we can create 4 types of circles:
-
A personal circle is a list of users known only to the owner. This is the right option if we want to do recurrent sharing with the same group of people.
-
A public circle is an open group visible to anyone willing to join. Our circle will be visible to everyone and everyone will be able to join the circle.
-
A closed circle requires invitation or confirmation by an admin. This is the right circle if we are looking for privacy when sharing our files or ideas.
-
A secret circle is an open group that can be protected by a password. Users won't be able to find this Circle using Nextcloud search engine.
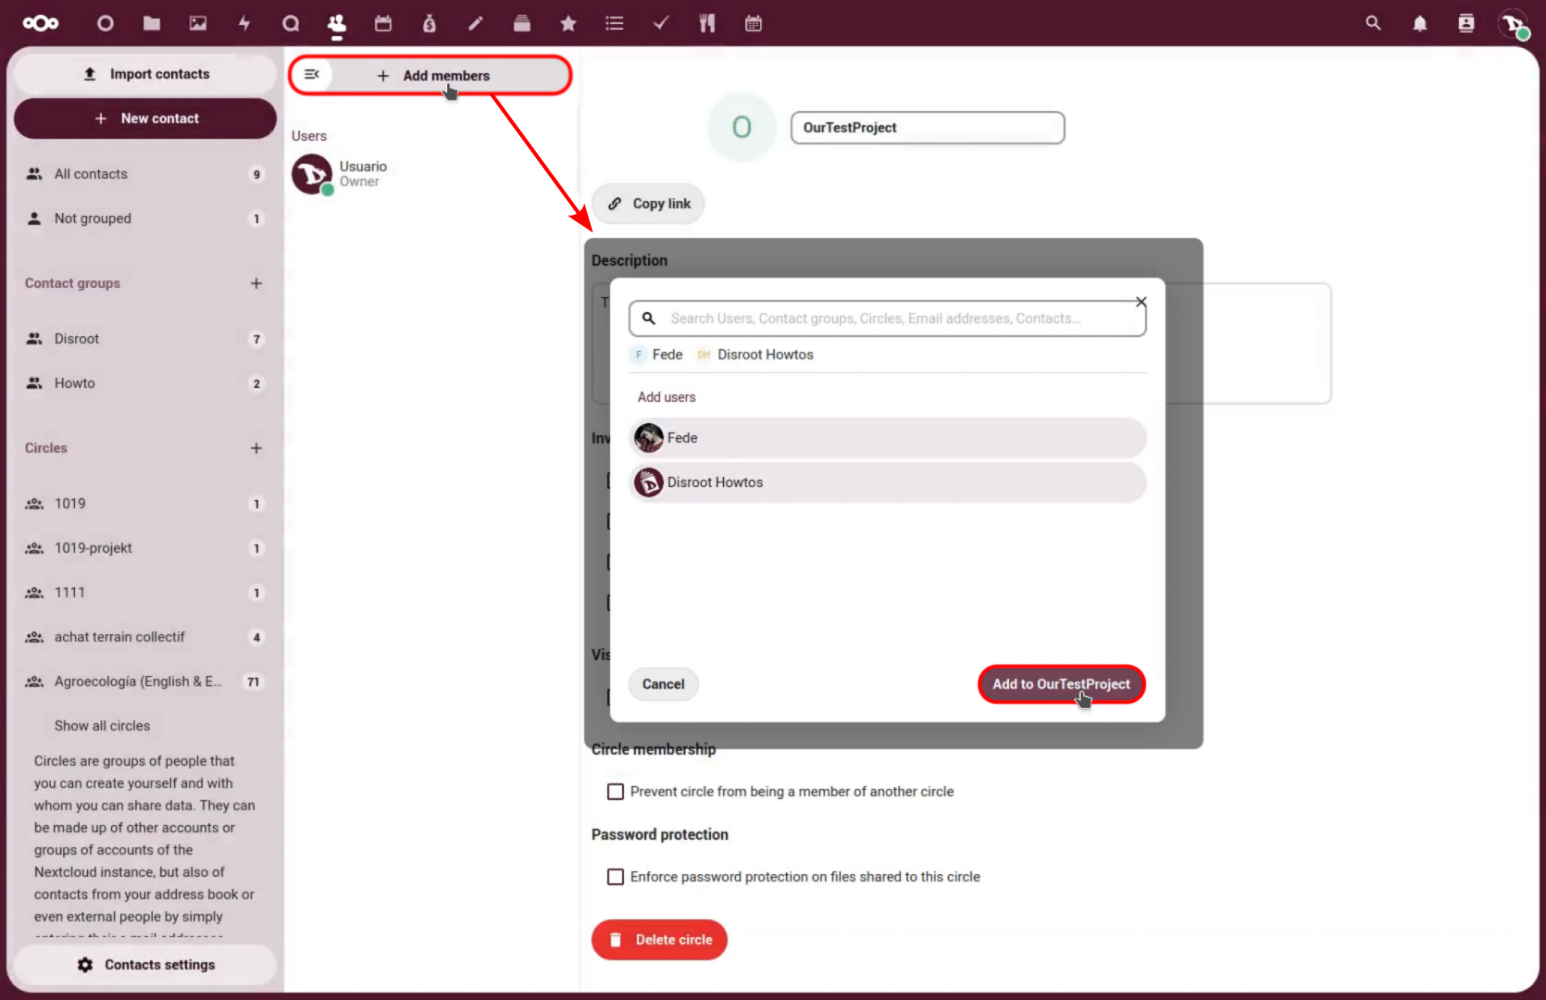
Adding members
We can add local accounts, groups, email addresses or other circles as members. To do so, we click on + Add members button, then select or enter the people we want to add and finally click on Add to....
We can also add members from the circle options, the three-dots menu right next to the circle name.
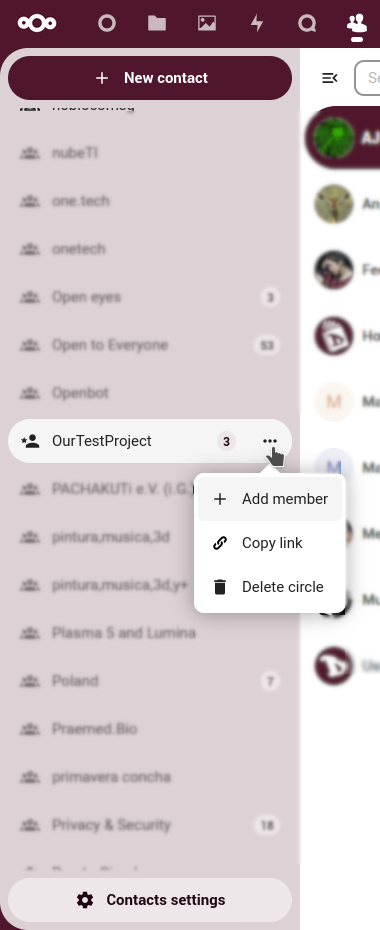
From this menu we can also copy the link to the circle and/or delete it.
Setting roles
Once added we can set roles for each member by clicking on the three-dots menu next to a member name.
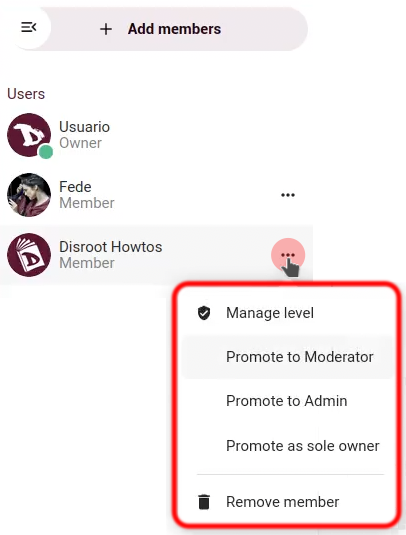
There are 4 types of member roles:
-
Member: this is the role with the lowest permissions. A member can only access the resources shared with the circle, and view the members of the circle.
-
Moderator: in addition to member permissions, a moderator can invite, confirm invitations and manage members of the circle.
-
Admin: in addition to moderator permissions, an admin can configure circle options.
-
Owner: in addition to admin permissions, an owner can transfer the circle ownership to another member of the circle. There can be only one single owner per circle.
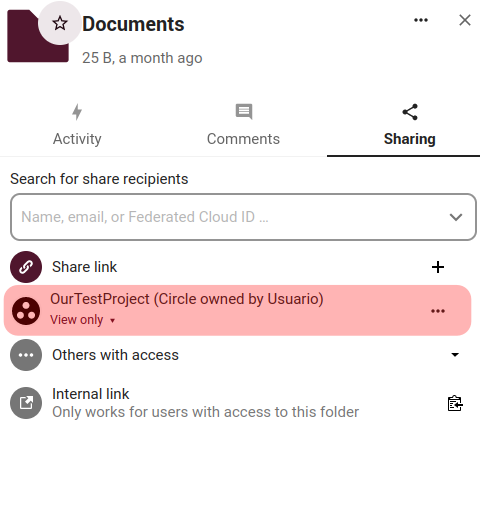
Now, when we need to share something, we will have the option to share it with our circles as well.
Contacts app clients
There are also desktop and mobile clients for the cloud Contacts app. To learn how to configure and use them, we can read the following tutorials.
