CryptDrive
CryptDrive is where documents are stored and managed. It is the default landing page for registered users. You can also access it from the user menu.
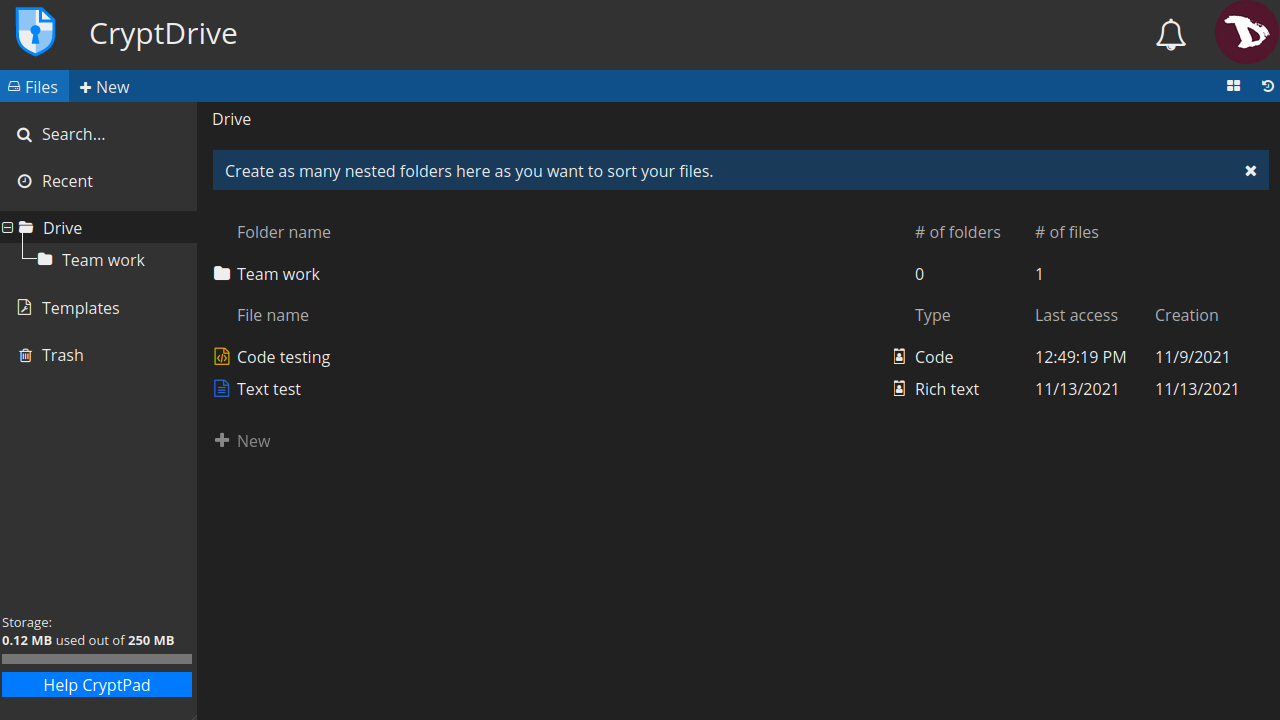
Display
You can choose to display your documents as a list or a grid. To switch between them, click on the view button at the right under the user avatar.
In grid mode, documents thumbnails are displayed. These can be turned on/off in the user settings.
Documents management
Most common operations on folders can be done from the right-click menu. But there are also other ways.
Create a folder
There are several ways to create a folder:
- clicking + New option either at the toolbar or the main window (list mode or grid mode),
- right-clicking, or
- pressing
Ctrl+ekeys and selecting Folder.
Once the folder has been created, you can add documents to it by dragging them from the drive.
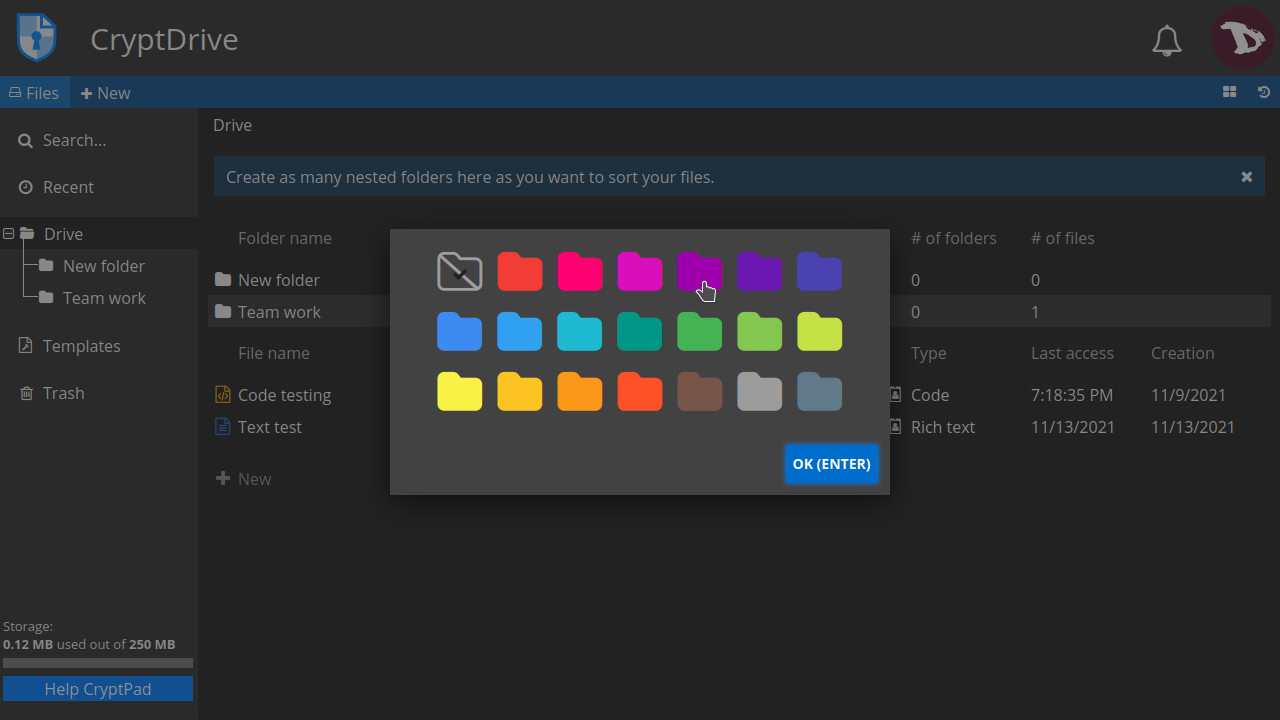
Change folder color
To change a folder color, right-click on the folder you want to modify, select Change color and pick up a new color from the palette.
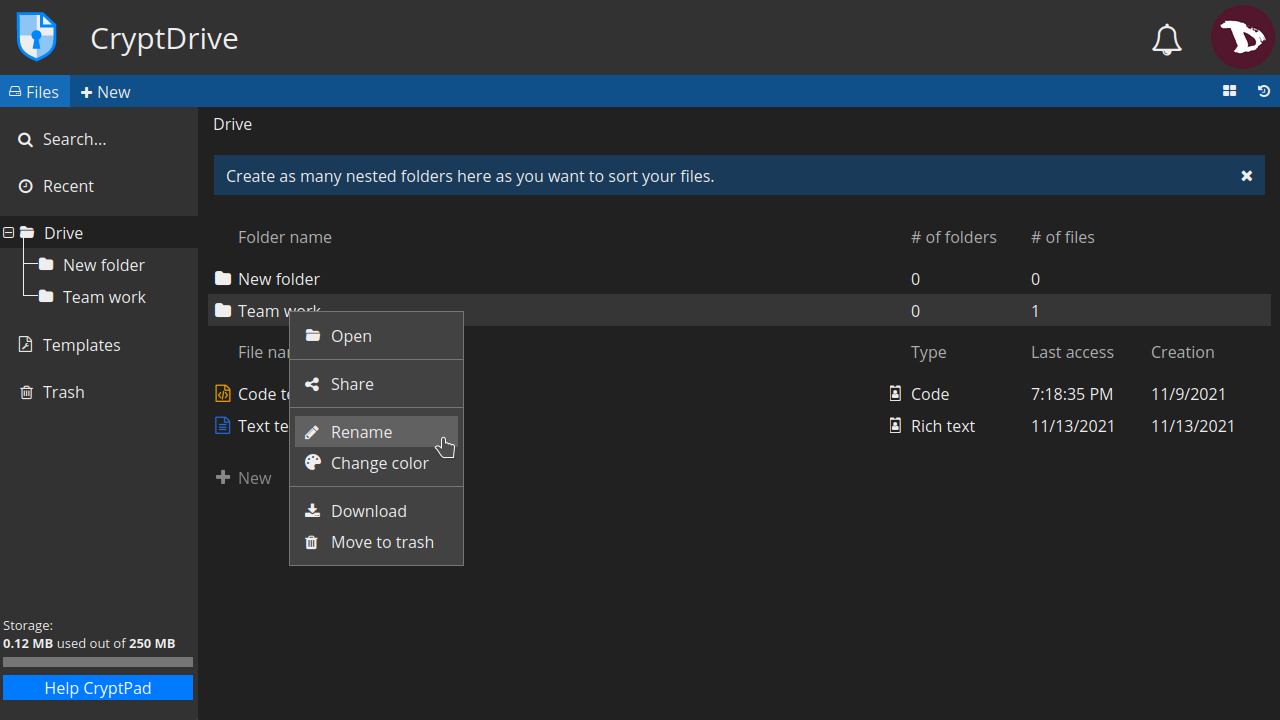
Rename a folder
To rename a folder, right-click on the folder you want to rename, select Rename and edit the folder name.
Renaming documents
You can rename a document just for you or for all users you are working with.
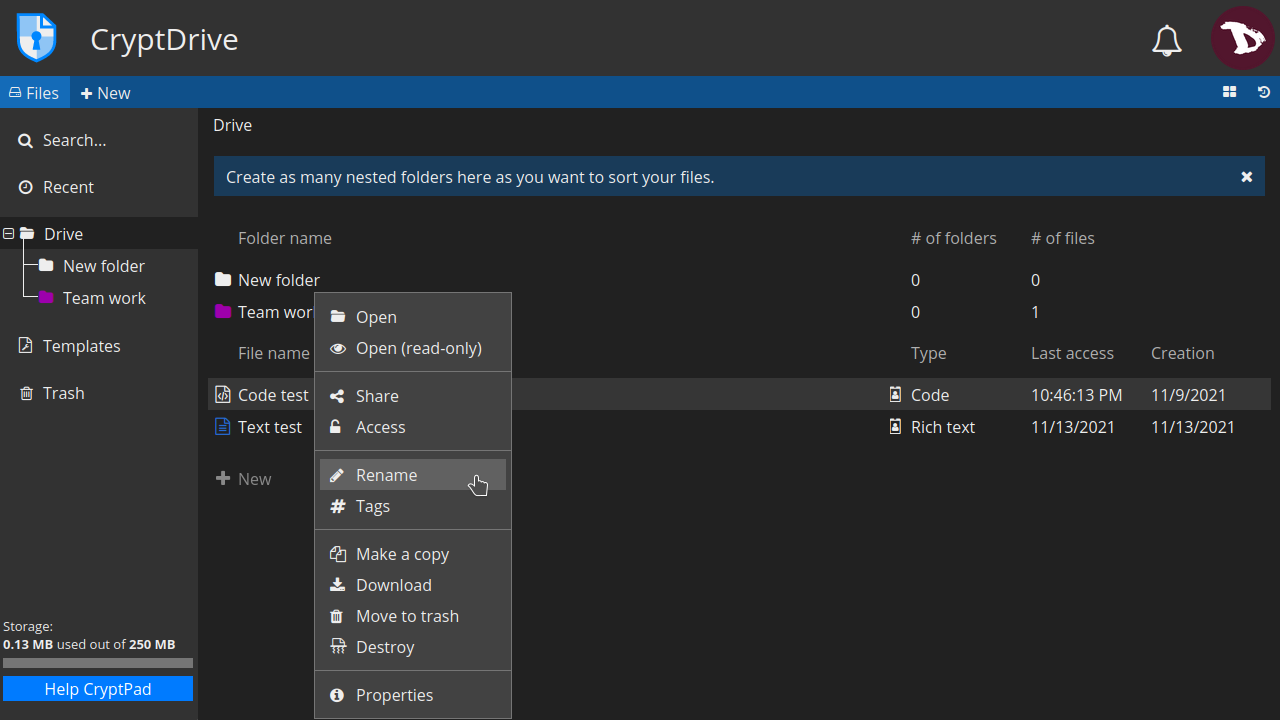
To rename a document in your drive
- Right-click on a document, select Rename, change it and press
Enter.
A flag icon will indicate that a document title is different in your drive than for other users.
To rename a document for all users
- Access a document, click on the pencil icon at the right of its name, modify the name and click on the
✓icon or pressEnterto save it.
Deleting a document
There are two options to delete a document:
-
Move to trash: this will send a document to your Trash can but it will remains in the CryptDrive database for other users who have previously stored it. The document can be recovered using the drive history.
-
You can remove a document by dragging it to the Trash, right-clicking on it and selecting Move to trash or selecting it and pressing the
Delkey. -
To remove a document from the drive without storing it in the Trash first, select it and press the
Shift+Delkeys. -
To empty the Trash just right-click on the Trash tab and select Empty the trash or click on the Trash tab and then EMPTY THE TRASH button.
In any case, if you are the owner of some documents in the trash when you empty it, you will be prompted to decide if you want to REMOVE or DESTROY them.
-
-
Detroy: this action deletes a document from the database permanently. Destroying a document will delete it from all users drives that have store it, and it cannot be recovered again.

- To destroy a document, right-click on it and select Destroy.
Remember that if a document is not stored in any CryptDrive, it is automatically destroyed from the database after 90 days.
NOTE
Once destroyed, documents may still appear in other user's CryptDrives. Once a document has been added to someone's drive, the encrypted nature of CryptPad makes it impossible to take it back. Therefore a destroyed document may still appeared in a user's drive if they had previously stored it. However, they will not be able to open the document.
History
CryptDrive saves a history of versions that can be restored if you need it.

To restore a version:
- click on the history button at the right of the toolbar, under the user avatar;
- navigate the history with the |<< |< and >| >>| arrows;
- once you find the version you were looking for, restore it by clicking on RESTORE. To exit the history without restoring, click on CLOSE.
NOTE on shared folders
Shared folders have their own history, separate from the CryptDrive's one. Restoring the history of the drive does not affect shared folders, conversely the history of a shared folder can be restored without affecting the rest of the drive.
Tags
You can group documents in multiple categories by using tags. Your tags will not be visible to other users.

- To add or remove tags from a document in CryptPad:
Right-click on the document and select Tags
- To add or remove tags from a document:
Go to File -> Tags

- To add tags to multiple files:
- Select the documents with the
Ctrl+ click, - right-click on the selected files and then Tags
- Select the documents with the

Templates
Templates are useful to create documents that has similar structure, avoiding creating new ones from the start.
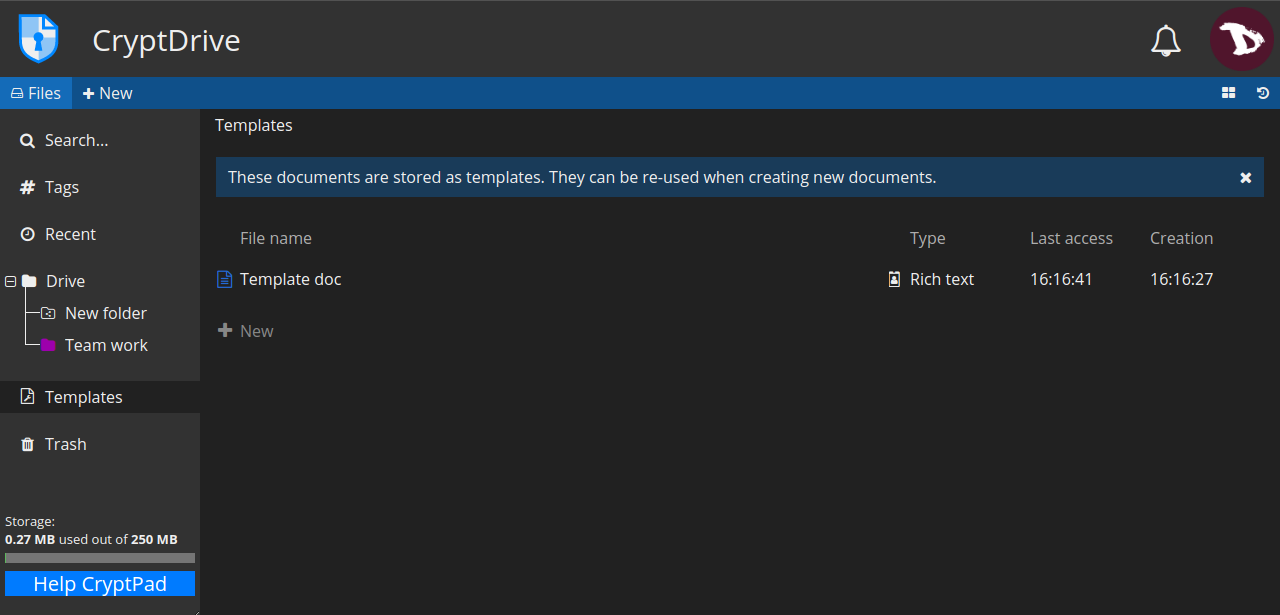
To create a template, you can:
- go to the Template tab and select + New, or
- from an existing document, go to File -> Save as template
Now to use a template, you can:
- select it when creating a new document,

- in an existing document, go to File -> Import a template. Keep in mind that this option replaces the contents of the document with the template.